Detox diet plan
A detox diet plan is a structured eating protocol that cuts processed foods, add...

2
Last Updated: Oct 9, 2026

An abdominal physical exam is a systematic four-step assessment (inspection, auscultation, percussion, palpation) that clinicians use to evaluate abdominal organs and detect pathology.
The correct order is critical: auscultation must precede percussion and palpation to avoid altering bowel sounds, which are key findings.
Practitioners document normal findings (flat abdomen, soft consistency, normal bowel sounds) and abnormal findings (tenderness, guarding, masses) to build a complete clinical picture.
Practice management software like Pabau offers digital forms and clinical notes features that streamline documentation of abdominal exams, ensuring consistent, structured charting across the practice.
A ready-to-use form covering patient details, full assessment of inspection, auscultation, percussion, and palpation steps, special maneuvers, normal and abnormal findings reference, and structured documentation fields for consistent charting across your practice.
Download templateAn abdominal physical exam is one of the most critical clinical skills practitioners develop. It allows physicians, nurse practitioners, physician assistants, nurses, and other healthcare providers to systematically assess the abdominal cavity-from inspecting surface contours to palpating organs-and identify signs of disease, injury, or dysfunction. This guide walks through the step-by-step approach, common findings, and documentation best practices, plus a downloadable template to standardize your abdominal exam charting.
The abdominal physical exam is a structured assessment of the abdominal organs and peritoneal surfaces to detect signs of pathology. It is performed in every patient with abdominal complaints, acute presentations, or routine preventive exams. The exam takes 5-10 minutes and provides critical diagnostic clues that guide further investigation (imaging, labs) and treatment decisions.
Who performs it? Physicians, nurse practitioners in private practice, physical therapists evaluating core stability and abdominal pain, nurses conducting comprehensive assessments, occupational therapists screening for abdominal complications, and primary care providers at every visit.
The abdominal physical exam follows a unique sequence that differs from most other body system exams: inspection, auscultation, percussion, palpation. This order is non-negotiable because mechanical stimulation (percussion, palpation) can artificially alter bowel sounds, rendering auscultation findings unreliable.
Observe the abdomen without touching. Look for contour (flat, rounded, scaphoid, distended), symmetry, skin changes (scars, striae, bruising, erythema), visible peristalsis, and pulsations. Note any surgical scars, tattoos, or hernias. This step takes 30 seconds but captures critical visual data.
Use a diaphragm stethoscope to listen for bowel sounds in all four quadrants. Normal bowel sounds are 5-30 clicks per minute; absent bowel sounds (ileus) or hyperactive sounds (obstruction) are key abnormal findings. Also listen for vascular bruits (aorta, renal arteries) which suggest vascular disease.
Percuss all four quadrants to assess organ size and detect fluid. Tympany (hollow, drum-like sound) indicates gas-filled bowel; dullness indicates solid organs or fluid. Shifting dullness or a fluid wave indicates ascites (abdominal fluid collection).
Palpate systematically: light palpation first (superficial layers, tenderness), then deeper palpation (organs, masses, rigidity). Assess for guarding (voluntary muscle contraction in response to pain) and rebound tenderness (pain on release of pressure, indicating peritonitis). Palpate the liver edge, spleen, and kidneys using organ-specific maneuvers. Documenting these findings in a structured SOAP note ensures completeness and supports clinical decision-making.
Several special maneuvers help identify specific conditions. These are used when clinical suspicion is high for conditions like appendicitis, cholecystitis, or peritonitis.
Practices that digitize paper scales with software for capturing forms cut scoring errors and filing time.
Learning to distinguish normal from abnormal findings is the cornerstone of clinical skill. Below is a summary of key findings at each exam step.
Clear, structured documentation is essential for continuity of care, billing accuracy, and medicolegal protection.
Abdomen: Inspection reveals a flat, symmetric abdomen with no visible peristalsis, scars, or skin changes. Auscultation: normal bowel sounds present in all four quadrants. Percussion: tympany throughout the abdomen with dullness over the liver and splenic areas. Palpation: soft, compressible, non-tender throughout all quadrants; no guarding or rebound tenderness; liver edge palpable 1 cm below the right costal margin; spleen not palpable; kidneys not balloted. No pulsatile masses. Abdomen benign on examination.
Abdomen: Inspection reveals a slightly distended abdomen; no visible peristalsis. Auscultation: hypoactive bowel sounds in all quadrants. Percussion: tympany throughout with evidence of shifting dullness on right and left decubitus positioning, consistent with ascites. Palpation: soft abdomen with mild tenderness in the epigastrium; no guarding or rebound; liver palpable 2 cm below right costal margin (mild hepatomegaly); spleen not palpable. No pulsatile masses. Impression: Exam findings consistent with hepatic disease and ascites; recommend imaging correlation.
The downloadable template includes a step-by-step checklist, reference sections for normal and abnormal findings, special test reminders, and structured documentation fields. Use it in practice to ensure every exam component is documented and to build consistency across your practice.
Whether you use the downloadable template above or build your own custom form in Pabau, having a standardized workflow ensures accuracy and completeness every time.
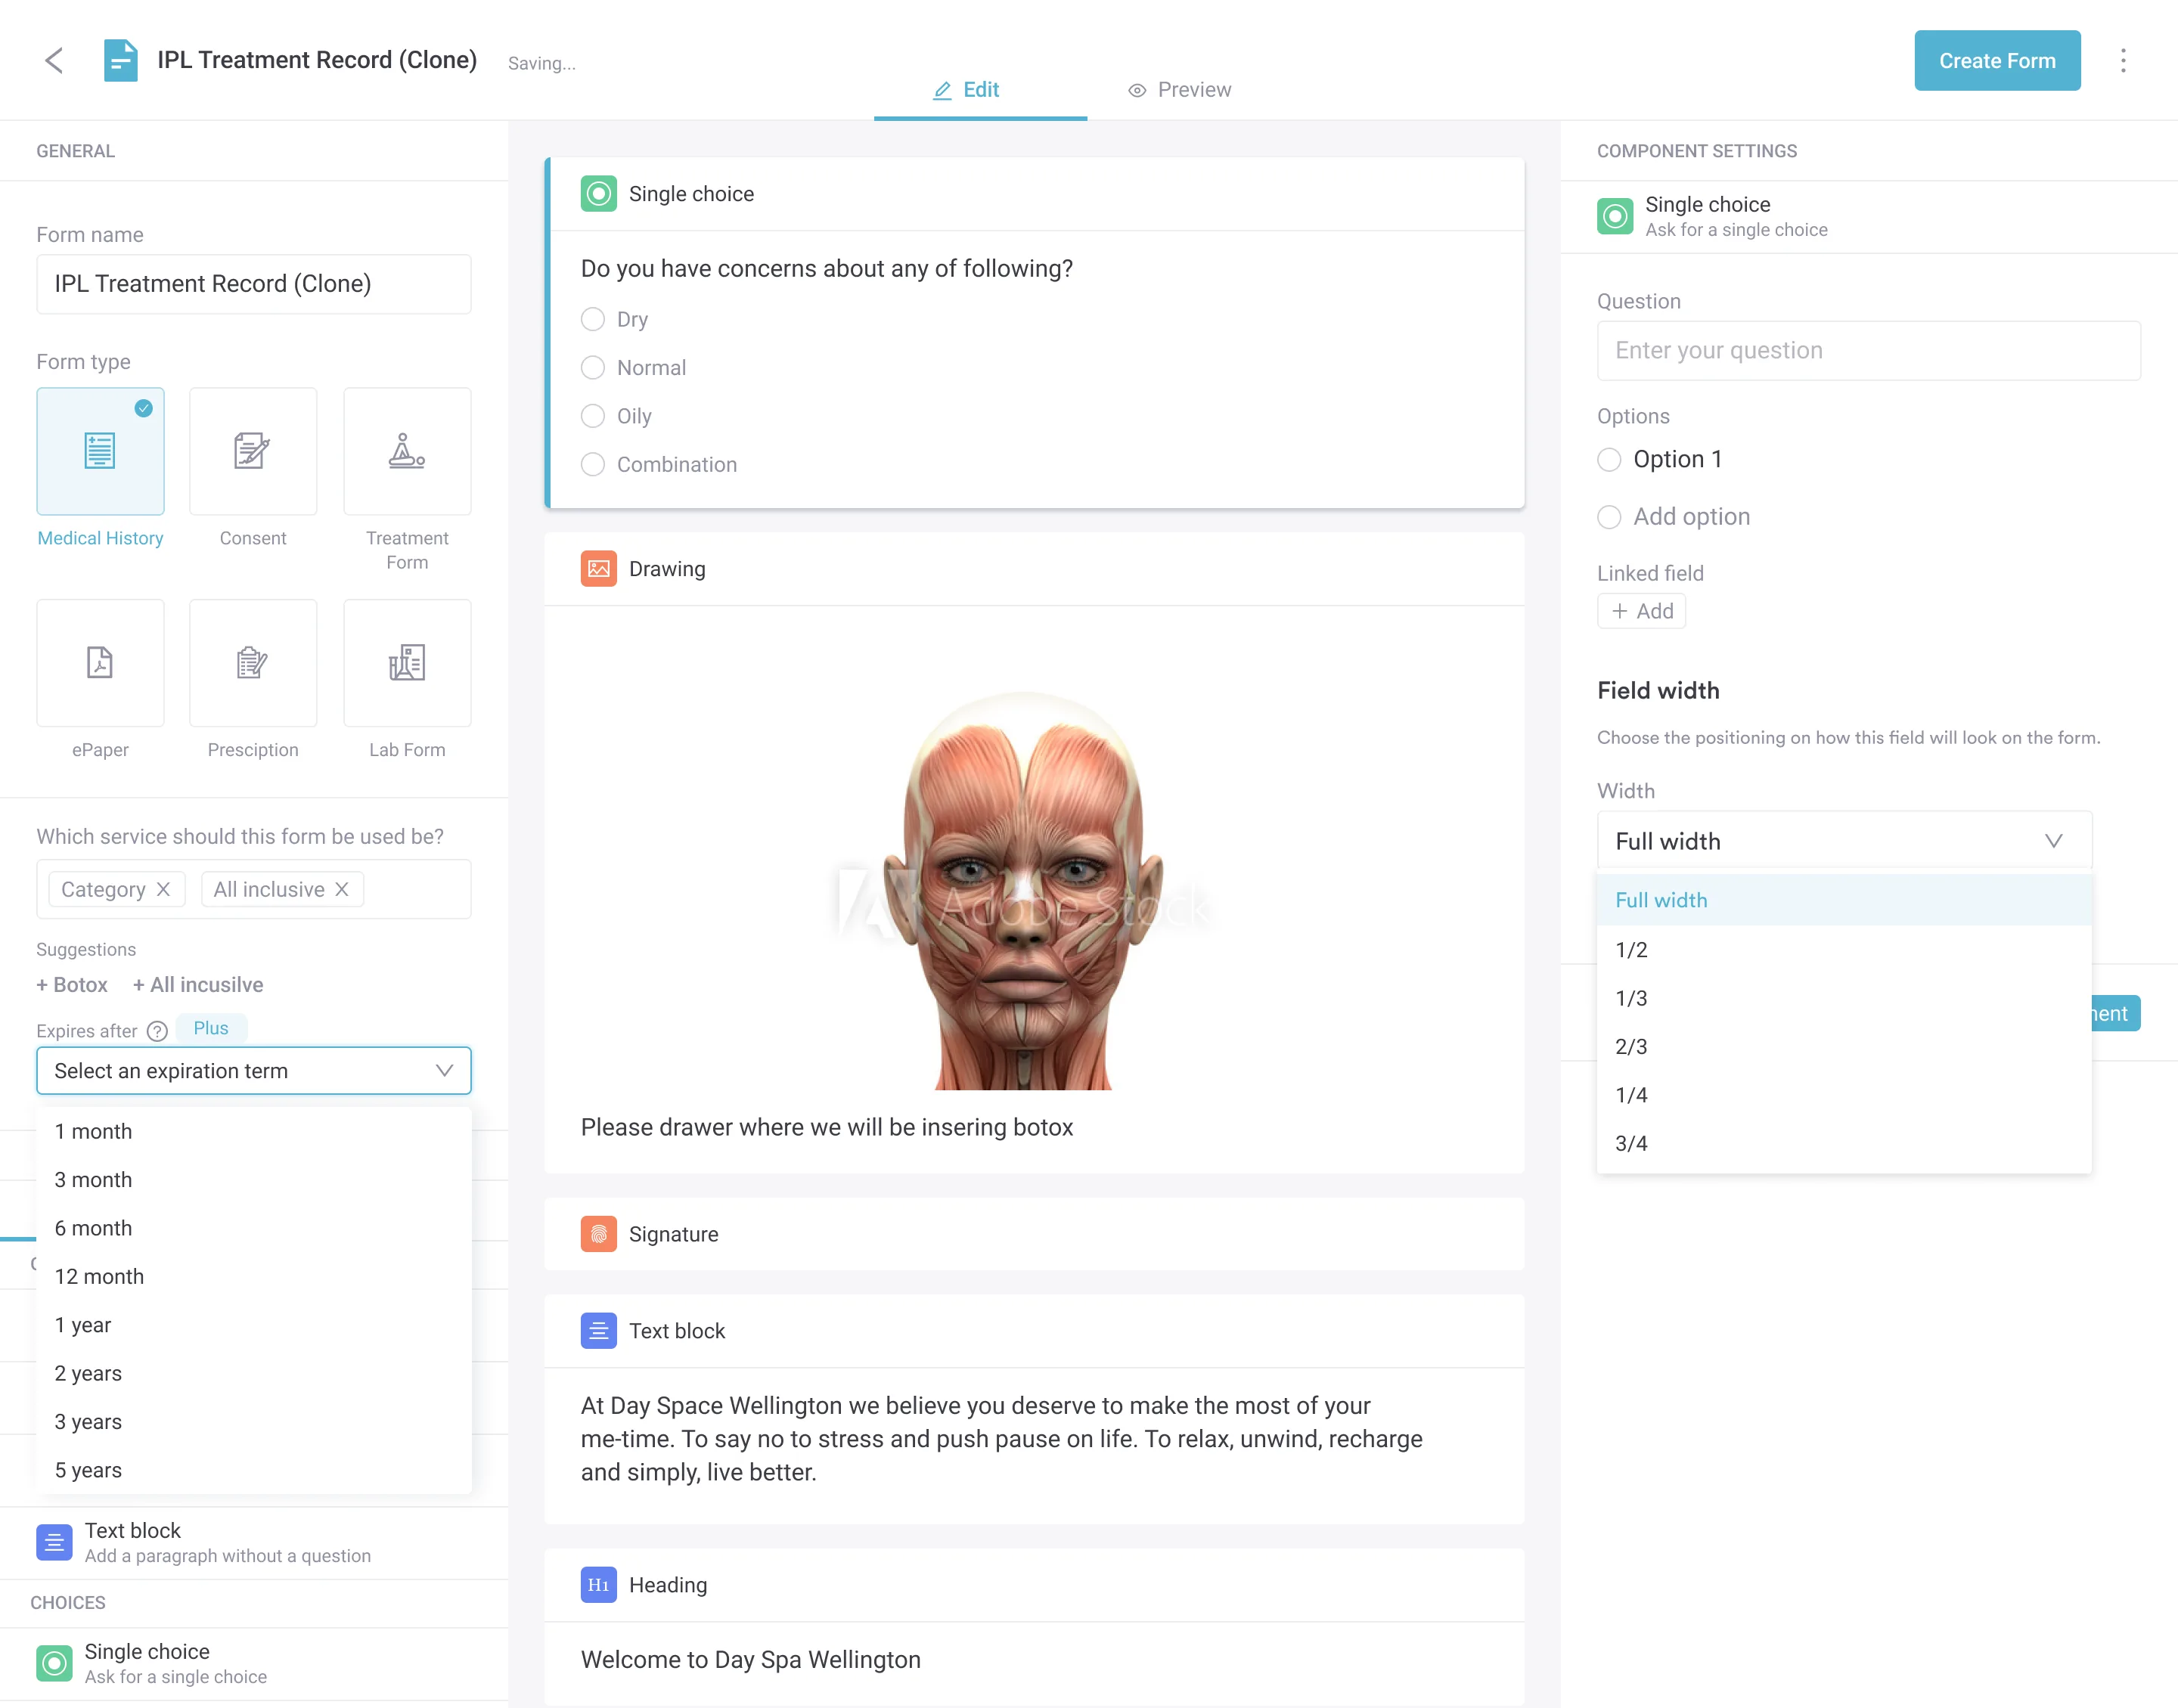

See how Pabau’s digital forms and AI clinical note features support fast, accurate abdominal exam charting across your practice.

Nurses and allied health practitioners perform abdominal exams as part of comprehensive patient assessments. The occupational therapy community increasingly documents abdominal findings as part of holistic evaluations. Consistency and clarity in your charting support continuity of care, help physicians make informed decisions, and protect you legally if complications arise.
Running the abdominal exam in the correct order, inspection, then auscultation, then percussion, then palpation, keeps bowel sounds and other findings reliable. That consistency turns a routine exam into a dependable source of clinical evidence, whether the results are normal or point toward further workup.
Download the free abdominal physical exam template above to standardize this sequence and its documentation across your practice.

Managing pain that comes with the findings? Acute pain nursing care plan gives SMART goals and interventions with rationale, including an abdominal pain example.
Looking for best practices in clinical documentation? Safer clinical notes covers legal, ethical, and practical documentation standards that apply to all physical exams, including abdominal assessments.
Want a general medical intake form to pair with your exam? General practice intake form captures baseline patient history, which informs the focus and depth of your abdominal exam.
Assessing a patient with breathing trouble too? Asthma nursing care plan covers NANDA diagnosis selection, measurable goals, and interventions for adult and pediatric patients.
Ruling out chronic fatigue as a cause? Chronic fatigue syndrome test screens symptom criteria, post-exertional malaise, functional impact, and lab panels.
The order is inspection, auscultation, percussion, palpation. Auscultation precedes percussion and palpation because mechanical stimulation can alter bowel sounds, making later auscultation unreliable.
Palpating or percussing the abdomen can stimulate or suppress bowel motility, artificially changing bowel sounds. Auscultating first captures baseline sounds before any manipulation.
Normal findings include a flat, symmetric, non-tender abdomen; 5-30 bowel sounds per minute; tympany over gas-filled bowel and dullness over solid organs; no masses, guarding, or rebound tenderness; and a liver edge palpable 1-2 cm below the right costal margin.
A pulsatile abdominal mass often indicates an abdominal aortic aneurysm (AAA), a medical emergency. Refer the patient for urgent imaging and vascular surgery evaluation.
Document each exam step separately (Inspection: findings; Auscultation: findings; etc.), use anatomical terminology (quadrants, organ names), describe what you observe, not conclusions, and conclude with a summary impression (benign vs abnormal findings).
Peritoneal signs include rebound tenderness, guarding, and rigidity, which indicate peritoneal irritation or peritonitis. Assess by slowly applying pressure with your hand, then rapidly releasing; sharp pain on release indicates a positive rebound sign.