Impaired skin integrity nursing care plan
An impaired skin integrity nursing care plan is a structured document that recor...

3
Last Updated: Oct 16, 2026

Most painful tattoo areas (ribs, armpit, spine) have thin skin, many nerve endings, and close bone proximity.
Least painful areas (outer arm, thigh, calf) have thicker skin, fewer nerve endings, and more fat padding.
Pain tolerance varies by individual, body composition, tattoo style, and session duration, so plan consultations accordingly.
Digital intake forms and pre-appointment pain-prep documents help studios set clear expectations and reduce last-minute cancellations.
A well-structured tattoo pain chart, sometimes called a tattoo hurt chart, is essential for setting client expectations before the needle touches skin. Whether your studio specializes in fine linework, color fills, or bold designs, understanding which body parts generate the most discomfort, and why, helps you prepare clients mentally and operationally.
If your studio also handles touch-ups or removals, a similarly structured laser removal consent keeps that side of the business documented too.
This guide explains the anatomical factors driving pain variation across the body, breaks down a practical tattoo pain chart by location and body region, and provides pre-appointment strategies to help clients manage discomfort.
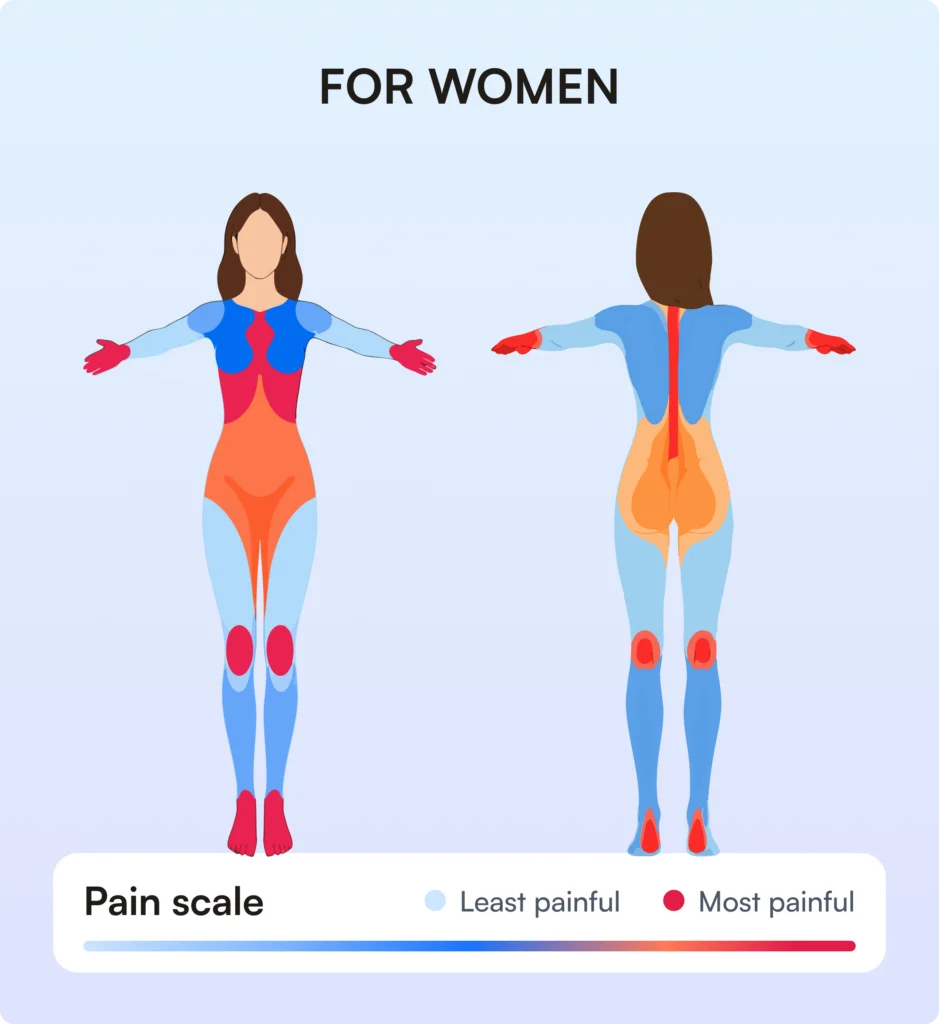
Share this tattoo pain chart for women with clients during booking so they can see, at a glance, how pain shifts across placements before they commit to a design.
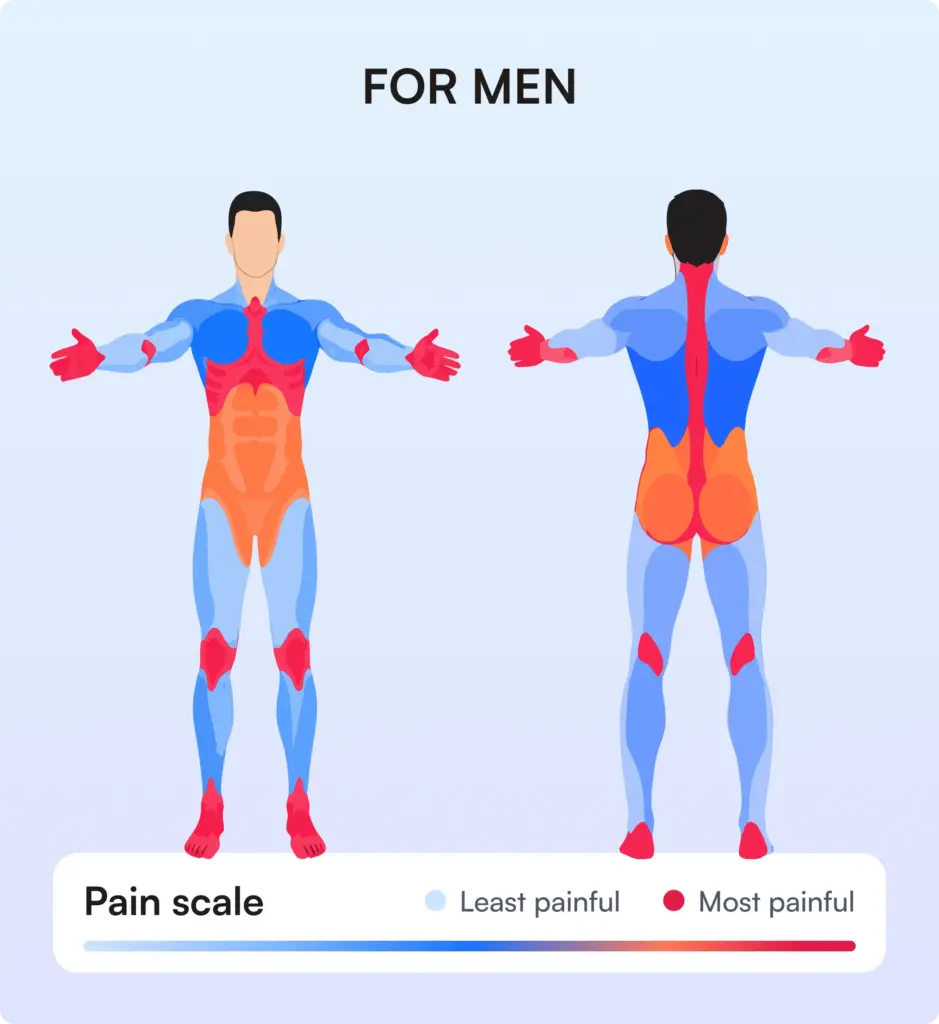
The men’s chart maps the same pain zones onto a male frame, so clients can weigh a placement against their own pain tolerance before they book the session.
A tattoo pain chart, also called a tattoo pain scale, ranks body locations from 1 to 10 so both new and experienced clients can anticipate how a placement will feel. That ranking reflects four anatomical factors:
The chart serves a dual purpose in your studio workflow. For clients, it demystifies the discomfort they might feel and validates their concerns — especially for first-timers who might otherwise cancel after hearing exaggerated stories.
For your team.
Practices that digitize paper scales with software for capturing forms cut scoring errors and filing time.
Most clients don’t feel one single sensation. Tattoo pain usually arrives as a mix of feelings that shift with the needle, the placement, and how long the session runs. Naming these sensations during a consultation helps clients brace for what’s coming instead of imagining the worst.
Adrenaline released at the start of a session often dulls the first 30 to 60 minutes, which is why many clients report the discomfort building later rather than at the first pass.
The most painful tattoo spots share a clear pattern. They have thin skin, high nerve density, and bone lying close to the surface, with little fat or muscle to cushion the needle. These rank as the most painful areas for tattoo work on almost every pain chart.
Healthline’s pain guide lists these same areas as the most painful, since they combine thin skin, dense nerve endings, and bone close to the surface. Knowing these zones helps you frame realistic expectations during client consultations and build trust through transparency.
Areas with thicker skin, more fat padding, and fewer nerve endings are substantially more tolerable for clients.
These locations work well for building client confidence, especially when first-timers want a meaningful placement without intense pain expectations. Using digital intake forms in practice management software like Pabau, you can capture pain tolerance and placement preferences during booking.
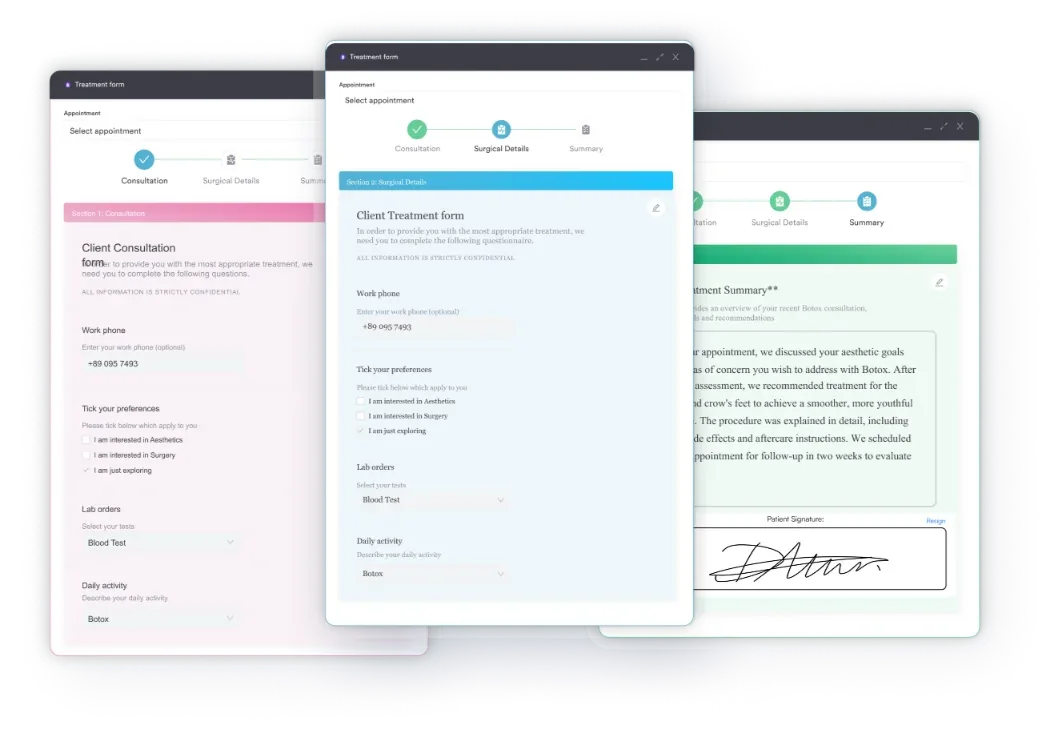
Pain during tattooing depends on more than location alone.
Documenting these factors in each client’s records builds a personal pain-tolerance profile, helping your team tailor preparation and manage expectations across repeat bookings.
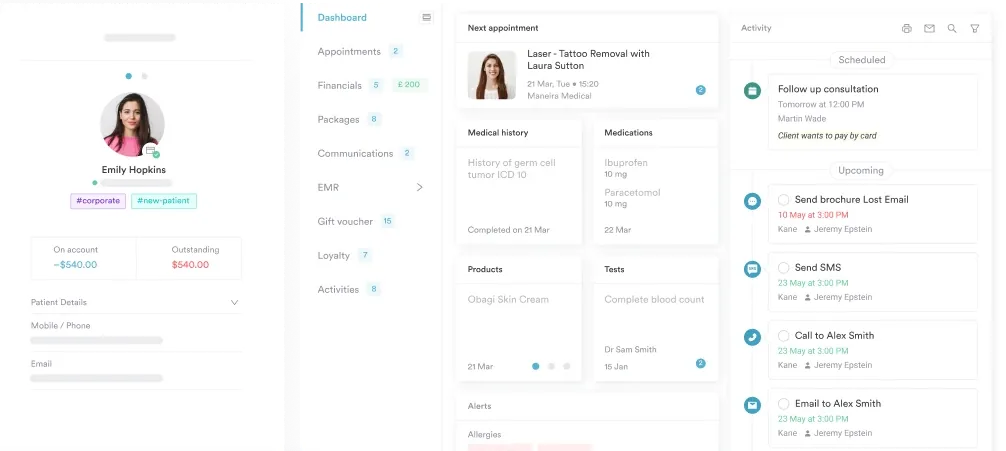
Put the tattoo pain chart to work as a consultation tool with these five steps.
When clients feel heard and prepared through structured client feedback, they’re more likely to keep the appointment and follow through on the design.

Capture pain tolerance, placement preferences, and design specifications before the session. Practice management software like Pabau brings digital forms and a client portal together, reducing admin burden and keeping consultations consistent across your team.

Ahead of the session, help clients prepare their nervous system and manage expectations.
Building a client portal where your studio shares pre-appointment guidance and pain management tips demonstrates professionalism and improves client outcomes. Using skin clinic software to automate these educational outreach messages keeps your team efficient and clients informed.
Research suggests men and women may experience tattoo pain differently due to body composition and hormone variations, though individual pain tolerance varies widely regardless of gender.
Women typically have less muscle mass and more distributed body fat, potentially making certain areas (like outer arms and legs) less painful. Men’s greater muscle density in areas like the chest and shoulders may influence how pain is perceived in those zones.
Hormone fluctuations in women can also affect skin sensitivity and pain perception across the menstrual cycle. Despite these patterns, personality, prior tattoo experience, and individual nervous system sensitivity remain stronger predictors of pain tolerance than gender alone.
The takeaway for your studio is to treat pain expectations as personal rather than gender-based. A tattoo pain scale for women can be a helpful visual, but individual pain tolerance and prior experience predict discomfort better than any male-versus-female comparison.
Ask each client about their own tolerance, and use the chart as a guide, not a rule. Documenting these individual differences in your paperless client records helps your entire team deliver consistent, personalized consultations across repeat visits.
Certain conditions require extra caution or professional assessment before tattooing.
Documenting these health flags in your client intake forms. Professional liability depends on informed consent and appropriate risk flagging.
A well-communicated tattoo pain chart turns vague expectations into informed decisions. By explaining the anatomy behind pain variation, discussing individual factors affecting tolerance, and offering preparation strategies, your studio builds trust and improves booking outcomes.
Clients who understand what to expect are more confident, more likely to complete their design, and more likely to return for additional work or recommend your studio to friends.
Keeping this knowledge in structured client records keeps your team aligned. Book a demo to see how Pabau helps studios standardize consultations and improve client experience through integrated documentation.

Working on classroom materials too? character traits worksheet is a free printable that helps K-6 students name character traits and cite text evidence.
Need a way to organize notes? lecture notes template offers Cornell, outline, and mind map layouts plus a 24-hour review habit that helps notes stick.
Onboarding new clients for another business? veterinary new client form captures every detail upfront so vet clinicians can focus on the animal, not paperwork.
A tattoo pain chart ranks body locations on a 1-10 pain scale based on skin thickness, nerve density, and bone proximity. It helps clients anticipate discomfort and choose placements matching their pain tolerance.
Most people describe tattoo pain as a mix of scratching, stinging, and burning, with a dull background ache once adrenaline sets in. Fine linework feels like sharp bee stings, while shading feels more like a hot, scratchy soreness.
The rib cage, spine, armpit, inner wrist, hands, and top of foot are the most painful locations (8-10 scale) because they have thin skin, high nerve density, and bone close to the surface.
The outer arm, shoulder, thigh, calf, buttocks, and upper back are the least painful (2-4 scale) because they have thicker skin, more fat padding, and fewer nerve endings.
Body composition differences suggest some variation, but individual pain tolerance is the strongest predictor. Treat each client’s pain expectations as personal rather than gender-based.
Sleep well, stay hydrated, eat before your session, avoid alcohol and stimulants, use topical numbing creams if appropriate, and practice breathing techniques during the session. Shorter sessions and breaks also help.
Tattooing over scars is unpredictable and often more painful. The healing response and texture vary by scar age and depth. Consult a professional or dermatologist before proceeding.