CRM for chiropractors: how to manage patients, bookings and marketing
A CRM for chiropractors is a patient relationship management system built around...

Last Updated: Oct 13, 2026

The milking maneuver stresses the posterior band of the elbow’s medial collateral ligament by pulling on the patient’s thumb.
Flex the elbow past 90 degrees and keep the forearm supinated, palm up, or the ligament stays unloaded.
Pain, laxity, or apprehension at the medial joint line counts as a positive result.
Diagnostic accuracy is not well established, so the test belongs in a cluster rather than on its own.
Practice management software like Pabau files the completed form, the result, and the follow-up plan in one patient record.
A one-page clinical form with patient details, the test procedure, a positive or negative result selection, and space for additional notes. It closes with clinician name, license number, and signature fields, so the sheet is ready for the chart.
Download templateMedial elbow pain in a throwing athlete rarely shows up on inspection. The ligament that fails first sits deep, and the athlete usually describes vague soreness late in a game rather than one clear injury.
The milking maneuver loads that ligament in about ten seconds, with no equipment at all. Setup is where it goes wrong. Pronate the forearm instead of supinating it, and an elbow that is already failing can test negative.
It tests the posterior band of the anterior bundle of the medial collateral ligament (MCL) at the elbow. At the elbow, that ligament is also called the ulnar collateral ligament, or UCL, and the two names describe the same structure.
You flex the elbow past 90 degrees, pull the patient’s thumb, and watch the medial joint line. Thumb traction plus valgus stress loads the band that resists the most force during throwing.
The MCL has an anterior bundle and a posterior bundle. The anterior bundle splits again into an anterior and a posterior band, and that posterior band is the part this test isolates.
The ligament runs from the medial epicondyle of the humerus to the sublime tubercle of the ulna. Repeated valgus load stretches it, then frays it, and eventually tears it.
Flexing past 90 degrees tightens the posterior band specifically, which is why elbow position matters more than how hard you pull. An elbow instability review sets out the biomechanics behind that position.
Position first, force second. Rushed setup is the reason a failing elbow tests clean, so run a short check before you touch the arm.
A positive test is familiar medial elbow pain, palpable opening at the joint line, or apprehension during the stress. Any one of the three counts.
A positive result is a reason to image, not a diagnosis. MRI, stress ultrasound, or a stress radiograph confirms what your hand felt, and specialist input follows from there.
Medial elbow pain has other sources. Ulnar neuritis and flexor-pronator strain sit in the same square inch of tissue. Screens such as hand nerve tests and the pinch grip test help you separate nerve from ligament before you commit to a diagnosis.
The honest answer is that accuracy figures for the classic milking maneuver are thin. Reviews find no consistent consensus across high-quality studies, so treat any single number carefully.
Those figures come from one 2026 study, not from a body of pooled evidence. Reference summaries of the test make the same point about the literature.
So the practical reading stays simple. Use the test to decide whether imaging is worth ordering, and pair it with at least one other valgus test.
Both tests load the same ligament, but from different angles. One holds the elbow still, the other moves it. Knowing which does what helps you pick the right one for the presentation in front of you.
Running both takes under a minute, and clinicians commonly do exactly that. Record which tests you ran and what each one showed.
A later reader cannot tell a negative test from an elbow nobody tested, and a clinical progress note keeps that detail consistent between visits.
Four setup errors account for most wrong answers. All four are quick to correct.
One more habit is worth building. Ask whether the pain you produced is the pain that brought them in. Unfamiliar pain is not a positive test, and writing “pain reproduced” without that check is how a soft finding turns into a firm diagnosis.
Record the position you used, the result, and what happens next. Those three lines are what a colleague, an insurer, or a lawyer will actually read. Digital intake forms make that easier, because the fields are already on the screen.

A finished entry can be two sentences. Right elbow, seated, shoulder externally rotated, forearm supinated, flexed to 115 degrees. Familiar medial joint line pain on thumb traction, no palpable opening, apprehension present, MRI requested, review in 10 days.
That level of detail is also what makes an entry defensible months later. Habits that keep notes safer to rely on apply here too, especially recording what you did not find.
Baseball pitchers, cricket bowlers, volleyball hitters, and swimmers load the medial elbow thousands of times a season. Catching laxity early can be the difference between a rest period and a reconstruction.
A throwing athlete’s exam rarely stops at one test. Neck and shoulder screens such as the arm squeeze test help separate referred pain from a local ligament problem.
Sideline use is realistic, since the test needs no table and no equipment. Practices running sports medicine software tend to log elbow findings visit by visit. A slow drift toward laxity then shows up before it becomes a rupture.
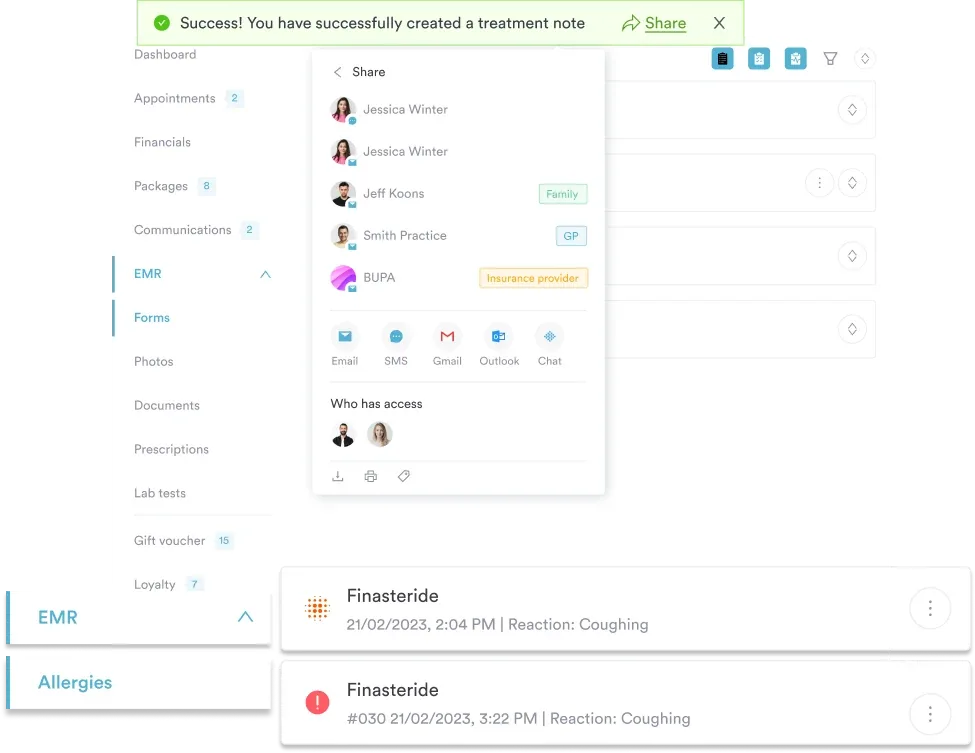
Follow-through is its own problem. Once the pain settles, patient compliance with imaging and review appointments tends to slip, and a positive test quietly goes nowhere.
Most practices still run this test on paper. The sheet goes into a folder, or it gets scanned days later, and the finding never reaches the note the next clinician opens.
Practice management software like Pabau, our all-in-one system for practices, handles it differently. You build the milking maneuver fields once as a digital form. The clinician completes it during the visit, and the assessment attaches to the patient record beside imaging, photos, and the treatment plan.
Sports medicine and physical therapy practices get two things from that. Anyone opening the chart can see which tests were run and what each showed. Automated reminders chase the imaging referral and the review appointment, so nothing depends on someone remembering.
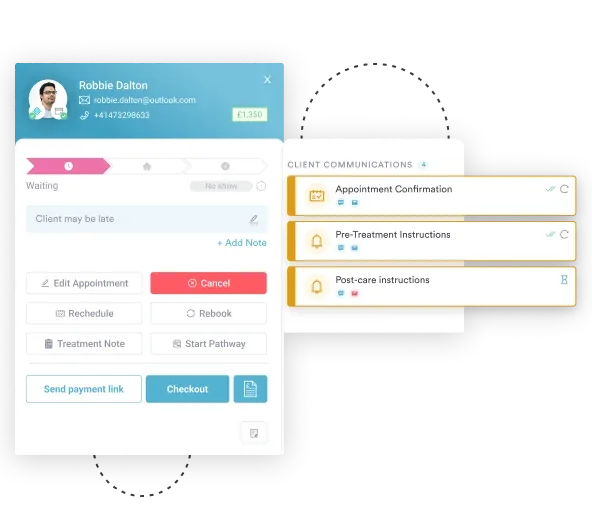

Pabau turns the milking maneuver assessment form into a digital form your team completes during the visit. The result, the imaging referral, and the follow-up all sit in one patient record.

The milking maneuver is quick, free, and easy to get wrong. Supinate the forearm, flex past 90 degrees, stabilize the shoulder, and compare sides. Those four habits matter far more than how hard you pull.
Treat a positive result as a reason to image rather than a diagnosis. The evidence base is thin, so the test earns its place inside a cluster. Your note also has to be clear enough for the next clinician to trust it.
Download the assessment form above to standardize how your team records it. Book a demo to see how Pabau keeps elbow assessments, imaging referrals, and follow-ups in one patient record.

Ruling out the neck before you blame the arm? Smooth pursuit neck torsion test shows how to separate cervical involvement from a local injury.
Need to measure hand function objectively? Dexterity test covers the scored options and what each one is good for.
Building a full assessment record from scratch? Comprehensive assessment template gives you a structure that covers history, examination, and plan.
Treating upper limb pain that is not traumatic? Hand exercises for rheumatoid arthritis sets out a program you can hand to patients.
It should reproduce the patient’s familiar medial elbow pain if the ligament is injured. The force involved is light, and you hold the position for two or three seconds. Tell the patient they can stop you at any point.
It can suggest one, but it cannot grade it. The test tells you the medial side is painful, loose, or both. Imaging is what separates a partial tear from a complete rupture.
S53.44- covers ulnar collateral ligament sprain of the elbow. Add laterality with S53.441 for the right elbow or S53.442 for the left, then a seventh character for the encounter.
Yes, for anyone with medial elbow pain after a fall, a dislocation, or heavy manual work. Valgus instability is less common outside throwing sports, so weigh the result against the mechanism of injury.
Not reliably. One hand has to stabilize the upper arm while the other pulls the thumb, and self-testing removes the relaxed, passive position the test depends on.