









Shoulder special tests: Technique, sensitivity, and interpretation
No shoulder special test is both sensitive and specific. The drop arm test rules...

Last Updated: August 31, 2026


The posterior sag sign, also called the gravity drawer test, detects PCL rupture at 90 degrees of knee flexion.
Sensitivity sits around 79% and specificity approaches 100%, so a positive result strongly indicates PCL injury.
Grades I to III are set by the size of the posterior tibial step-off, which decides whether imaging and referral follow.
Pair the sag sign with the posterior drawer test and the quadriceps active test to avoid missing a PCL tear.
Structured client records and digital forms in practice management software like Pabau keep special test findings consistent across a team.
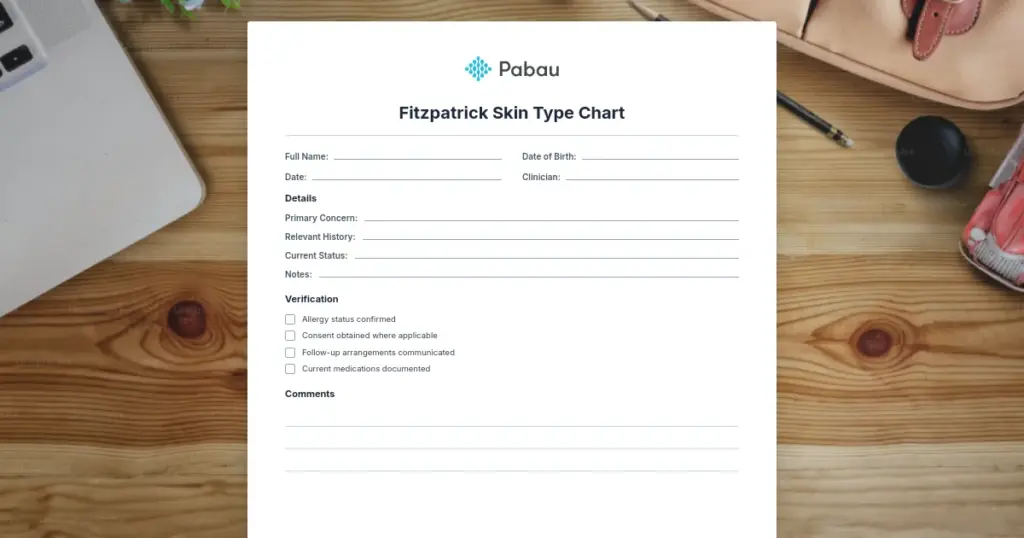
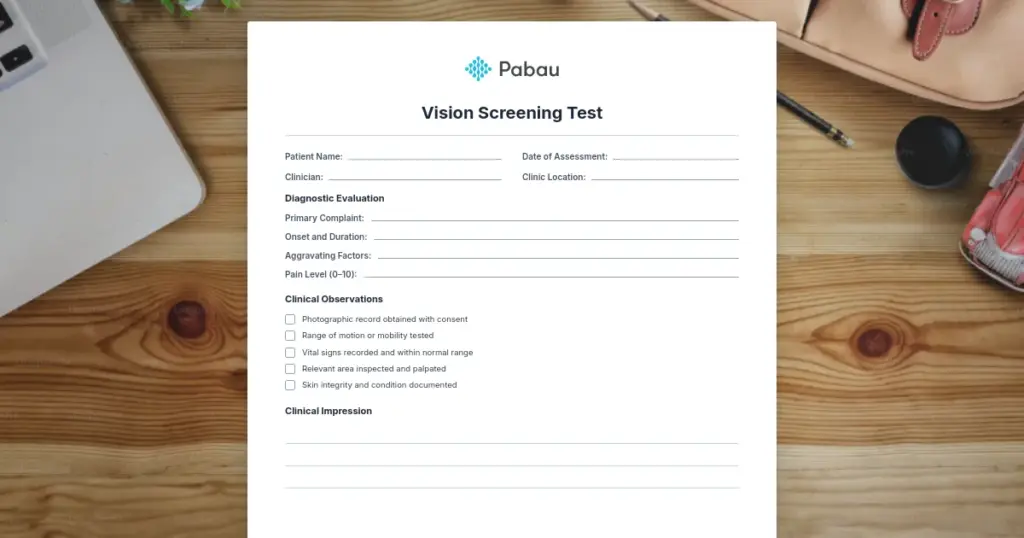
A clinical assessment form for recording posterior sag sign findings, with a positioning checklist and bilateral comparison fields. It also carries severity grading and a clinical notes section, so the finding lands in the record in a readable form.
Download templateThe posterior sag sign is one of the most reliable physical examination tests for detecting posterior cruciate ligament (PCL) rupture.
PCL injuries are commonly missed in acute knee trauma, because attention goes to the more familiar ACL. PCL tears make up roughly 3% of knee ligament injuries, and they stay under-diagnosed wherever the knee examination is not structured.
The test uses gravity instead of examiner force. An intact PCL holds the tibia in place. A torn one lets it sag backward on the femur under its own weight.
That mechanism is what makes the test quick to perform and hard to get wrong. This guide covers the technique, interpretation, grading, accuracy, the related tests, and how to document the finding in sports medicine practices.
The technique is simple, but small positioning errors cost you reliability. Follow this sequence exactly.
Bilateral comparison is not optional. Swelling, body habitus, or anatomical variation can hide the finding on a single knee. Compare the injured side against the other one before you record a result.
A positive posterior sag sign means the tibia has dropped backward relative to the femoral condyles under gravity alone. The PCL normally blocks that posterior translation, so the sag says the restraint is gone.
The finding strongly indicates PCL rupture, but it is not proof on its own. Acute muscle spasm or guarding can hold the tibia forward in a torn PCL, which produces a false negative. A very relaxed patient with joint hypermobility can show apparent sag without a structural tear.
Read the result alongside the mechanism of injury, the swelling pattern, and the pain distribution. Dashboard trauma, where the knee strikes the dashboard in a collision, is the classic history. Hyperextension and contact sport impacts are the others.
The sag sign has high specificity, so a positive result reliably rules PCL injury in. Sensitivity is only moderate, so a negative result does not rule it out. The figures cited across the diagnostic accuracy literature are below.
Treat sensitivity and specificity as population estimates, not certainties for the patient in front of you. MRI remains the reference standard for confirming a PCL injury, as set out in the American Academy of Orthopaedic Surgeons patient guidance.
Not every positive sag carries the same weight. The three-grade classification used in the PCL literature quantifies the laxity and points to the management step that follows.
The two thresholds that change management are 5 mm and 10 mm, and the range bars below show where each grade sits.
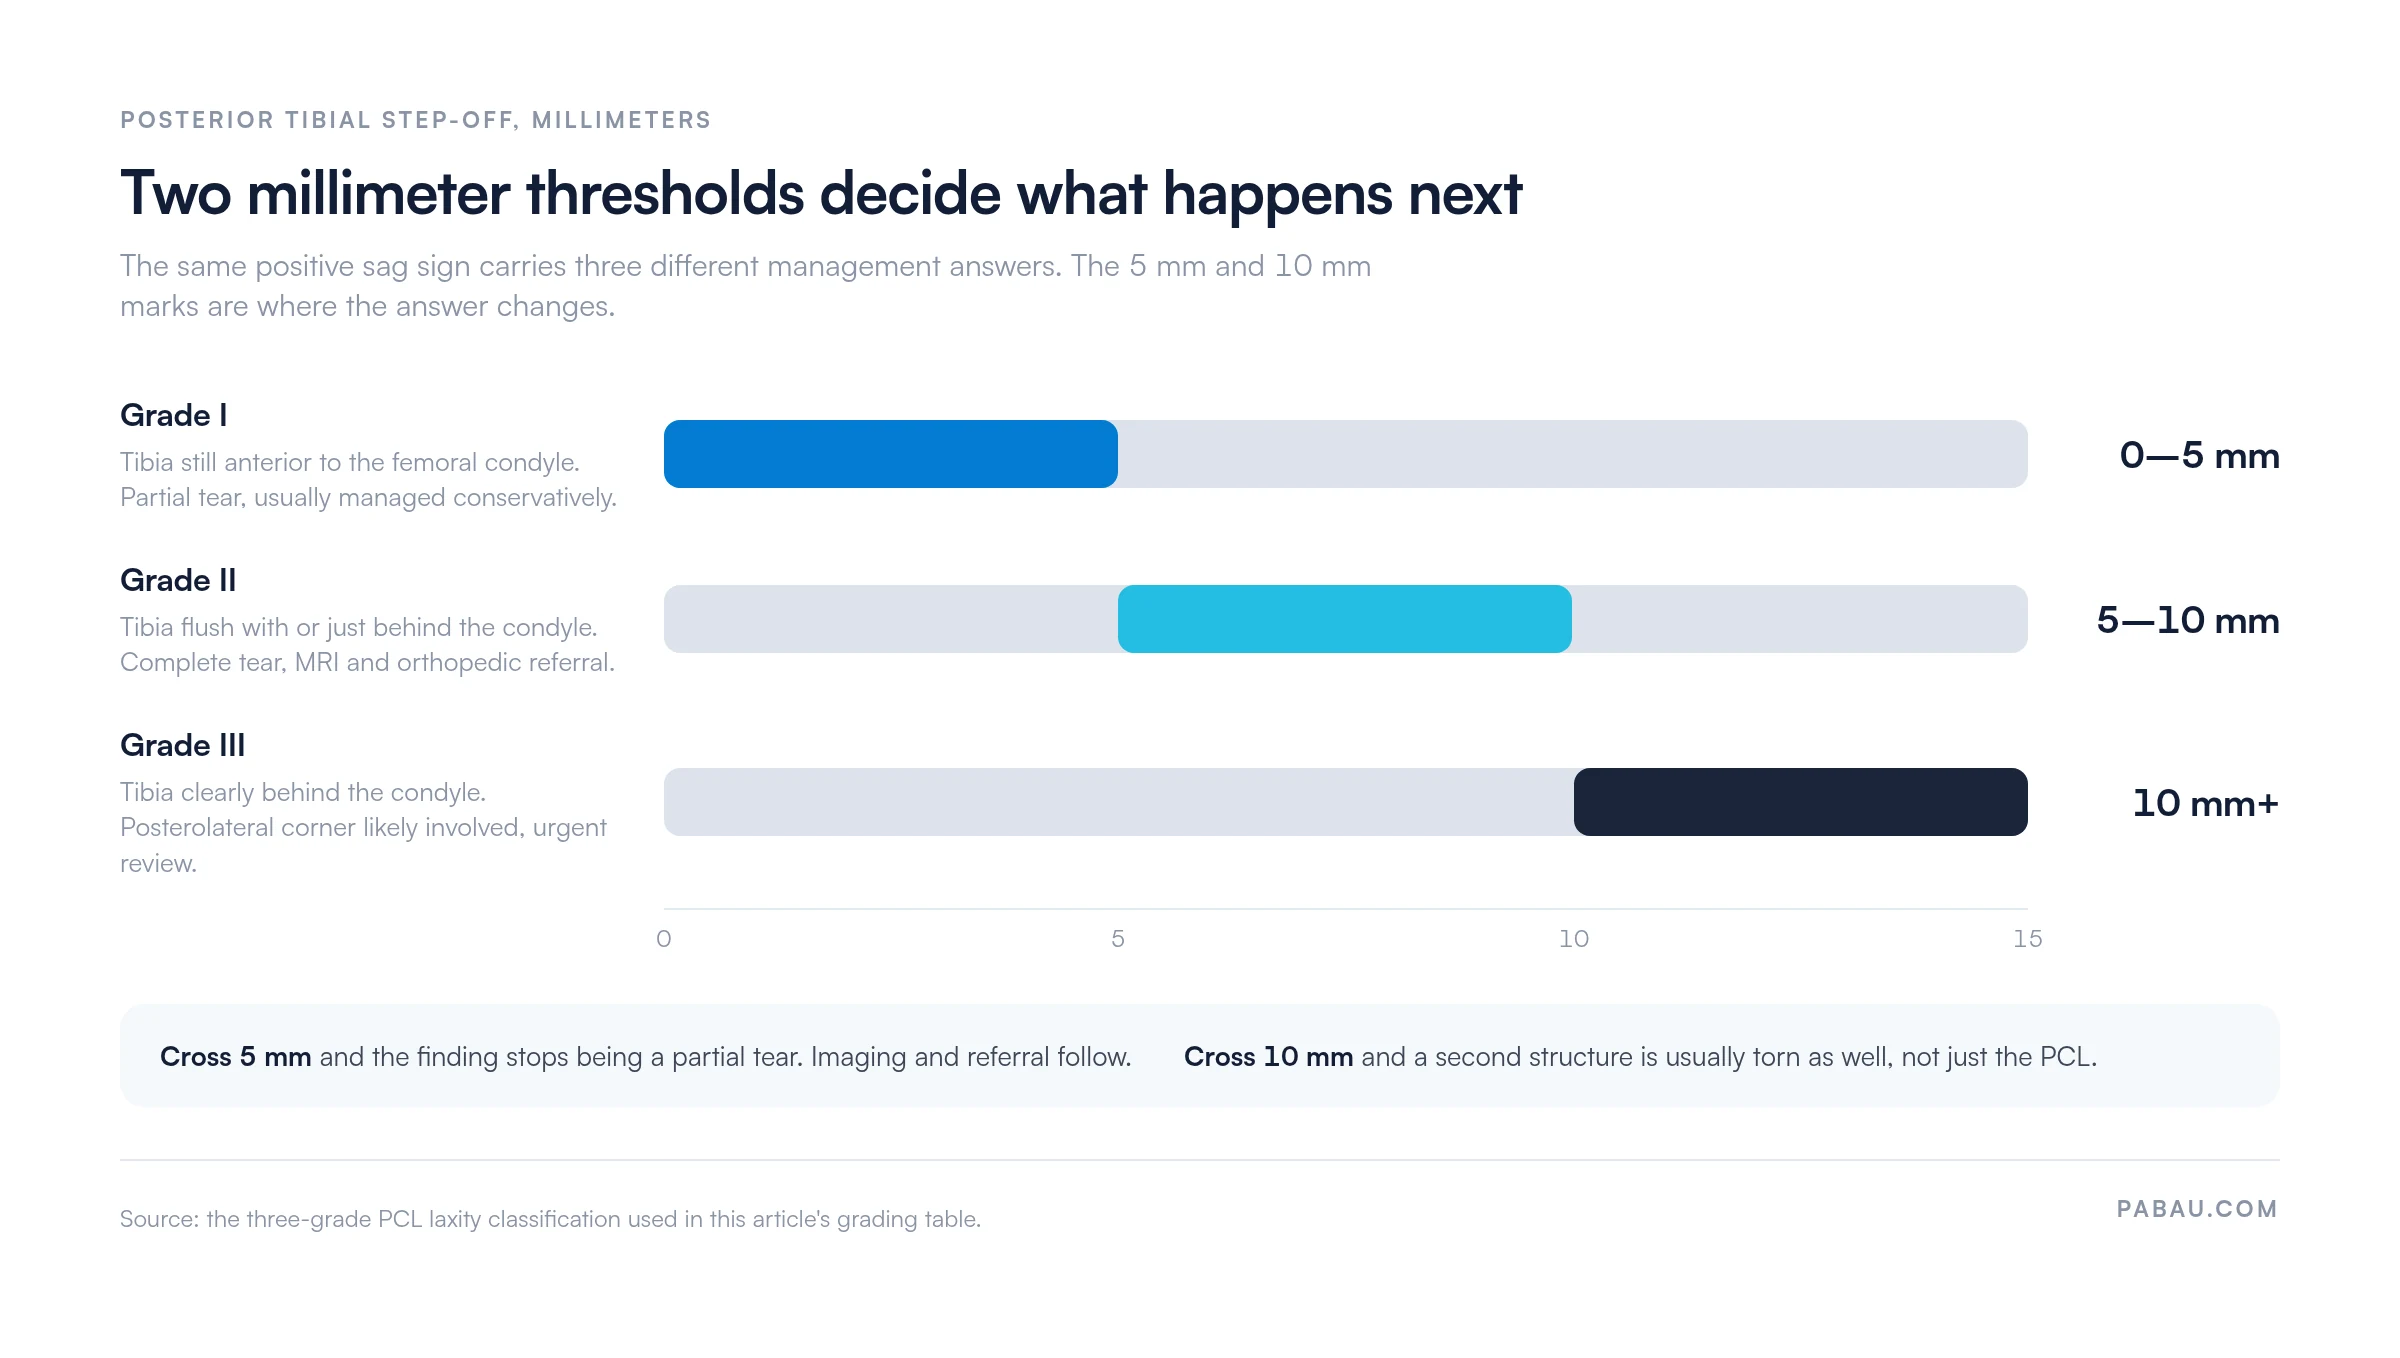
Grading systems for PCL laxity vary by source, so name the one you used in the notes. A treating specialist reading your record later needs that context to interpret the grade.
The sag sign is rarely used alone. It sits in a cluster of PCL-specific tests, each with different technical demands and different strengths. Knowing what each one adds is what makes the examination complete.
The sag sign and the posterior drawer test assess the same ligament by different routes. One is passive and gravity-driven, the other applies a force you control. Running both raises diagnostic confidence, and a positive sag with confirmed translation makes a strong case for rupture.
The quadriceps active test gives you a third data point, and it is the one to reach for when guarding flattens the sag. A patient who cannot relax the hamstrings will often still produce a readable quadriceps contraction.
Run the posterior sag sign before the posterior drawer test in every PCL examination. The sag sign needs no applied force, so examiner technique cannot invalidate it. A visible sag at rest is your highest-quality finding. Quantify the translation with the drawer test afterward.
High specificity does not make the sag sign sufficient on its own. Four limitations matter before you lean on it as your only examination tool.
Order an MRI when the sag sign is positive, or when the mechanism of injury was significant. Also image when the patient reports instability and the examination is equivocal.
Where a fracture is also in question, a validated radiography rule such as the Pittsburgh knee rules tells you whether plain films come first.
Documentation carries as much weight as the examination. A note that reads “knee exam performed, possible PCL” leaves a referring specialist with no basis to act. Clear wording also protects you if the diagnosis is questioned later.
A SOAP note that survives a second reader carries five elements.
Templated note fields make that wording repeatable across a team instead of leaving each clinician to phrase it alone. Software built for the setting, such as physiotherapy practice management software, lets you build the examination template once. The grade and the confirmatory tests then land as structured fields rather than free text.

In a multi-practitioner practice, one agreed standard for special tests removes the variation between clinicians. A platform organized around shared physical therapy records keeps note templates, scheduling, and recall in the same system.
Most practices record a sag sign in free-text notes. The grade lands in one clinician’s phrasing, and the confirmatory tests get mentioned or skipped. The follow-up then sits in someone’s head until the patient calls.
Practice management software like Pabau replaces that with a structured assessment template. You build the fields once: positioning, bilateral finding, grade, classification, and confirmatory tests. Every clinician then completes the same form.
Digital intake and consent forms go out before the appointment. The history is then in the record before the patient is on the table. Automated recalls chase the MRI follow-up, so a Grade II finding does not stall waiting for a phone call.


Pabau gives physical therapy and sports medicine practices structured clinical notes, digital intake forms, and automated recalls. Examination findings land in the client record, and the follow-up is chased for you.

The sag sign is worth 30 seconds of every acute knee examination, because a missed PCL is usually a PCL nobody looked for. Run it first, before you touch the knee, while the tibia is still where gravity left it.
The trade-off to remember is the false negative. Specificity near 100% means you can trust a positive. Moderate sensitivity means a quiet knee still needs the drawer and quadriceps active tests before you clear it.
Getting the examination right is half the work. The other half is a record a specialist can read in one pass, months later, without calling you. Book a demo to see how Pabau structures special test findings for a physical therapy team.

Assessing the posterolateral corner too? Posterolateral drawer test walks through the technique for the structure most often torn alongside a Grade III PCL injury.
Need to decide on plain films first? Pittsburgh knee rules sets out the validated criteria for ordering knee radiographs after acute trauma.
Tracking outcomes after a PCL injury? Knee outcome survey is a ready-to-use questionnaire for scoring function through rehabilitation.
Building a return-to-sport pathway? Return-to-running protocol for physical therapy sets out staged load progression after a lower-limb injury.
Setting up a musculoskeletal practice? Opening a physiotherapy clinic covers the compliance, staffing, and workflow decisions involved.
The posterior sag sign is used to diagnose posterior cruciate ligament (PCL) rupture. It detects posterior tibial displacement against the femoral condyles under gravity, with the knee held at 90 degrees of flexion. It does not diagnose ACL, MCL, or LCL injuries.
Position the patient supine, flex the hips to 45 degrees and the knees to 90 degrees, then let gravity act. Apply no force of your own. Observe the lateral profile of the proximal tibia against the femoral condyles, comparing both knees. A posterior drop of the tibia is a positive result.
A positive posterior sag sign strongly indicates PCL rupture. The tibia sags backward because the PCL no longer restrains it. Specificity approaches 100%, so a positive finding almost always represents genuine PCL pathology. MRI should still confirm the diagnosis before management decisions are made.
Published diagnostic accuracy studies report sensitivity of approximately 79% and specificity approaching 100% for PCL rupture. High specificity means a positive result reliably rules PCL injury in. Moderate sensitivity means a negative result does not rule it out, so pair the test with the posterior drawer and quadriceps active tests.
The posterior sag sign is passive and gravity-driven, with no external force applied. The posterior drawer test requires the examiner to push the proximal tibia backward. Both assess PCL integrity at 90 degrees of knee flexion. The sag sign suits initial screening, while the drawer test quantifies laxity and grades the injury.
Yes. The gravity drawer test is an alternative name for the posterior sag sign. Both names describe the same maneuver: holding the knee at 90 degrees of flexion and watching whether gravity pulls the tibia backward on the femur.