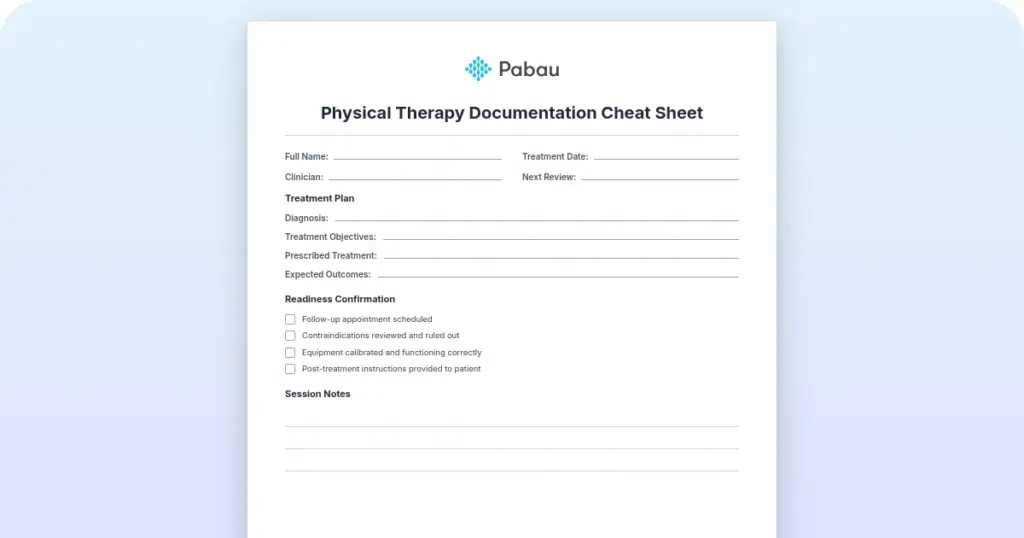
Scapular assistance test: Procedure, interpretation and free template
The scapular assistance test is a manual examination in which the clinician supp...

1
Last Updated: Oct 19, 2026

The posterolateral drawer test detects posterolateral rotatory instability by adding external tibial rotation to a posterior drawer force at 80 degrees of flexion.
A positive result is judged side to side, comparing the injured knee against the uninjured one rather than counting absolute millimeters.
One prospective MRI study found posterolateral corner damage in 16% of all knee ligament injuries, and isolated injury was rare.
Grading follows the modified Hughston classification, which sorts posterolateral subluxation into less than 5 mm, 5 to 10 mm, and more than 10 mm.
Practice management software like Pabau keeps knee examination findings in one client record, so grading stays consistent between clinicians and visits.
Some knees give way near full extension, ache along the lateral joint line, and thrust into varus during gait. That combination belongs to the posterolateral corner, or PLC, and a routine knee exam can walk straight past it.
LaPrade and colleagues screened acute knee injuries presenting with a hemarthrosis by MRI. They found posterolateral corner damage in 16% of all knee ligament injuries. Isolated PLC tears made up only 2.1% of cases, and 87% of injured corners sat alongside other torn ligaments.
The posterolateral drawer test is the maneuver that brings the pattern out. Get the flexion angle, the foot fixation, and the force vector right, and the instability declares itself.
The test loads the posterolateral corner by combining posterior tibial translation with external tibial rotation.
Neither force on its own stresses those structures the same way, which is why a plain posterior drawer can look normal on a knee with a torn corner.
Posterolateral rotatory instability, known as PLRI, behaves differently from straight posterior instability. When the corner fails, the lateral tibial plateau rotates backward and outward relative to the femur under load. Patients describe the knee giving way as it approaches extension, and you can often see a varus thrust in stance phase. Handing a patient an exercise program works better when the prescription and the review sit in one place.
You will also see the maneuver called the posterolateral rotatory drawer test. Both names describe the same thing. Keep it separate from the standard posterior drawer, which holds the tibia in neutral rotation and reads the PCL instead.
The PLC is a three-layer complex on the lateral side of the knee, and four structures do most of the stabilizing work:
Reviewing 71 surgically confirmed posterolateral injuries, LaPrade and Terry found the fibular collateral ligament torn in only 23% of knees. Most corners fail through the PFL and popliteus, and that is exactly the combination the drawer test picks up.
Before you lay hands on the knee, capture the mechanism of injury and where the symptoms sit. A musculoskeletal intake form gives you that history in a repeatable shape, which matters when a second clinician re-examines the same knee two weeks later.
Add it whenever the mechanism or the symptom pattern puts the lateral side of the knee in play. Sports medicine clinicians, physical therapists and osteopathy practices all meet these presentations regularly.
Treat nerve signs as a red flag rather than a footnote. The common peroneal nerve wraps the fibular neck, millimeters from the structures the corner is built from.
A JOSPT review puts neurologic screening alongside stability testing for this reason, and nerve involvement points toward a high-grade injury.
Positioning does most of the work here, and small deviations produce false negatives. Record the position, the force you applied, and what you felt while the patient is still on the table.
Digital clinical forms in practice management software like Pabau make that realistic. You are not reconstructing the exam from memory at the end of a long day.

Four things are worth confirming before you apply any force. Each one is a common reason a torn corner tests negative.
Published descriptions of the test rarely spell these out, yet they explain most of the negatives you should not trust:
A positive result means more posterolateral subluxation on the injured side than on the healthy one.
The lateral plateau drops backward and rotates outward, so palpate the plateau against the femoral condyle and watch the foot as external rotation increases. Consistent grading language in the note is what keeps that finding usable at the next appointment.
Grading follows the modified Hughston classification, which grew out of the original description of the test by Hughston and Norwood. It sorts the finding by how far the tibia subluxes compared with the other knee.
A Grade III finding earns a same-week MRI and an orthopedic opinion. Pair it with a dial test that is positive at both 30 and 90 degrees, and combined corner and PCL disruption becomes the working diagnosis. Structured client records let you carry the same grade forward to the surgeon rather than restating it from memory.
Chronic knees deserve extra caution. Hughston and Norwood noted that fibrous scar tissue can splint an old injury and conceal a drawer sign that would have been obvious acutely.
A negative test months after the event does not clear the corner, so weigh the gait pattern and the history alongside it.
Always document the uninjured knee first. Recording the healthy side establishes the patient’s own baseline. It also stops you anchoring on the injured knee before you have anything to compare it with.
There is no large diagnostic accuracy study behind this test, and the reason is simple. Isolated corner injuries are uncommon, so the sample sizes that produced clean numbers for the Lachman test have never existed here. What the literature supports is the test’s place inside a battery.
That battery logic is not unique to the knee. A provocation test such as the Morley test for thoracic outlet syndrome carries the same caveat.
One positive sign narrows the differential without closing it. Read the drawer test as one input, then let the dial and varus stress tests tell you how far the instability runs.
A full corner assessment uses four tests, and each one loads the structures from a different mechanical angle.
Running them as a fixed sequence also makes the record easier to compare across clinicians, which is where standardized assessment protocols earn their keep.
These two get confused constantly, because the setup looks almost identical from the end of the table. They assess different structures and different instability patterns, and mixing them up sends the diagnosis the wrong way:
Treat a Grade II or III finding as the start of a multi-ligament work-up rather than a diagnosis on its own. The incidence data says the same thing: most injured corners come with company.
MRI remains the imaging standard for corner injuries. Clinical tests set the urgency and the provisional grade, then imaging confirms which structures failed. Clinical decision rules are a useful mental model here, because they show how a bedside finding should change what you order rather than replace it.
The paperwork follows the same logic. A Grade I or II corner usually goes into a hinged brace while the tissue settles. A prefabricated orthosis with varus and rotation control is billed under L1843. Keep the provisional grade and the confirmed diagnosis both visible in the record, so the billing story matches the clinical one.
Once a knee goes to surgery, the operative note becomes the reference for everything that follows. Read the graft and repair detail before you build the program, then sequence loading through a return-to-running protocol. Where the peroneal nerve is involved, the phased structure used for brachial neuritis exercises transfers well.
Biologics sometimes enter the conversation too. Where a regenerative medicine service is weighing a BMAC injection for associated chondral damage, the imaging findings still set the direction.
The examination is only half the job. A corner injury is usually reassessed several times, often by different clinicians, and the grade only means something if everyone measured it the same way.
In most practices that consistency lives in someone’s handwriting, or in a form that never makes it into the client file.
Pabau puts the whole record in one place instead. You build the corner battery once as a digital form, with fields for flexion angle, side-to-side difference and grade.
Every clinician then completes those same fields at the table. The finding lands in the client record beside the appointment, the photos and the referral letter.
That fixes the small things that cost you time. You can compare week one against week four without hunting for paper, and a surgeon gets a clean history in a couple of clicks. Patient education stays attached to the same file, so nobody rewrites the same handout twice.

Pabau brings digital clinical forms, structured notes, scheduling and patient recall into one platform. An examination finding stays with the client record it belongs to. Your team grades the same way, and follow-up visits start from what you already know.

The posterolateral drawer test rewards discipline more than strength. Four details decide the result: the hip and knee angles, a fixed foot, a combined force vector, and a comparison with the other knee. Get those right and the instability shows itself, where a routine exam would leave it buried.
Hold onto the trade-off, though. A negative test is weak evidence, especially in a chronic knee where scarring masks the sign. Never use it on its own to clear the corner. A positive test carries far more weight, and it should move you toward imaging and a surgical opinion quickly.
Add the record-keeping to that and the whole picture holds up over months of rehabilitation. Book a demo to see how Pabau keeps knee examination findings, referrals and rehabilitation notes in one client record.

Need another rotation-based special test? Morley test walks through the procedure, the positive signs and how to read them.
Need to grade facial nerve function? House-Brackmann scale guide explains grades I through VI and the errors that can shift a grade at the bedside.
Need a consistent way to test the lumbar spine? Kemp’s test guide covers patient positioning, movement findings, and symptom pattern for a SOAP-ready lumbar interpretation.
Need a screening test for infant hip dysplasia? Klisic Test template covers positioning, landmark identification, and the referral pathway for neonatal hip screening.
No. The reverse pivot shift is dynamic: you extend a flexed, externally rotated knee and feel the lateral plateau reduce. The posterolateral drawer is a static translation test at 80 degrees. An abnormal reverse pivot shift has been linked to fibular collateral ligament and popliteus injury, so the two findings often appear together.
Often not reliably. A tense hemarthrosis and guarded hamstrings limit both flexion and translation, which makes a false negative likely. Control the pain, wait a few days, then retest. Note the limitation at the time, so nobody later reads that negative result as a cleared corner.
Expect discomfort along the lateral joint line rather than sharp pain. Sharp fibular head pain, or symptoms radiating into the lateral calf, suggests peroneal nerve irritation, so stop and screen the nerve. Explain the maneuver first, because guarding is the most common reason a knee will not translate.
Grade I and II injuries often settle with six to twelve weeks of protected loading and progressive strengthening. Grade III injuries usually go to surgery, with return to sport commonly nine to twelve months out. Cruciate involvement shifts those timelines, so treat any figure as provisional until imaging is back.