Head to toe assessment cheat sheet: Printable nursing guide
A head to toe assessment cheat sheet gives you one fixed order at the bedside, s...

Last Updated: Oct 23, 2026
A physical assessment procedure is a systematic, hands-on clinical evaluation of a patient’s health. The practitioner uses observation, touch, sound, and percussion to gather objective data. It follows the patient history and runs in a fixed order, starting with vital signs and moving head to toe. Each region is examined with inspection, palpation, percussion, and auscultation (IPPA).
The one exception is the abdomen, where you listen before you touch. This guide walks through each technique and the head-to-toe sequence. It also gives you a bedside checklist and shows how to document findings so they hold up later.

A physical assessment procedure combines inspection, palpation, percussion, and auscultation to collect objective clinical findings.
For abdominal assessment, auscultation comes before percussion and palpation so manual pressure doesn’t alter bowel sounds.
Vital signs are measured before the head-to-toe sequence begins.
Normal and abnormal findings both belong in the Objective section of the SOAP note.
Structured digital forms in practice management software like Pabau keep every clinician recording the same data points.
A physical assessment procedure is the objective clinical examination a practitioner performs after taking a patient’s history. It uses four structured techniques to identify normal and abnormal findings across body systems. It’s performed at initial consultations, before invasive treatments, during annual health reviews, and whenever a patient reports new or worsening symptoms.
The procedure differs from a review of systems (ROS). The ROS collects what the patient reports (subjective). The physical assessment records what the clinician observes, feels, percusses, and hears (objective). Both feed the same clinical record, but they are gathered differently and documented in separate sections of the SOAP note.
Physical assessment is performed by physicians, nurse practitioners, registered nurses, physician assistants, and allied health professionals, including physical therapists and occupational therapists. Scope of practice varies by license and by state, so practitioners should confirm local requirements before conducting independent assessments.
Some findings never come up in conversation. A patient can’t tell you about an irregular heart rhythm, reduced breath sounds, or an enlarged liver they have never noticed. The examination is the only way those findings reach the record.
In practice, the procedure serves four distinct functions:
For independent practices, the medicolegal function carries the most weight. A care team can only share an assessment record if every clinician reads it the same way. Paper forms and unstructured free-text notes create audit risk when a finding can’t be reproduced or verified later.
Every physical assessment procedure uses four examination techniques, known collectively as IPPA: inspection, palpation, percussion, and auscultation. They are applied in that sequence for most body systems, with one clinically important exception covered below.
Inspection is the first step and requires no physical contact. The practitioner assesses general appearance, skin color and integrity, symmetry, posture, and visible signs of distress. Good lighting is essential. Standardized scoring criteria make findings consistent from one clinician to the next, which a narrative description rarely achieves.
Palpation starts with light touch (1–2 cm depth) to assess surface tenderness. Deep palpation (4–5 cm) then identifies organ borders, masses, and deep tenderness. On the abdomen, begin in the quadrant furthest from any reported pain so the patient doesn’t start guarding early.
Normal abdominal palpation findings include a soft, non-tender abdomen with no palpable organ enlargement. Tenderness, rigidity, or a palpable mass warrants further investigation.
For indirect percussion, press the middle finger of your non-dominant hand flat against the skin. Then strike its middle joint with the tip of your dominant middle finger. Resonant sounds indicate air-filled tissue (normal lung). Dullness indicates consolidation or fluid. Hyperresonance suggests emphysema or pneumothorax.
Percussion is particularly useful for estimating liver span, detecting ascites, and assessing lung fields.
Auscultation uses a stethoscope to assess heart, lung, and bowel sounds. The diaphragm picks up high-pitched sounds, such as normal heart sounds, breath sounds, and bowel sounds. The bell picks up low-pitched sounds, such as some heart murmurs and bruits.
Auscultation of the lungs should cover anterior, posterior, and lateral fields on both sides. Normal lung sounds are described as vesicular (soft, rustling). Adventitious sounds such as crackles, wheezes, or rhonchi point to pathology.
The head-to-toe physical assessment proceeds from general to specific, starting with vital signs and working systematically through body regions. This sequence cuts down how often the patient changes position and makes sure no system is skipped. The full procedure applies in primary care, urgent care, and inpatient settings.
In specialist consultations, such as dermatology, physical therapy, or musculoskeletal practices, the practitioner focuses on the relevant region. The IPPA sequence still applies within it.
Explain what the examination involves and how long it will take, then confirm the patient consents. Offer a chaperone where your practice policy calls for one. Wash your hands, warm the stethoscope, and make sure the room is private and well lit.
Begin before touching the patient. Note general appearance: level of consciousness, apparent age versus stated age, nutritional status, affect, and any obvious abnormalities. Vital signs come next and include blood pressure, heart rate, respiratory rate, oxygen saturation, and temperature.
According to Cleveland Clinic, normal adult blood pressure runs from 90/60 to 120/80 mmHg and heart rate from 60 to 100 bpm. It puts respiratory rate at 12 to 18 breaths per minute and temperature at 97.8°F to 99.1°F (36.5°C to 37.3°C).
Inspect the head and face for symmetry, facial droop, skin lesions, and signs of trauma. Assess the eyes for pupillary response (PERRLA: pupils equal, round, reactive to light and accommodation), conjunctival color, and extraocular movement. Check the ears for discharge and pinna integrity.
Inspect the nose and mouth for mucosal color, dentition, and the appearance of the pharynx. Palpate the neck for thyroid enlargement, tracheal deviation, and cervical lymphadenopathy. Normal lymph nodes are non-palpable or under 1 cm, non-tender, and mobile.
Inspect the chest for symmetry, use of accessory muscles, and chest wall deformities. Auscultate heart sounds at the four classic positions (aortic, pulmonic, tricuspid, mitral). Normal heart sounds are S1 (closure of the mitral and tricuspid valves) and S2 (closure of the aortic and pulmonic valves). Document any murmurs, rubs, or gallops.
For the lungs, percuss the posterior fields to identify dullness or hyperresonance, then auscultate both sides from apex to base. Finish with peripheral circulation. Inspect the extremities for edema and cyanosis, and check capillary refill time (normal under 2 seconds).
The abdomen is the one region where the IPPA sequence changes. The correct order is inspection, auscultation, percussion, palpation. Hands-on techniques move after auscultation because pressing on the abdomen can alter bowel motility and produce misleading bowel sounds. The sequence below shows exactly which step moves.
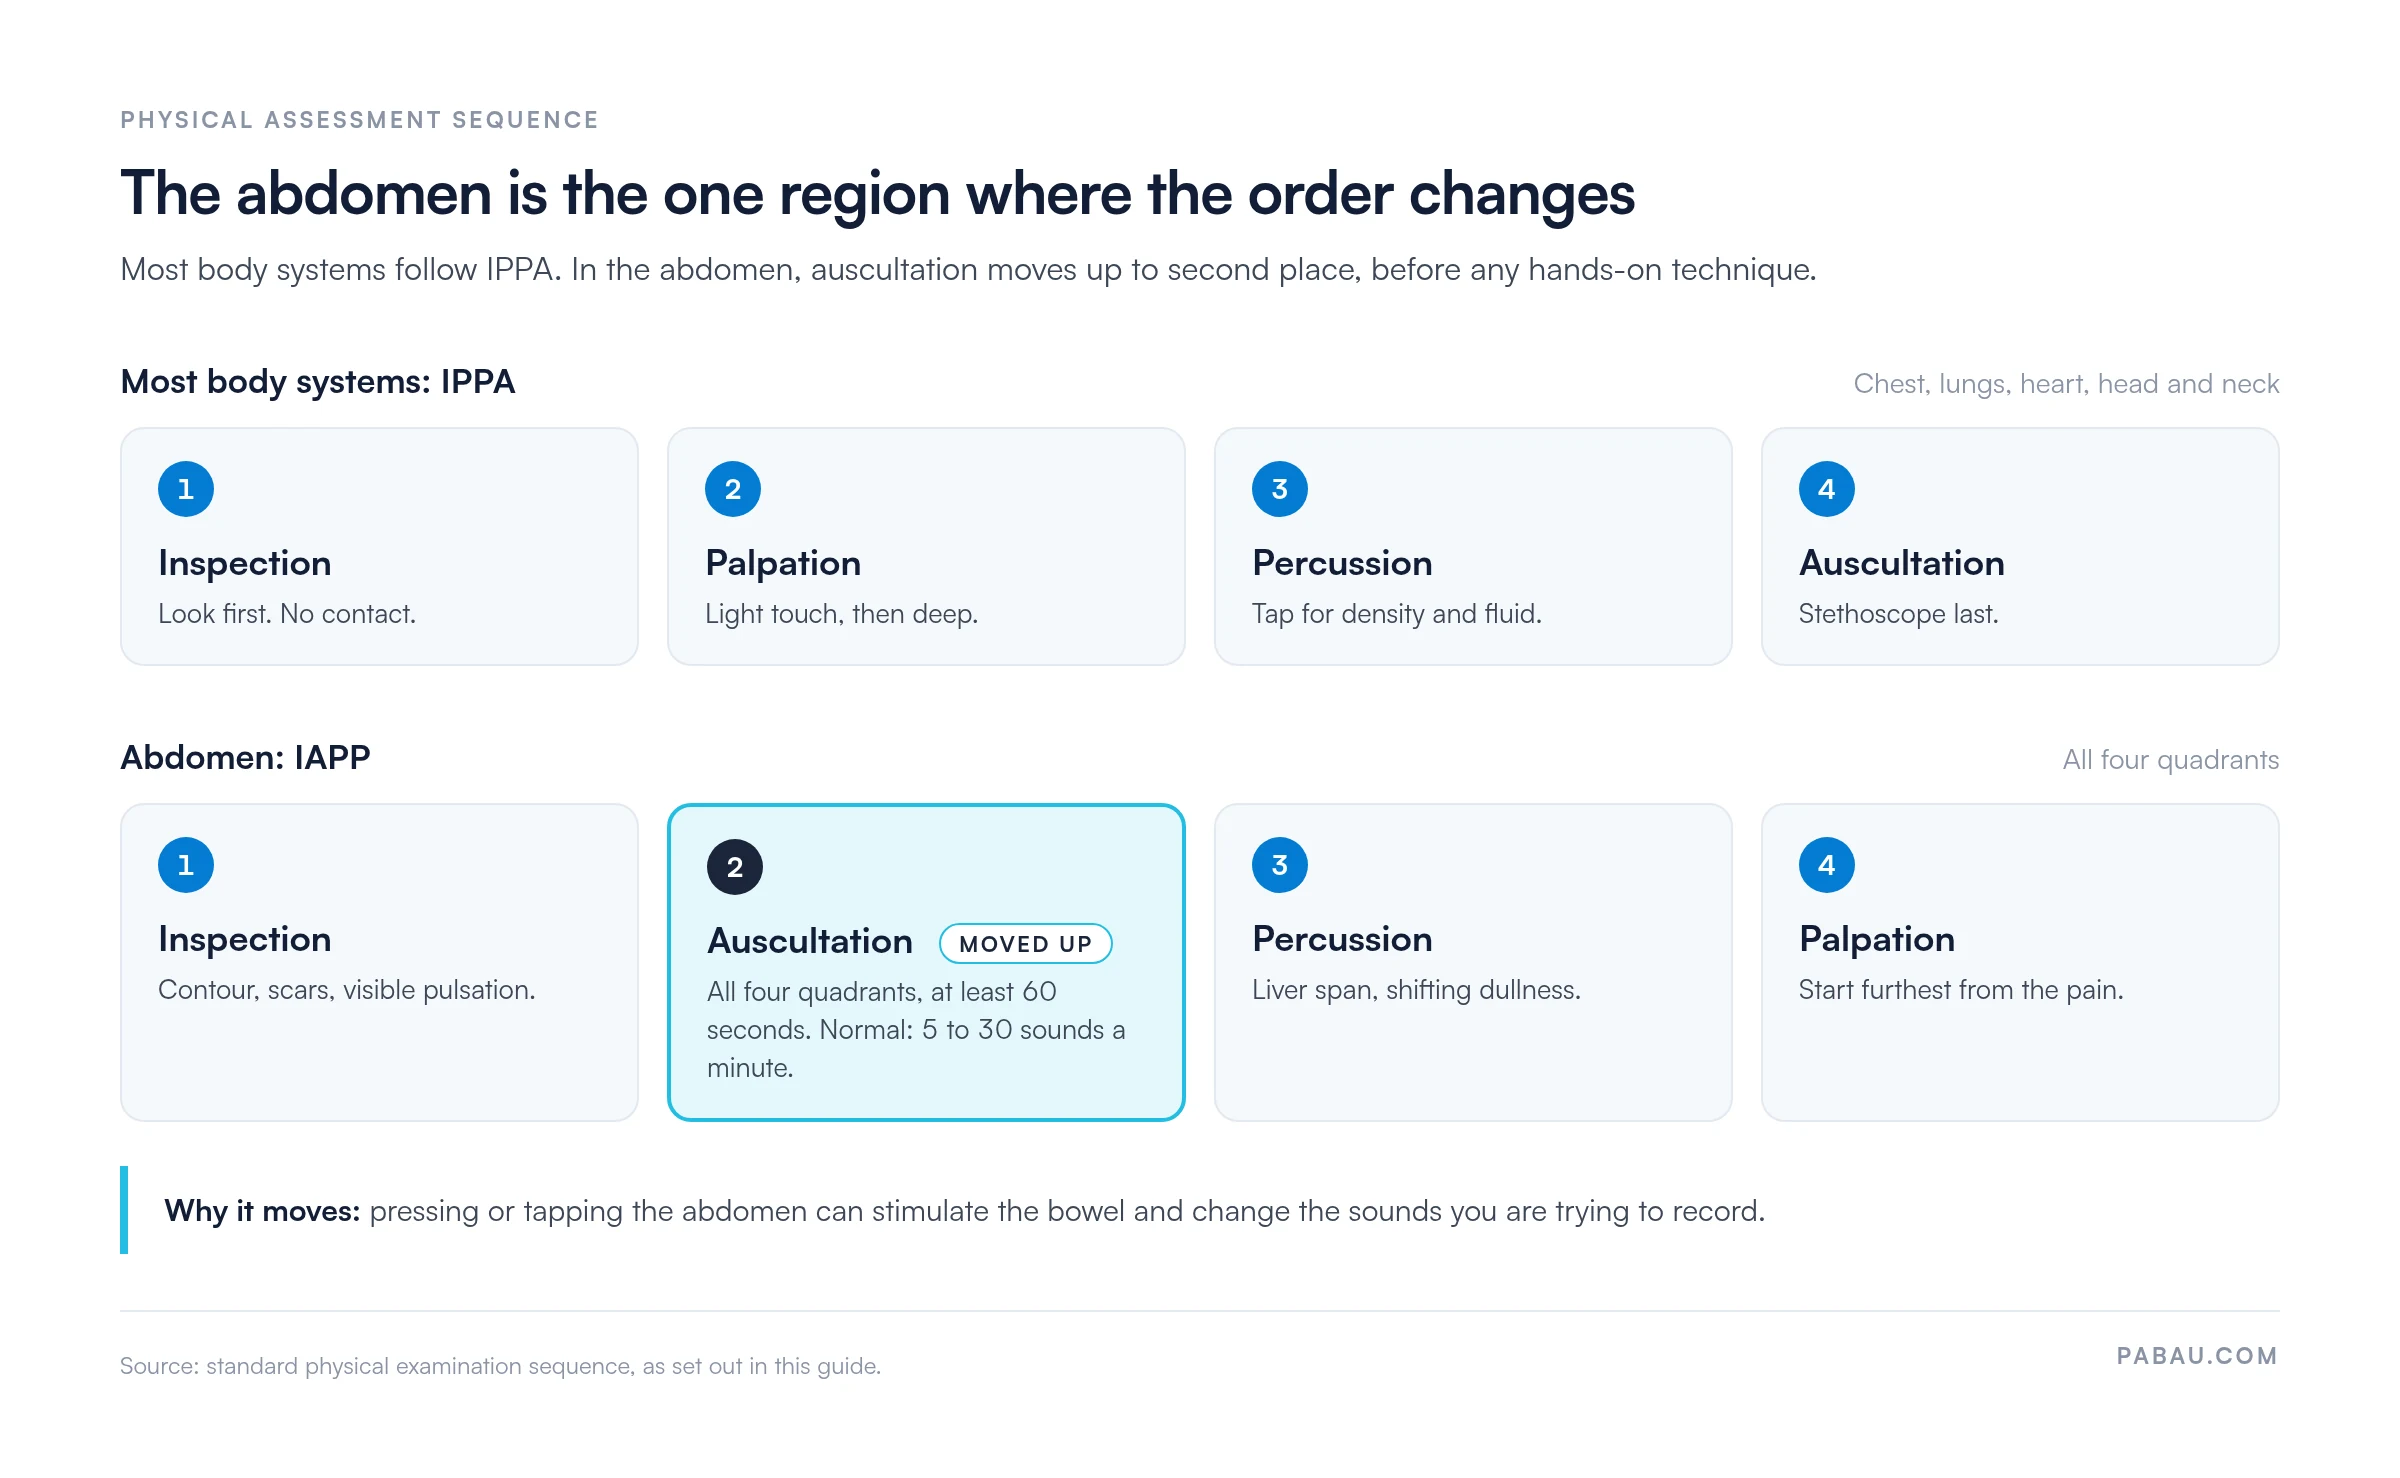
Listen in all four quadrants for at least 60 seconds before moving on. Normal bowel sounds occur 5 to 30 times per minute. Absent sounds after 5 minutes of listening suggest ileus. Hyperactive sounds suggest early obstruction or a diarrheal illness.
Percuss to assess liver span and detect ascites (shifting dullness), then proceed to light and deep palpation. Our gastrointestinal assessment guide for nurses covers each quadrant in more detail.
Assess joints for range of motion (active, then passive), swelling, crepitus, and tenderness. Test muscle strength using the Medical Research Council (MRC) scale, which rates from 0 (no contraction) to 5 (full strength against resistance).
A physical therapy SOAP template records those figures in the Objective section, so the next visit has a baseline to compare against.
Screen the nervous system with four checks:
Document any asymmetry, weakness, or sensory deficit by dermatome or specific nerve distribution.
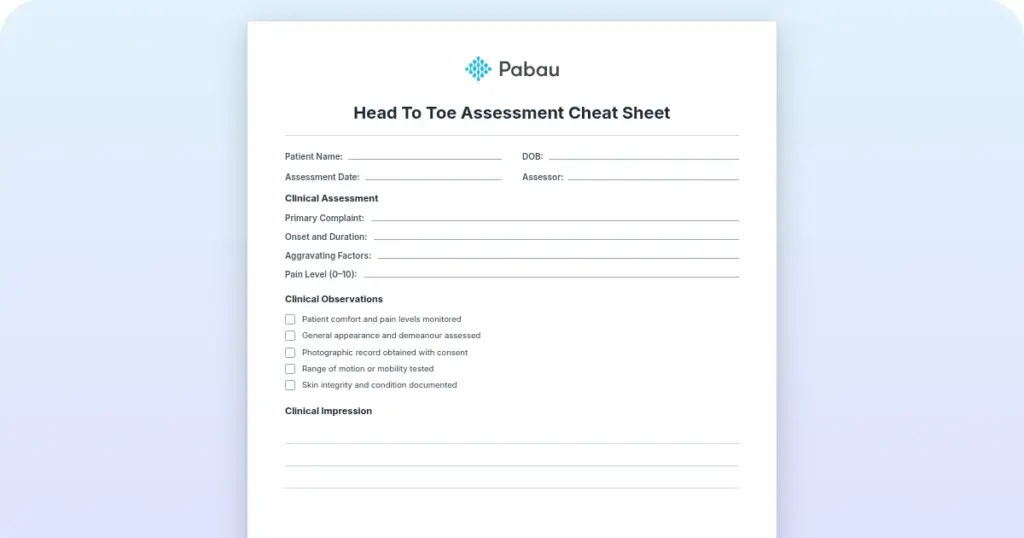
This checklist summarizes the major assessment areas and the key findings to document for each. Each row represents a minimum documentation standard for a complete physical assessment.
Turning this checklist into a structured digital form means every practitioner on the team records the same data points in the same order. When a colleague picks up the record, they can tell at a glance which systems were examined.
Record findings during the physical assessment procedure, not after the patient has left. Keeping a structured template open while you examine means each finding is written down while it is still in front of you.
The review of systems is subjective and the physical examination is objective. The ROS captures what the patient reports about symptoms across body systems. The physical examination captures what the clinician directly observes, palpates, percusses, and auscultates.
A patient may report no cardiovascular symptoms on ROS but present with an irregular pulse on auscultation. Equally, a patient may report severe abdominal pain on ROS but show no tenderness on palpation. Both scenarios require the clinician to document the discrepancy and investigate further. Neither source of information overrides the other.
If you want the subjective half standardized too, a 12-point review of systems template gives every patient the same questions before the examination starts.
Thorough documentation turns a physical assessment procedure into a defensible clinical record. The SOAP format (Subjective, Objective, Assessment, Plan) is the standard structure across primary care, nursing, and allied health. Physical examination findings belong in the Objective section, apart from the subjective history and ROS.
Start that Objective section with the general appearance entry, since it frames the findings documented after it.
Effective documentation follows three principles:
Seeing how others phrase an Objective section helps more than a list of rules. These SOAP notes examples show how raw findings become a complete, auditable entry.
The exam is one part of the encounter record. Writing a chart note sets those findings alongside the complaint, history, assessment, and plan for the same visit.
Many practices still record the examination on a paper form or in a free-text note. Findings then vary by clinician, and comparing this visit with the last one means digging through files.
Practice management software like Pabau lets you rebuild the checklist above as digital clinical forms. Each section maps to a body system, so a practitioner completes every field before closing the record.

Completed forms are saved to Pabau’s structured patient records, alongside treatment plans, consent forms, and follow-up notes. At the next assessment, the previous findings are already on screen, so you can spot a change without searching paper files.
Pabau Scribe, our AI scribe, can also transcribe spoken findings during the consultation and draft them into your note for review. That means less typing after the patient leaves.
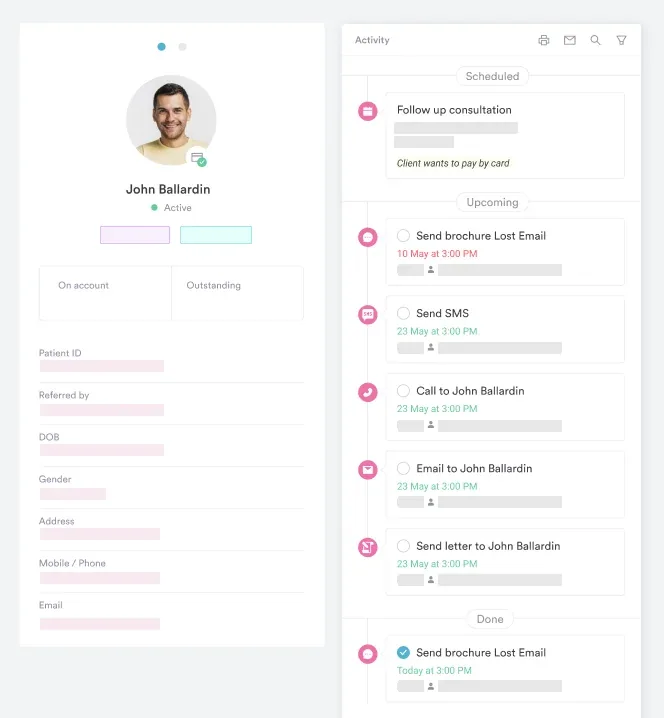

Pabau’s digital forms and structured patient records help practitioners capture physical assessment findings consistently and compare them visit to visit. See the workflow in a live demo.

The examination technique is the part most clinicians already know. Where assessments usually fall down is consistency. One clinician skips the neuro screen, another writes “no abnormality detected” without detail, and the next visit has nothing to compare against.
So standardize the record before you polish the technique. Pick one checklist, turn it into a form, and ask every practitioner to record normal findings as carefully as abnormal ones. The trade-off is a few extra minutes per patient, and in return every assessment builds on the one before it.
Book a demo to see how Pabau turns your assessment checklist into a form every clinician completes the same way.

Documenting as a nurse? Nursing documentation explains what belongs in the nursing record and why it matters for patient care.
Comparing tools for your notes? Best clinical notes software compares seven options for writing and storing structured clinical notes.
Assessing a specific body system? Endocrine system assessment shows how a focused, single-system examination is structured and documented.
A physical assessment procedure is a systematic, clinician-led examination of the major body systems. It uses inspection, palpation, percussion, and auscultation to collect objective data about a patient’s health. It is performed after the patient history and review of systems, and its findings are documented in the Objective section of a SOAP note.
The four techniques are inspection (visual observation), palpation (touch), percussion (tapping to produce sound), and auscultation (listening with a stethoscope). They are applied in that sequence for most body systems, abbreviated as IPPA. For abdominal assessment, the order changes to IAPP: inspection, auscultation, percussion, palpation.
The review of systems collects subjective, patient-reported symptoms across body systems before the examination. The physical examination collects objective, clinician-observed findings using IPPA techniques. Both belong in the same clinical encounter but are documented separately. The ROS goes in the Subjective section and physical findings go in the Objective section of the SOAP note.
Physical assessment identifies findings that patients cannot self-report, establishes a documented baseline for future comparisons, uncovers contraindications before treatment, and creates a timestamped medicolegal record. Structured assessment is particularly critical in independent practice settings where there is no secondary clinical reviewer to catch missed findings.
A standard physical assessment requires a stethoscope, sphygmomanometer (blood pressure cuff), pulse oximeter, thermometer, penlight, ophthalmoscope, otoscope, reflex hammer, and examination gloves. Specialist assessments may additionally require a peak flow meter, goniometer for range of motion, or dermatoscope for skin examination.