Nursing narrative note template
A nursing narrative note template is a structured PDF that guides you through re...

3
Last Updated: Oct 21, 2026

The patellar pubic percussion test screens for occult hip fractures by comparing how sound travels from each patella to the pubic symphysis.
A dull or absent sound on one side suggests a femoral neck or proximal femur fracture, so order imaging straight away.
Reported sensitivity runs from 75% to 96% and specificity from 70% to 90%, depending on the population studied.
A negative result never rules a fracture out, so keep imaging on the table when clinical suspicion stays high.
Practice management software like Pabau keeps the percussion finding, the imaging referral, and the follow-up note in one patient record.
A one-page bedside reference with patient positioning, percussion technique, and how to read the sound difference. It also carries the published accuracy figures and a short documentation checklist you can use when teaching.
Download templateAn occult hip fracture can hide behind a clean X-ray while the patient keeps limping. The patellar pubic percussion test gives you a second read at the bedside, using a stethoscope and a reflex hammer. Both sit in most exam rooms already.
This guide covers the technique step by step, how to read the sound difference, and what the published accuracy figures support. It also compares the test with the other hip fracture exams used in emergency departments and physical therapy practices.
The patellar pubic percussion test is a bedside assessment for stress fractures and occult fractures of the femoral neck and proximal femur.
The examiner rests a stethoscope over the pubic symphysis and taps one patella with a reflex hammer or a finger. Tapping the other patella gives the comparison. A dull or absent sound on one side points to a fracture interrupting bone conduction.
Intact bone carries vibration efficiently from the patella through the femur to the pelvis. A fracture line interrupts that path, so the sound arriving at the stethoscope loses volume and clarity. The asymmetry is what you are listening for, which is why both sides always get tested.
That makes the test useful wherever imaging is slow to arrive, including emergency departments, acute care units, and physical therapy or sports medicine practices.
Reach for it in these situations:
The test earns its keep where imaging is slow, queued, or already read as normal. A positive result still sends the patient for confirmatory imaging, whether that is MRI, CT, or repeat radiographs with specialized views.
The kit list is short, which is most of the appeal:
Follow the same sequence every time, so your results stay comparable between patients:
Consistency decides the result. Vary your percussion force or shift the stethoscope between sides and you have measured your own technique rather than the patient’s femur. Practice on unaffected volunteers first.
A positive test means the sound arriving from one patella is quieter than the other. That side is where you suspect the fracture.
A positive result always prompts imaging. The test screens and triages, while the diagnosis comes from a radiograph, CT, or MRI. Femur fractures are then coded from the S72 family, where the seventh character records the encounter and healing status, as in S72.302C.
The evidence base is thinner than the confident numbers suggest. A published case report describes using the test to diagnose a nondisplaced hip fracture after unremarkable radiographs. It cites the largest prospective series, a study of 290 patients by Tiru and colleagues, which reported 96% sensitivity and 86% specificity.
Those figures support the test as a screen rather than a diagnosis. High sensitivity and positive predictive value make it good at flagging fractures that need urgent imaging. The moderate negative predictive value is the catch, since a negative result can still hide a fracture.
Several bedside tests compete for the same 30 seconds of an examination. Knowing where each one is strong helps you pick the right one for the setting. In acute trauma the percussion test sits inside a wider sequence, alongside the primary trauma survey and the imaging it triggers.
The percussion test wins on speed and equipment. Read alongside the mechanism of injury and the patient’s risk profile, it is often enough to justify urgent imaging. The fulcrum test, common in sports medicine, is more sensitive than specific. No bedside test replaces a radiograph.
The test has failure modes worth knowing before you lean on it:
Record the percussion force, the stethoscope position, and what you heard on each side. The same clinical note habits that protect you elsewhere apply here, because an unrecorded equivocal result invites the next examiner to repeat the test blind.
Document the percussion force you used, described as light, moderate, or firm, plus where you placed the stethoscope. A future examiner can then repeat the test the same way and trust the comparison.
Right now the finding probably lives in a paper note or a free-text box. The imaging referral sits somewhere else, and the follow-up depends on someone remembering.
Practice management software like Pabau puts that sequence in one place. Build the test into a digital assessment form, so positioning, force, and the sound on each side land as structured fields. The result then writes straight into the patient’s clinical record.
From there, the referral, the imaging result, and the follow-up appointment attach to the same file. Anyone picking the patient up next can see what was heard, when, and what was done about it. Every Pabau subscription includes those features, so nothing here sits behind a higher tier.
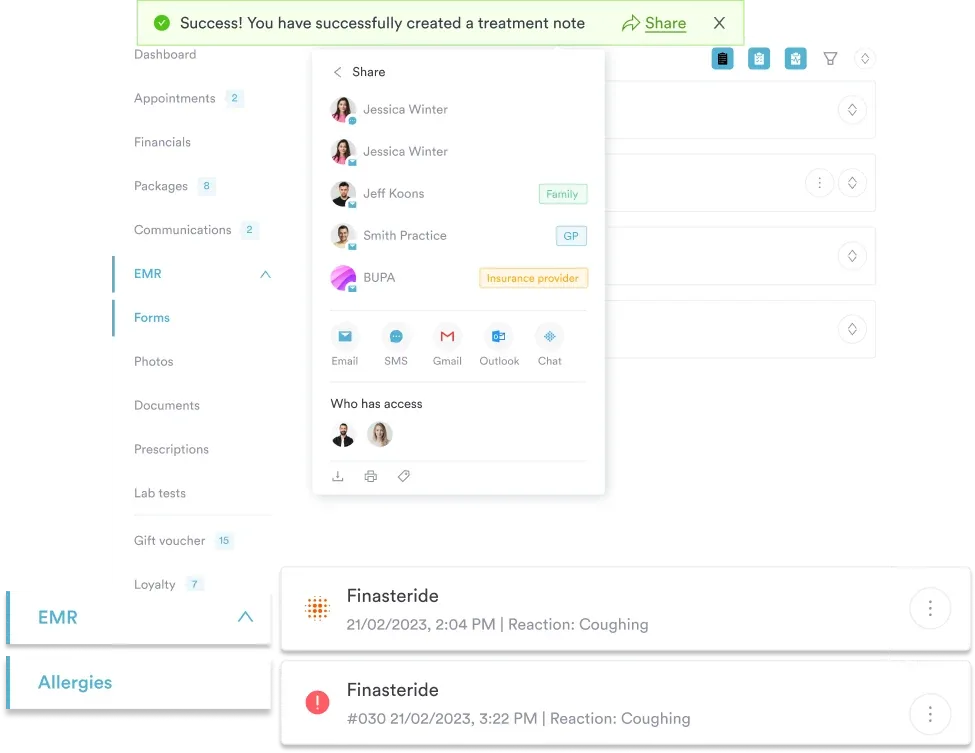

Pabau’s digital forms and client records capture percussion findings, imaging referrals, and follow-up notes in a single file. Your team stops hunting for what was heard last week.

Treat the percussion test as a triage decision rather than a diagnosis. A dull side moves the patient up the imaging queue, and on a busy shift that is the whole value.
The trade-off is the negative result. It is the least trustworthy thing the test produces, so equal sound with a suspicious history still needs a scan.
Standardize your technique, write down what you heard, and the test earns a place in your examination sequence. Book a demo to see how Pabau keeps assessment findings, referrals, and follow-ups in one patient record.

Building out your special-test library? Plantar fascia rupture test walks through another quick bedside screen with the same documentation demands.
Need the neurological half of the exam? Deep tendon reflex exam covers grading, technique, and what to record for each reflex.
Tracking how much the hip hurts? Numeric pain rating scale gives you a repeatable score to sit alongside the percussion finding.
Screening athletes before the season? Preparticipation physical evaluation form collects the history that flags stress fracture risk early.
Choosing an EMR for occupational therapy? Occupational therapy EMR software covers the documentation burden, compliance considerations, and features to weigh before choosing one.
It is a bedside assessment for occult hip fractures. You place a stethoscope over the pubic symphysis and tap each patella in turn. A dull or absent sound on one side suggests a fracture of the femoral neck or proximal femur.
Position the patient supine and hold the stethoscope diaphragm over the pubic symphysis. Tap each patella with a reflex hammer or a finger, using the same force on both sides. Equal, clear sound is negative. A duller or absent sound on one side is positive.
A dull or absent sound on the affected side suggests a stress fracture, an occult fracture, or other bone pathology. The likely site is the femoral neck or proximal femur. It is never diagnostic on its own, so confirm it with an X-ray, MRI, or CT.
Reported sensitivity runs from 75% to 96%, and specificity from 70% to 90%, with a positive predictive value of 80% to 92%. The figures make it a useful screen in high-risk patients. A negative result still does not rule fracture out.
No. It is a bedside screen, and definitive diagnosis of a hip fracture needs imaging. Refer for an X-ray, MRI, or CT whenever the test is positive or clinical suspicion stays high, whatever the first radiographs showed.
Use it for acute hip pain after trauma, for suspected femoral stress fractures in athletes, and when radiographs look normal but suspicion stays high. It also helps as a post-fall screen in older patients. Emergency and acute care settings get the most from it.