CRM for chiropractors: how to manage patients, bookings and marketing
A CRM for chiropractors is a patient relationship management system built around...

Last Updated: Oct 13, 2026

Abdominal exams follow a precise four-stage sequence: inspection, auscultation, percussion, and palpation. Deviating from this order alters your findings.
Strong abdominal exam documentation names what you checked and where, using the nine-region or four-quadrant framework so the next clinician can act on your notes.
Clinical signs like guarding, rebound tenderness, and Murphy’s sign need accurate recording and interpretation for sound clinical decisions.
Pabau’s digital forms capture structured abdominal assessment data, tie it to the patient record, and speed up SOAP note generation.
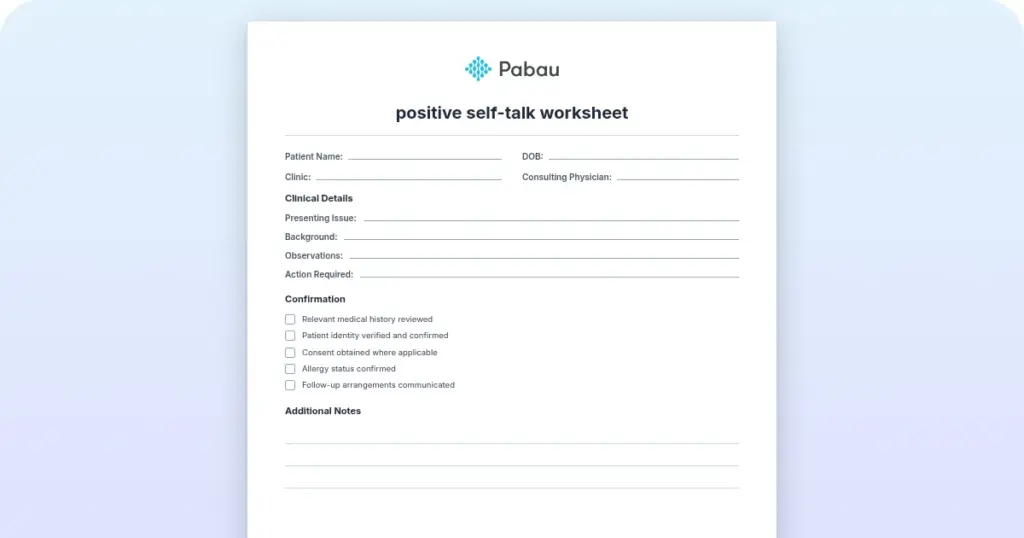
A structured assessment tool guiding clinicians through systematic abdominal examination, covering the four-stage sequence (inspection, auscultation, percussion, palpation), regional assessment, and copy-ready phrasing for recording findings in the patient record.
Download templateA structured abdominal exam is one of the cornerstones of clinical assessment across primary care, emergency medicine, and specialist practice. Performing it is well drilled in training. Writing it up so the next clinician can act on it is the harder part, and it’s where patient records most often fall short.
This template turns the four-stage exam into a structured record, with copy-ready phrasing for both normal and abnormal findings, mapped to the region where you found them. Below is how to document an abdominal exam in any clinical setting, with examples you can adapt, plus how digital forms cut the write-up time without cutting corners.
An abdominal exam documentation template is a structured clinical form that guides you through the four-stage examination sequence and standardizes how you record findings. It maps the abdomen into anatomical regions, prompts assessment of key clinical signs, and gives you consistent phrasing to describe what you found and what it means.
According to NIH StatPearls, the standard abdominal examination begins with patient positioning and visual inspection, progresses through auscultation (before percussion or palpation, to avoid altering bowel sounds), then percussion, and finally palpation. A structured form keeps you in that order and prompts you to document each stage as you go.
Regulatory documentation standards require clear, contemporaneous records. A template supports this by creating an audit trail of what was examined, what was found, and what clinical decision followed.
Effective documentation follows five operational steps, in the order the examination itself demands:
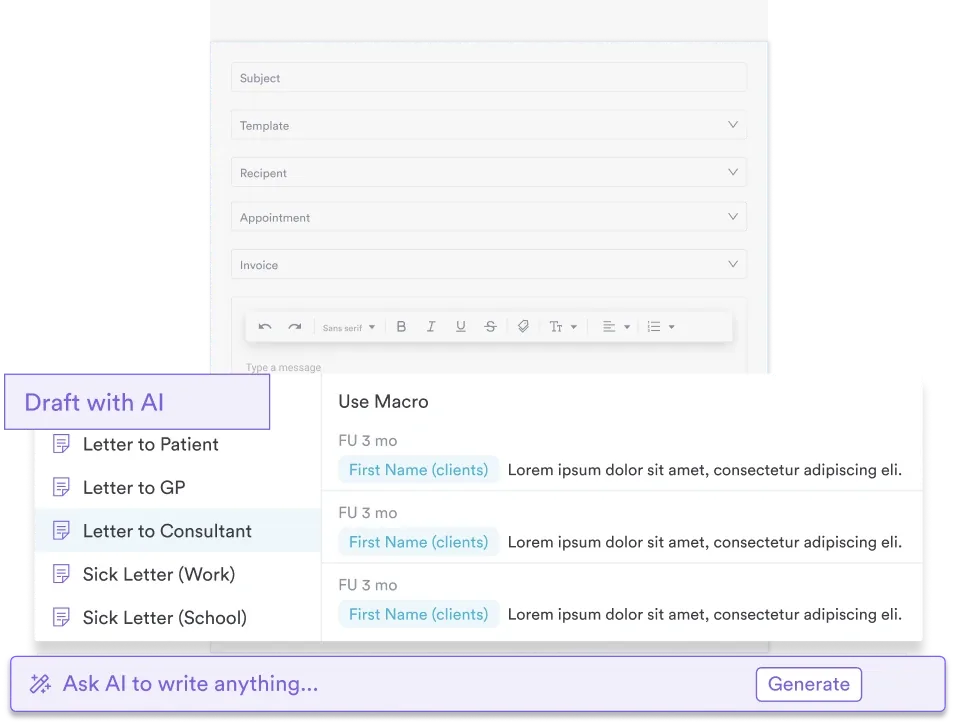
After completing all four stages, synthesize the findings into a clinical impression and link them to the patient’s presenting complaint. Practice management software like Pabau pairs its digital forms with Pabau Scribe, our AI scribe, to turn raw examination findings into structured SOAP notes, so you spend less time writing up and more time with the patient.
Abdominal exam documentation templates are used across multiple healthcare settings:
Any practitioner involved in clinical record-keeping benefits from a template that standardizes language and keeps data capture consistent across team members.
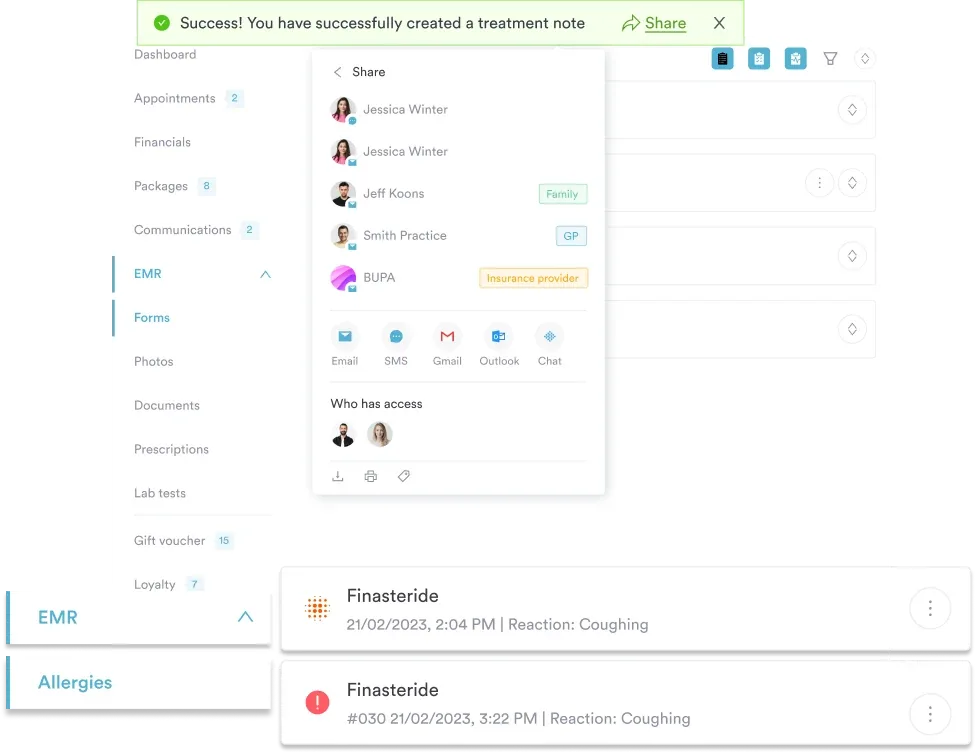
A good patient management system files each completed scale under the right patient automatically.
Strong abdominal exam documentation pairs anatomical precision with clinical clarity. Three habits separate a defensible record from a vague one:
Here is what precise phrasing looks like in the note itself. A normal abdominal exam documentation example reads: “Abdomen soft, non-distended, normoactive bowel sounds in all four quadrants, no guarding or rebound tenderness on palpation, no palpable masses, liver edge palpable 2 cm below the right costal margin, no organomegaly.” An abnormal write-up names the region and the sign: “Marked tenderness in the right iliac region with involuntary guarding and a positive Rovsing’s sign, bowel sounds present, no hepatosplenomegaly. Findings raise concern for appendicitis, referred for urgent surgical review.”
Using digital forms with structured fields enforces these standards automatically, reducing variance between clinicians and supporting audit compliance.


Customizable abdominal assessment forms, automated SOAP note generation, and integrated team workflows, so your team spends less time on paperwork and more time on patient care.

Interpreting abdominal exam findings means linking each physical sign to clinical context. A few patterns every template should prompt you to check:
A structured template prompts assessment of all these findings, so critical tests and red-flag signs are far less likely to be overlooked. Pediatric cases add one more check. Read abdominal findings alongside vitals, and use a pediatric blood pressure chart for percentile cutoffs by age, sex, and height.
Abdominal exams remain a fundamental diagnostic tool despite modern imaging. A structured template keeps you in the correct examination sequence, documents findings systematically, and captures critical clinical signs without omission. Whether you are a physician running routine assessments, a physical therapist screening for red flags, or a specialist performing a detailed evaluation, consistent documentation protects your patients, supports your team, and meets regulatory documentation standards.
Download the free template above and build it into your patient records workflow. For practices using digital patient management systems, customize the template fields to match your assessment protocols and automate note generation for faster, safer clinical documentation.

Need the exam steps laid out fully? Abdominal physical exam template walks through inspection, auscultation, percussion, and palpation, with normal and abnormal findings.
Following up on abnormal kidney function? AKI nursing care plan covers KDIGO-aligned staging, fluid and electrolyte management, and medication safety.
Describe what you checked, not just that it was normal. A standard normal abdominal exam documentation example reads: “Abdomen soft, non-distended, normoactive bowel sounds, no guarding or rebound tenderness on palpation, no palpable masses, liver edge palpable 2 cm below the costal margin, no organomegaly.” Naming each element shows the exam was systematic.
Inspection, auscultation, percussion, palpation. Auscultation comes before percussion and palpation to avoid artificially stimulating bowel sounds. This sequence is confirmed by AMBOSS and Medscape.
Proper positioning (supine, knees bent, muscles relaxed) allows access to all abdominal regions and reduces voluntary guarding that can mask tenderness. A tense patient yields unreliable findings.
Guarding is tensing of the abdominal wall muscles. Voluntary guarding is the patient bracing against expected pain, while involuntary guarding (rigidity) happens on palpation and signals peritoneal irritation from inflammation, infection, or perforation. Involuntary rigidity is a red flag that warrants urgent evaluation.
Rebound tenderness (pain on sudden release of palpating pressure) suggests peritoneal irritation from inflammation, infection, or perforation. This is a red-flag finding requiring urgent evaluation and is a key sign documented in abdominal exams templates.
A serial abdominal exam is a repeat examination performed at set intervals to track how a patient’s abdomen changes over time, common when the diagnosis is unclear or pain is evolving. Recording each pass in the same structured format makes shifts in tenderness, guarding, or bowel sounds easy to compare.
A pediatric abdominal exam leans more on inspection and gentle palpation, often with the child on a parent’s lap and distraction used to reduce voluntary guarding. Findings are read against age-specific norms, so recording the child’s age and level of cooperation alongside the exam matters.
Both are valid. The nine-region approach (epigastric, right/left hypochondriac, umbilical, right/left lumbar, hypogastric, right/left iliac) offers more specificity for regional pathology. The four-quadrant approach is simpler and adequate for routine screening. Choose the framework that fits your practice workflow.
The six F’s are a memory aid for the common causes of a distended abdomen: fat, fluid (ascites), flatus (gas), feces, fetus (pregnancy), and a fulminant mass or tumor. When you record distension on inspection, note which cause the rest of the exam and history point to, since management differs sharply between, say, ascites and constipation.
Yes. Digital templates enforce standardized language, reduce missing data, and integrate findings directly into SOAP notes and patient records, improving both clinical safety and compliance.