








Key takeaways
Microblading aftercare runs on a structured 7-14 day schedule of dos and don’ts that protects the pigment and prevents infection.
The ghost brow phase on days 8-14 is normal, and color returns as the deeper skin layers settle over 4-6 weeks.
Oily skin usually heals better with minimal ointment, while dry or sensitive skin does better with thin layers of hydration.
Hand every client the same written sheet, then reinforce it with reminders on days 1, 4, 7, and 10.
Practice management software like Pabau lets you brand the template, send it automatically, and log that each client received it.
Download your free microblading aftercare instructions
This printable sheet walks clients through the full 7-14 day healing timeline, with daily blotting and ointment steps, dos and don’ts, and warning signs. Add your branding and hand it over at checkout.
Download templateMicroblading aftercare is the set of rules a client follows for the first 7 to 14 days. Those two weeks decide how crisp the brows look at the six-week mark. Give those rules verbally and most clients forget half of them before they get home.
This page gives you a free, printable aftercare sheet you can brand and hand to every client. It covers immediate post-procedure care, the daily routine through peeling, and the ghost brow phase that sends clients into a panic around day 10.
Below the download you’ll find how to use the sheet with clients and the message cadence that keeps them on track. There’s also a healing timeline your front desk can quote back over the phone.
What is microblading aftercare?
Microblading aftercare is the set of instructions a client follows after the procedure to protect fresh pigment and prevent infection. Healing happens in two stages. The surface heals over 7 to 10 days, and the deeper dermal layer settles over 4 to 6 weeks.
During the first 14 days the body is actively working against the pigment. Lymph fluid weeps, scabs form, skin peels, and the color looks far darker than the finished result. Without written instructions, that stretch is where clients make mistakes:
- Picking at scabs and pulling the strokes out with them
- Over-washing or using the wrong product, which fades the pigment early
- Heavy sweating or sun exposure that changes how the pigment settles
- Infection from rubbing instead of blotting, or from non-sterile ointment
- A patchy result and a rework session you end up absorbing
A branded sheet with your contact details sets expectations on day one and cuts the anxiety-driven mistakes. It also documents that you gave clear, professional guidance.
In the UK, microblading sits outside Care Quality Commission registration. Studios are licensed by their local council under Part VIII of the Local Government Act 1982. In the US, artists answer to their state cosmetology or body-art board.
How to use the template with clients
The sheet is built to go out the same day. Download it, add your name, logo, phone number, and out-of-hours contact, then print or email it at checkout.
- Download and personalize. Add your studio name, logo, and emergency number to the PDF. Practice management software like Pabau can pre-fill client details on digital intake forms and store the signed copy.
- Hand it over at checkout. Give the printed sheet at the desk, or email it before the client leaves. Reading it while the numbing is still wearing off makes the instructions stick.
- Talk through the four rules that matter. No water for 24 hours, no picking, no heavy sweating for a week, and thin ointment two or three times daily. Saying them out loud catches the client who never reads the sheet.
- Set up the reminder cadence. Upload the sheet to your client portal and schedule SMS and email reminders for days 1, 4, 7, and 10. A reminder that lands the day a client starts peeling beats a handout read once.
- File the acknowledgment. Keep a record that the client received and understood the instructions. If a complication turns into a complaint, that record is the first thing you will want.
A single follow-up text on day two does little on its own. Mapping the messages to the healing phases is what keeps clients calm and off the phone.
| When | What to send | Why it lands then |
|---|---|---|
| Day 1 | Blotting and ointment reminder | Lymph weeping is heaviest in the first 24 hours |
| Day 4 | Scabbing is normal, do not pick | Scabs form and the itching starts |
| Day 7 | Green light on gentle washing | Surface healing is mostly done |
| Day 10 | Ghost brow warning | Color looks faded and clients panic |
| Week 6 | Touch-up booking link | Final color has settled |
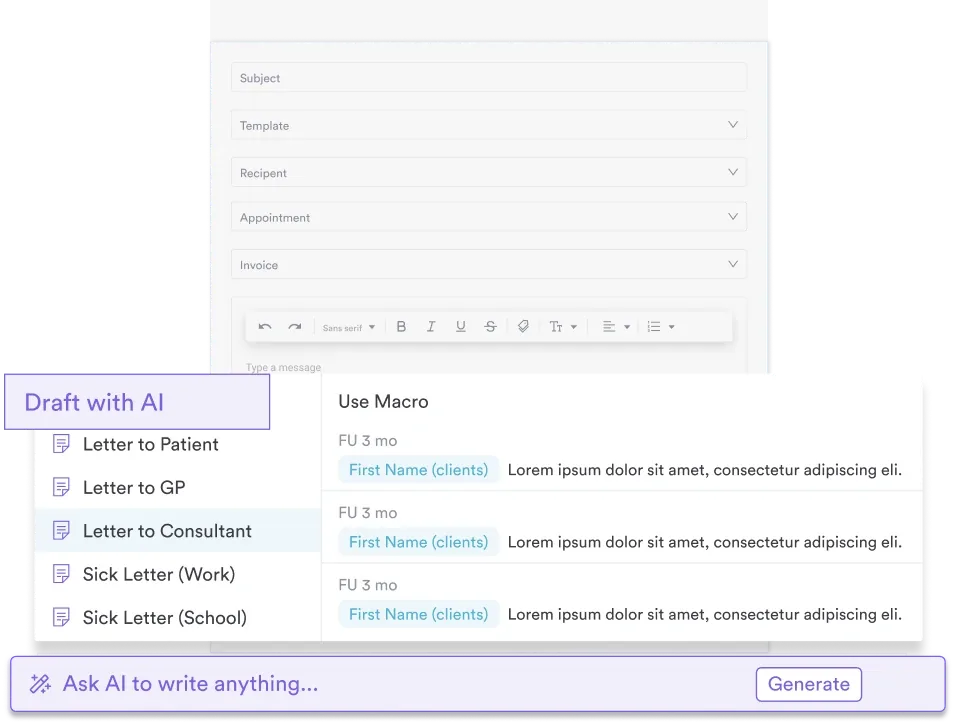
For a high-volume book or several locations, AI clinical documentation can draft the personalized version of each note and send it out automatically.
Who the template is for
Any practice or studio offering microblading can use the sheet as it is:
- Med spas running several treatment types. One aftercare format across botulinum toxin, filler, laser, and microblading keeps your handouts consistent.
- Dermatology practices and cosmetic surgeons. Attach the sheet to the client record and send it automatically once the procedure is charted.
- Independent PMU artists and estheticians. A free, printable sheet saves you paying a designer or a lawyer to produce one.
- New staff and trainees. Use it as the reference so every artist gives the same advice at the desk.
If you run a skin clinic with a full book, the sheet works best alongside software that sends it and logs who acknowledged it.
It also slots into a wider client education library, next to your microblading consent form and pre-treatment advice.
Why a written handout beats verbal instructions
It protects the result. Day-by-day instructions remove the guesswork that leads to picking, early washing, and pigment loss. Clients who follow structured aftercare tend to hold color better and keep crisper strokes.
It lowers infection risk. The sheet names the safe ointments, explains blotting instead of rubbing, and lists the red flags worth a phone call. Clear wound-care instructions are a basic infection prevention measure after any skin-breaking procedure.
It stops the panic call. The ghost brow phase around days 8 to 14 frightens clients who were never warned about it. One line in writing prevents most of those calls.
It gets clients back for the touch-up. Reminders tied to the healing phases lift follow-up attendance at the 6-8 week touch-up, where the final adjustments happen.
It markets the studio. A branded aftercare sheet looks organized and professional, and clients keep it on the bathroom shelf for two weeks.
It documents the standard of care. Pigments used in permanent makeup fall under FDA color additive rules in the US. A signed copy in the file shows you gave the guidance that goes with them.
The healing timeline: What to expect
Knowing the stages lets your front desk answer the phone without escalating every call to the artist. Healing follows a predictable order, and each phase has its own symptoms and instructions.
Days 1-3: Immediate healing and lymph weeping
A thin film of lymph fluid, not blood, weeps from the treated area straight after the procedure. The skin looks red and swollen, and the pigment sits much darker than the finished result.
Clients blot gently with a clean cotton pad every few minutes for the first two to three hours. Weeping usually stops around the four to six hour mark.
- No water on the brows at all for the first 24 hours
- A thin layer of the recommended ointment after blotting, two or three times a day
- Sleep with the head elevated to keep swelling down
- No touching, rubbing, or scratching, because the skin is still open
Days 4-7: Peeling and scabbing
Light scabs start forming around day three or four as the skin closes. It feels tight and itchy, which is normal. Plenty of clients decide at this point that the brows are ruined, when scabbing happens with every tattoo-style procedure.
The rule that matters most is simple. Never pick or scratch. Pulling a scab off before the pigment has set leaves patchy color and soft edges. Most clients who say their microblading failed admit later that they picked.
- Light moisturizing is fine, so keep the ointment layers thin
- Scabs shed on their own over 7 to 10 days, so never force them
- Keep the shower spray off the brows
- No swimming, saunas, or heavy sweating
- No makeup on the treated area
Days 8-14: The ghost brow phase
Once the scabs shed, the pigment looks faded or almost gone. Clients see pale brows and assume the microblading did not take. This is the ghost brow phase, and it is both normal and temporary.
The outer skin has healed over the pigment while the deeper layer is still settling. The color is there, hidden under fresh skin. It reappears within 4 to 6 weeks, and it usually settles a little lighter than it looked on the day.
Clients who were never warned assume the procedure failed and call the studio upset. One line in the aftercare sheet handles it. Tell them days 8 to 14 look faded and the pigment comes back.
Weeks 3-6: Deep healing and color return
Through weeks three to six the deeper layers settle and the pigment gradually darkens again. Redness fades, swelling resolves, and the brows start to look like brows. Final color usually stabilizes by week six.
The touch-up appointment sits at 6 to 8 weeks. The artist reassesses retention and refines any spots where the pigment did not hold. Put that booking on the aftercare sheet and let your reminder schedule chase it.
Warning signs: When to seek professional advice
Most microblading heals without incident. Tell clients to call the studio or a doctor if they notice any of the following:
- Redness, heat, or swelling past day three, which can point to infection or a reaction
- Pus, oozing, or a foul smell, which needs medical attention
- Severe itching or hives spreading beyond the brows, which can signal a pigment allergy
- Fever or feeling unwell, which is uncommon but worth a professional opinion
- Strokes washing out completely by week two, which usually means a touch-up is needed
Putting the red flags in writing lets clients triage themselves. That protects their health and your liability at the same time.
How Pabau handles aftercare delivery and follow-up
A printed sheet at the desk is where aftercare usually starts and stops. The record of who received what ends up in a paper file, or nowhere at all.
Pabau attaches the aftercare sheet to the client record and sends it the moment the appointment is marked complete. The client signs an acknowledgment in the client portal, and the signed copy files itself.
The reminder cadence then runs on its own. Days 1, 4, 7, and 10 go out by text or email, and the week-six message carries a booking link for the touch-up. Aesthetics studios on Pabau, including Skin with Bea Esthetics, run their client follow-up this way.
The outcome is a client who gets the same guidance every time, and a file that shows exactly what you sent and when.

Send aftercare that clients actually follow
Pabau brands your aftercare template, sends it automatically after the appointment, and logs every acknowledgment. Reminders on days 1, 4, 7, and 10 keep clients on track.

Conclusion
The sheet only works if every client leaves with it and hears the four rules out loud. That is a desk habit, not a design problem.
The part worth automating is what happens after they leave. A client who gets the day 10 message before the ghost brow phase scares them stays calm. They do not call, they do not pick, and they book the touch-up.
Download the template, brand it, and set the reminders once. Book a demo to see how Pabau sends your aftercare and files the acknowledgment for every client.

Continue your research
Filling the book for a new brow service? Aesthetic marketing plan covers positioning and pricing so the right clients find you.
Need the paperwork sorted before the needle? Consultation form template pairs pre-treatment screening with the aftercare you hand over afterward.
Standardizing aftercare across treatments? Biotin injection aftercare shows the same handout format applied to a different procedure.
Taking deposits for touch-up appointments? Credit card authorization gives you a compliant way to hold card details before the visit.
Deciding whether to go solo or join a studio? Group vs private practice weighs the cost, control, and admin load of each model.
Frequently asked questions
What is microblading aftercare?
Microblading aftercare is the set of instructions a client follows for 7 to 14 days after the procedure. It protects the fresh pigment, lowers infection risk, and lets the skin heal. The sheet covers blotting, ointment frequency, activities to avoid, and warning signs.
When can I wash my face after microblading?
Avoid water on the brows completely for the first 24 hours. After that you can rinse your face gently, keeping the spray off the brows, and resume light washing. Do not submerge the brows for 7 to 10 days, so no baths, swimming, or saunas.
Should I use ointment or dry heal?
Dry healing, with minimal or no ointment, works well for oily skin that already retains moisture and pigment. Drier or sensitive skin usually does better with thin layers of an approved ointment two or three times daily. Follow whichever your artist recommends for your skin type.
What is the ghost brow phase?
The ghost brow phase happens around days 8-14, when the pigment appears to fade or vanish as the outer skin layer heals. This is normal. The pigment is still there, hidden beneath fresh skin, and the color returns and darkens over 4-6 weeks as the deeper layers settle.
How often should ointment go on?
Apply a thin layer of the recommended ointment two or three times daily through days 1-7. Use less as the skin peels around days 4-7, because over-moisturizing can clog pores and trap bacteria. By week two, stop the ointment and let the skin finish healing.
When should the touch-up be booked?
Most artists book the touch-up 6-8 weeks after the first session. Healing is complete by then, the final color is visible, and any spots where the pigment did not hold can be refined. This second session locks in the lasting result.