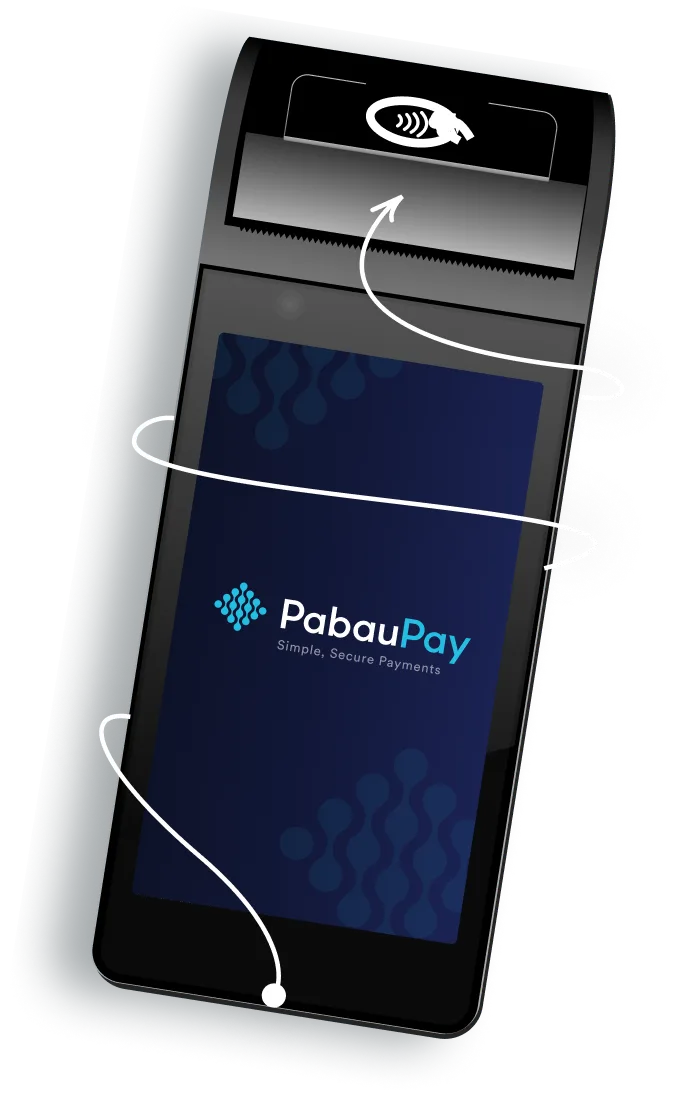
Hooray – your card terminal has arrived! Now it’s time to set it up so you can start taking payments and say hello to a slicker, simpler, and more convenient checkout experience.
You and your customers can look forward to all this…
You won’t have to worry about leaving time aside for reconciliation - thank goodness!
Tired of squinting at spreadsheets trying to figure out errors long after finishing time? Not anymore!
Clients won’t even need to use their card or phone to pay if their card details are already stored
Contactless checkouts are convenient for you and convenient for clients.
Want to get started asap? Watch along as our Product Marketing Manager Alex walks you through how to set up the card terminal, from unboxing to taking your first payment.
Prefer to set-up your card terminal with support on hand? No problem. You can schedule a call with our Revenue Growth Consultants who can guide you through it, step by step.
Great news – you have two fantastic resources for learning how to set up and use the Pabau Pay card terminals – the Pabau Academy and the Pabau Knowledge Base. Bookmark these to help with set-up and ongoing payment processing in Pabau.
Card terminals course
Complete set-up guide
Your first step is the easiest – switch the card terminal on and check if it’s charged up. Once you’re ready, switch it on and you’ll be prompted to connect it to the Wi-Fi.
This step is important. If you’ve only ever used Pabau 2, keep reading. If you’ve previously used Pabau 1 and you had Stripe activated on Pabau 1, please go to step 2.1.Â
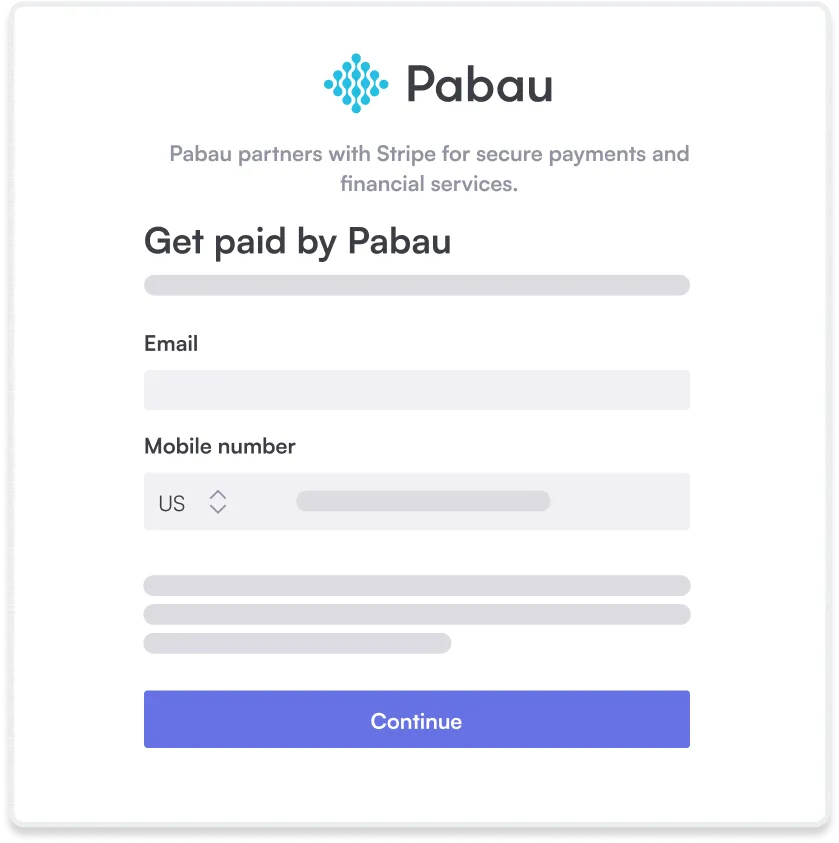
To start using the card terminal, you need to connect your Pabau account to Stripe. Our detailed guide, linked below, explains how to do this from the system.Â
Pro tip: You should also set up your deposits at this step.
This step is only required if you have previously used Stripe in Pabau 1. You’ll first need to reconnect Stripe, which you can do in the card terminals section of the system.
This is essential for making sure the card terminal is connected and ready to be registered.
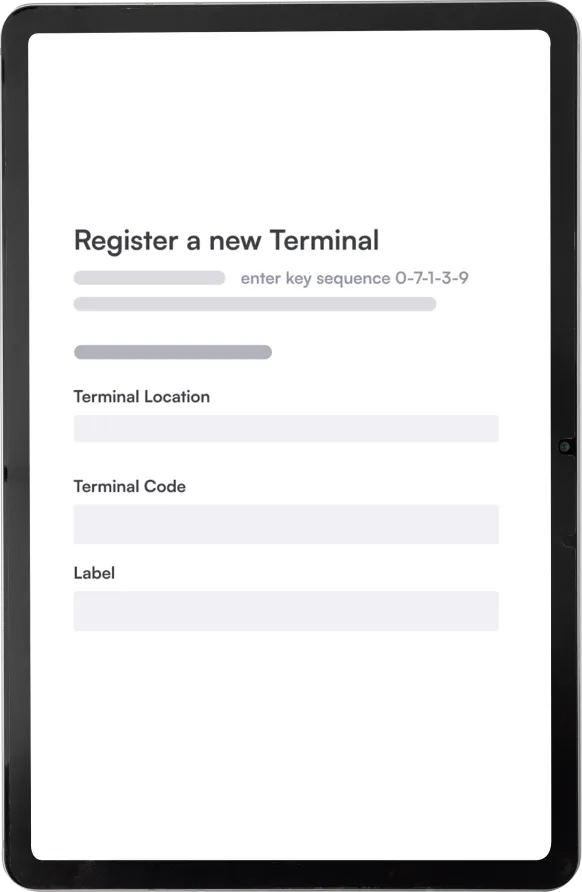
Log into your Pabau account and head to Setup on the left of the screen. Next, go to the Financials menu, select Card terminals, and complete the following steps.Â
First, confirm the location where the terminal will be used. Next, enter an admin code for the terminal (the code for all terminals is 0-7-1-3-9). This will generate a terminal code, which you should add to Pabau. Click on ‘Register’, and you’re done.
Detailed instructions are included in this step-by-step guide.
The next step is to make sure that the right people have the right permissions to manage payments in Pabau.Â
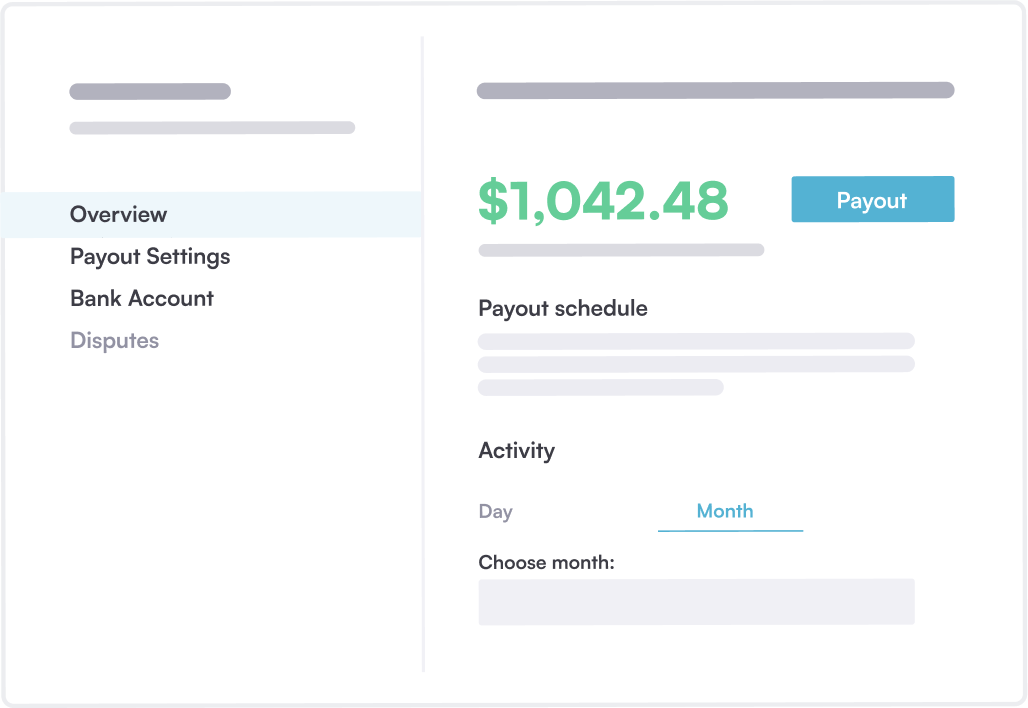
Managers and/or owners at your practice must have access to the Wallet feature to manage payouts efficiently. You can do this by enabling the Wallet feature in Pabau.Â
Don’t forget this step!Â
Nearly there! The final step to check everything is working correctly.Â
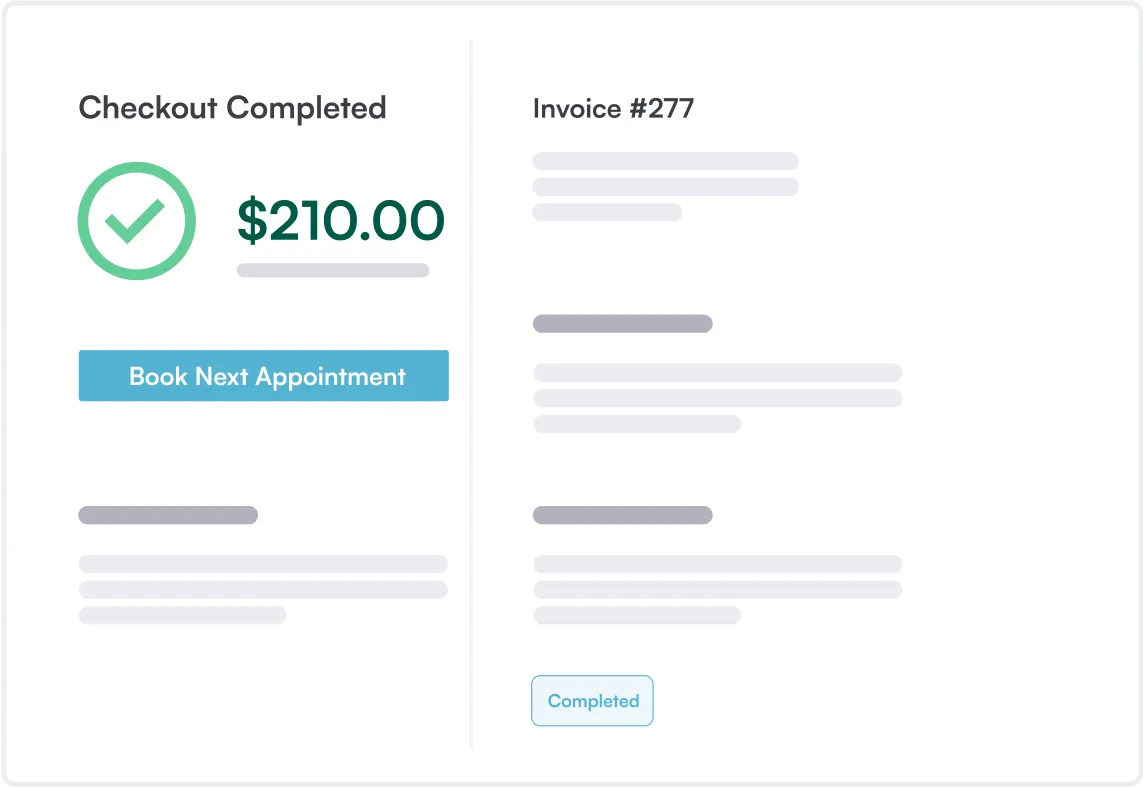
Scroll to step six in this guide to test out taking a payment using dummy card data – to make sure that everything is processing as it should. If everything goes smoothly, great news, you’re ready to process your first card payment!✨
We love hearing about our clients successfully using our card terminals.
Once you’ve activated yours, take a picture and tag us on Instagram @pabau using the hashtag #poweredbypabau. We’d love to hear about how it’s going so far, how much time you’re saving, and how it’s making your life easier 📸
Once you hit your first 10 payments, you can earn yourself 500 SMS credits if you post about your experience on Instagram (a story or on the grid) using the hashtag #poweredbypabau
As soon as you’re processing payments using your terminal, you’ll be entered into our monthly prize draw where you could win the grand prize of £250! We’ll run these every month. You’ve got to be in it to win it!
If you work from more than one location, then you might decide that you need another card terminal. Order another one using the link:
Resources
Why Pabau?
Industries