










Key takeaways
The fibular translation test checks ankle syndesmosis integrity by shifting the fibula against a stabilized tibia.
Pain reproduction is the positive finding, so compare every result against the uninvolved ankle.
Published sensitivity sits near 75-78% and specificity near 88-89%, both drawn from small studies.
A positive result supports the diagnosis, but weight-bearing radiographs or MRI still confirm syndesmotic disruption.
Practice management software like Pabau keeps each special test finding in one structured, searchable patient record.
A high ankle sprain rarely announces itself. The pain sits above the lateral malleolus, and the swelling can look mild for the first day. Meanwhile, the lateral ligament tests you reach for first come back clean.
So the patient goes home with ice, advice, and a review date, and recovery drags on. The fibular translation test is the bedside check that catches what those lateral tests miss.
Performed carefully, it takes two minutes and changes what you do next. Performed casually, it produces a finding nobody else can reproduce.
What the fibular translation test actually measures
The test measures one thing. Does the distal tibiofibular joint hurt when the fibula moves independently of the tibia? You fix the tibia with one hand and translate the fibula with the other. Pain during that movement is the positive finding.
Its value comes from what it isolates. The anterior drawer and talar tilt tests load the talofibular and calcaneofibular ligaments. This one loads the syndesmosis instead, which means the AITFL, the PITFL, and the interosseous membrane.
Those structures fail under a different mechanism, so they need their own tests. Syndesmosis injuries account for roughly 1 to 17% of ankle sprains. Missing one is expensive for the patient, because recovery runs about twice as long as a lateral sprain.
No syndesmosis test stands alone, though. Clinicians pair it with the squeeze test, the external rotation stress test, and the Cotton test. The pattern across all four is what settles the clinical impression.
The four ligaments the test puts under load
The distal tibiofibular syndesmosis is a fibrous joint with no articular cartilage. Four structures hold it together. Between them, they resist the lateral, rotational, and axial forces that cross the ankle mortise under load.
- Anterior inferior tibiofibular ligament (AITFL): the structure injured most often in syndesmosis sprains. It runs obliquely from the anterior tibial tubercle to the anterior fibula.
- Posterior inferior tibiofibular ligament (PITFL): stronger than the AITFL. It limits posterior fibular translation and external rotation of the talus.
- Interosseous ligament (IOL): the thickened distal part of the interosseous membrane, and the primary restraint against tibiofibular diastasis.
- Inferior transverse ligament: a deep band of the PITFL that contributes to posterior mortise stability.
Direction of translation decides which of those you load. Anterior translation stresses the AITFL and the interosseous ligament, while posterior translation stresses the PITFL. Where the pain appears therefore narrows down which structure took the force.
When to test, and what to rule out first
Test the syndesmosis when the mechanism involved external rotation and the pain sits above the joint line. Not every sprained ankle needs it. These are the presentations that earn it:
- Pain localized above the lateral malleolus, along the anterior ankle or distal fibula
- Forced external rotation of the foot on the tibia, common in contact sports, skiing, and falls with a planted foot
- Negative or equivocal lateral ligament tests, with persistent difficulty bearing weight
- Point tenderness over the AITFL or the interosseous membrane
- Swelling that outlasts the timeline you would expect from a lateral sprain
Rule out bone before you put a hand on the fibula. The Ottawa Ankle Rules tell you which presentations need a radiograph first. A distal fibula fracture, a Maisonneuve fracture, or an AITFL avulsion can reproduce the same tenderness. Each one changes management.
How to perform the fibular translation test, step by step
Technique consistency is what makes the result worth recording. Hand placement, force direction, and ankle position all change which structures you load. Small variations are why two examiners reach different conclusions on the same ankle.
Position the patient with the ankle in neutral
Place the patient supine or in long sitting, with the ankle at 0 degrees of plantarflexion and dorsiflexion. Support the knee in slight flexion, with a rolled towel under the calf. Seated testing with the ankle hanging free works too, provided the joint stays unloaded.
Avoid testing in maximal plantarflexion. That position pre-tensions the AITFL, so pain arrives at lower force and your positive rate climbs.
Where your hands go and how much force to apply
Sit or stand at the foot of the table, facing the ankle you are testing. Then work through the sequence below.
- Stabilizing hand: wrap one hand firmly around the tibia, just proximal to the distal tibiofibular joint. This hand does not move again.
- Translating hand: grip the distal fibula with your thumb on the lateral surface and your fingers wrapping medially, at and just above the lateral malleolus.
- Anterior translation: push the fibula anteriorly with steady, controlled force. Watch the patient’s face and ask directly about pain.
- Posterior translation: reverse the direction and draw the fibula posteriorly. Note pain, perceived laxity, and any click or clunk.
- Bilateral comparison: run the same sequence on the uninvolved ankle. Testing that side first gives you this patient’s baseline before pain clouds it.
The whole sequence takes under two minutes. Treat the uninvolved side as part of the test rather than an optional extra. Then note the result in the patient record while the detail is fresh.
Pro Tip
Test the uninvolved ankle first. Some patients have naturally hypermobile fibulae, and without that baseline you cannot separate constitutional mobility from pathological translation.
What a positive result actually means
The test is positive when translation reproduces the patient’s pain. Pain is the criterion. Extra movement compared with the other side strengthens the finding, but laxity alone is not enough.
Read the pattern rather than a single yes or no:
- Pain on anterior translation: implicates the AITFL and the anterior interosseous ligament.
- Pain on posterior translation: implicates the PITFL and the posterior interosseous ligament.
- Pain in both directions: suggests wider disruption, and raises concern about the interosseous membrane.
- Gross laxity without pain: uncommon, and worth treating as positive. Acute swelling or altered sensation can blunt the pain response, so image it.
A worked example makes the pattern concrete. A 24-year-old soccer player is tackled with her foot planted and externally rotated. Two days later the Ottawa rules are negative, the anterior drawer is clean, and tenderness sits four centimeters above the lateral malleolus.
Anterior translation reproduces her pain at 6 out of 10, posterior translation at 3, and the uninjured ankle is silent. That pattern points at the AITFL. It is enough to arrange weight-bearing radiographs instead of starting a lateral sprain protocol.
What the test cannot do is confirm rupture. Imaging carries that weight, and each option answers a different question. Weight-bearing radiographs show diastasis under load, stress views show it under applied force, and MRI shows the ligaments themselves.
Diagnostic accuracy: How far the numbers stretch
The fibular translation test posts strong specificity and useful sensitivity. The evidence behind those figures is thinner than the numbers imply.
The most quoted values come from Beumer, Swierstra and Mulder, published in Acta Orthopaedica Scandinavica in 2002. Seven examiners assessed 12 people from behind a curtain, and the findings were checked against arthroscopic diagnosis.
How the cadaveric data compares
A cadaveric study by Lubberts and colleagues measured the same movement arthroscopically under a 100 newton force. With a 2 mm cutoff, it reported 78% sensitivity and 89% specificity.
Those figures sit close to Beumer’s bedside numbers. The two studies measured in different settings, so read the agreement as supportive rather than as a second clinical validation.
Why the sample size caps your confidence
Sample size is the caveat that matters most. Beumer’s arthroscopic subgroup contained only 2 injured ankles among 12 subjects.
The 21 positive findings in 28 examinations of injured ankles count examinations, not patients. The same applies to the 35 positives recorded across 294 examinations of asymptomatic controls.
A wider systematic review reached a more cautious conclusion. Sman, Hiller and Refshauge reviewed the clinical tests for syndesmosis injury in the British Journal of Sports Medicine in 2013.
The NLM Bookshelf record summarizes that review. They reported likelihood ratios near 1.5 across this group of tests, and concluded that no single test is reliable on its own.
Either way, the practical advice lands in the same place. Use the fibular translation test with the squeeze test and the external rotation stress test.
False negatives cluster in the first days after injury, when swelling and guarding limit fibular movement. So image the ankle when the test is negative and your suspicion survives it.
How it compares with the squeeze and external rotation tests
Guidelines from bodies such as the American Physical Therapy Association recommend a multi-test approach to suspected syndesmosis injury. The table below covers the four tests evaluated most often in the accuracy literature.
Head-to-head evidence is limited, and the underlying studies differ in design. Read the comparison as indicative rather than as a ranking.
On published figures, the fibular translation test carries the strongest likelihood ratios of the four. The external rotation stress test reproduces the injury mechanism, which keeps it useful acutely. The Cotton test earns its place when frank diastasis is the question.
In routine practice, fibular translation and the squeeze test remain the pair used together most often. Combining tests is normal elsewhere in musculoskeletal examination too, and the shoulder’s Whipple test carries the same caveat about single findings.
Conditions that look like a syndesmosis injury
Several conditions produce anterior ankle or distal fibular pain that mimics a positive result. Work through them before you accept the finding as syndesmotic.
- Lateral ligament sprain (ATFL/CFL): the most common ankle injury. The anterior drawer and talar tilt tests are positive, and fibular translation is usually negative or only weakly painful.
- Peroneal tendon injury: subluxation and longitudinal tears cause posterolateral pain. Tenderness follows the peroneal groove rather than the AITFL, and resisted eversion reproduces it.
- Distal fibula fracture: bony tenderness at the malleolar tip differs from ligamentous tenderness over the AITFL, and a radiograph settles it. The Danis-Weber classification is worth checking against the film, since a Weber C pattern sits above the syndesmosis and usually disrupts it.
- Maisonneuve fracture: a proximal fibula fracture with syndesmotic disruption. Fibular translation may well be positive, but tenderness sits proximally, so image the full length of the fibula.
- Anterior ankle impingement: pain at the AITFL attachment can imitate syndesmotic tenderness, particularly in athletes with chronic instability. Passive dorsiflexion and impingement testing separate the two.
Serial measurement helps when the picture stays unclear. Recording girth, dorsiflexion range, and pain scores at every visit in measurement tracking software shows which presentation is evolving and which has settled.
Where the test fails, and why examiners disagree
Most references stop at the technique. Knowing where the test breaks down matters just as much, because that is what tells you how much weight a negative result deserves.
Limitations that change how you read a negative
- Acute swelling lowers sensitivity. In the first 24 to 48 hours, edema around the joint limits fibular movement mechanically. The pain response can stay quiet despite genuine disruption, so reassess at 72 to 96 hours when the first test is equivocal.
- Guarding invalidates the result. An anxious or pain-sensitive patient contracts the peroneal muscles reflexively during translation, which masks both laxity and pain. Visible bracing means the result is unreliable.
- The test cannot grade severity. A positive finding says disruption is likely. It says nothing about whether this is a grade I sprain or a complete rupture with diastasis, and that needs stress radiography or MRI.
- Inter-examiner variability is substantial. Force, angle, and grip width all change what you are loading, and no standard force measurement exists for this test in routine practice.
Four technique errors that skew the result
- Stabilizing the tibia loosely. A soft grip, or one placed too distally, translates the whole ankle complex instead of the fibula. Fix the tibia firmly above the joint line.
- Testing in plantarflexion. A pre-tensioned AITFL hurts at lower force, which inflates the positive rate. Keep the ankle in neutral.
- Skipping the other ankle. Without a baseline, perceived laxity means little. Constitutional fibular hypermobility reads as pathology when you have nothing to compare it against.
- Applying force suddenly. A sharp translation risks a pain flare in an acute injury and adds nothing diagnostically. Build the force steadily.
For practices running high volumes of musculoskeletal assessment, a written protocol in your physiotherapy practice software keeps technique consistent between treating clinicians. The same discipline pays off later, where a documented return-to-running protocol supports safe progression after a confirmed syndesmotic injury.
Before you close the note, record these six things
A special test is only as useful as the note that carries it. Six weeks later, «fibular translation positive» tells the next clinician almost nothing, and it tells a reviewer even less.
- Which directions you tested, and which one reproduced the pain
- Pain intensity on a 0 to 10 scale, for each direction separately
- Perceived laxity, always next to the finding from the uninvolved ankle
- Ankle position and time since injury, since both change how a negative reads
- The other syndesmosis tests you ran, and what each one showed
- Your next step, whether that is imaging, a review date, or a weight-bearing restriction
Wording matters as much as content here. Agree on one phrasing for each field, and the note reads the same whoever wrote it. That is what makes safer clinical notes achievable across a team, and a shared progress notes cheat sheet is the quickest route to it.
How Pabau standardizes special test documentation
Writing that checklist down is the easy part. Getting six clinicians to follow it on a busy Friday is harder, and that is where the software earns its place.
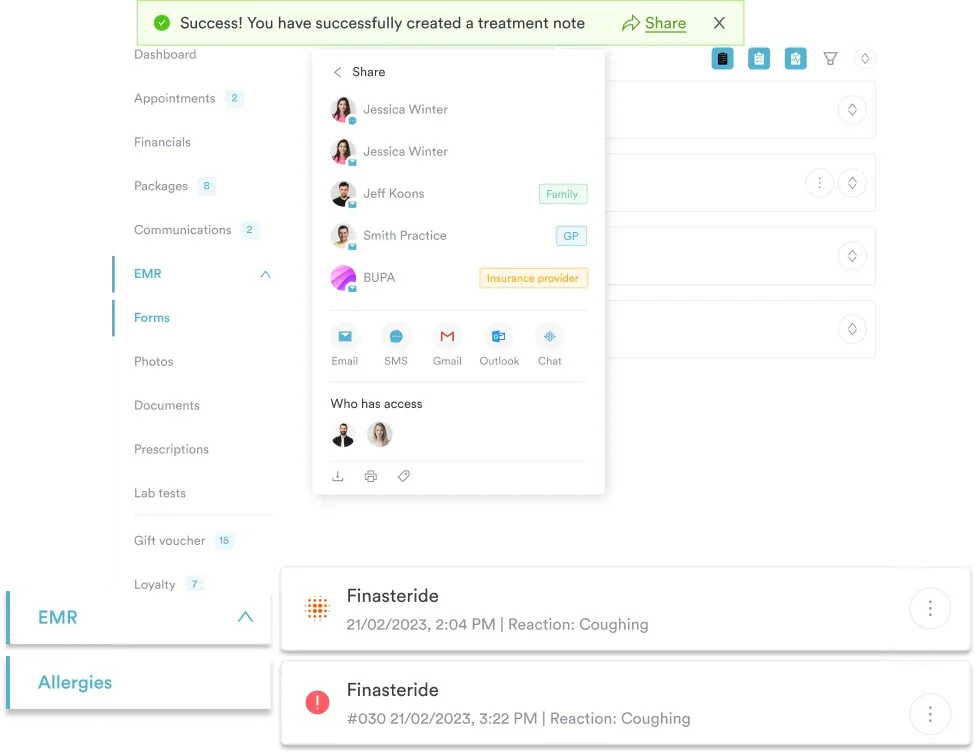
Practice management software like Pabau lets you build the test into a medical form once. The form carries fields for direction, pain score, perceived laxity, and the contralateral comparison. Every clinician then records the same data points in the same place.
That pays off at the 72 to 96 hour recheck, when an equivocal acute test needs repeating. You open the first form, compare it against the second, and the change is visible rather than remembered. It also leaves a defensible trail if the case is reviewed later.
The structure travels between settings, too. Chiropractic and osteopathic practices run the same syndesmosis battery, and the same form works without modification.
Scored measures used elsewhere in physical therapy, such as the Modified Ashworth Scale, sit in the same record. Progress data and special test findings therefore stay in one timeline instead of two systems.

Built for musculoskeletal and sports medicine practices
Pabau keeps special test findings in structured fields inside the patient record, so any clinician can compare today’s result against the last one. Your team spends less time rewriting notes and more time treating.

Conclusion
Syndesmosis injuries slip through because the lateral tests look reassuring. This one puts a hand on the joint that actually hurts, and it costs two minutes of your assessment.
So treat a positive result as strong support for the diagnosis, and a negative as unfinished business. Pair the test with the squeeze and external rotation stress tests, then image when suspicion outlives a negative.
Sensitivity near 75 to 78% reads better than older summaries suggested, though it still rests on small studies. Treat the figures as a nudge to your clinical reasoning rather than a verdict.
The rest is documentation. A finding you cannot compare at the next visit is a finding you will end up repeating. Book a demo to see how Pabau keeps special test results structured and comparable across your clinical team.

Continue your research
Need the companion test for the back of the ankle? Ankle posterior drawer test covers hand placement, grading, and how to record what you find.
Deciding whether this ankle needs an X-ray? Bernese ankle rules sets out a second validated decision rule for imaging an acute ankle injury.
Tracking stiffness after a high ankle sprain? Ankle dorsiflexion test explains the measurement technique and how to follow mobility over a rehabilitation block.
Running special tests elsewhere in the body? Alar ligament test works through performing, interpreting, and documenting a cervical stability test.
Filing the imaging that follows a positive test? Ankle radiograph results gives you a structured template for recording radiograph findings in the record.
Frequently asked questions
Which ICD-10 code covers a high ankle sprain?
A high ankle sprain codes to S93.43-, sprain of tibiofibular ligament. The four-character code is not billable on its own. You need laterality, so S93.431 for the right ankle or S93.432 for the left. Add the seventh character for the episode of care, A, D, or S.
How long does recovery from a syndesmosis injury take?
Longer than a lateral sprain, usually about twice as long. Athletes with a stable syndesmotic injury commonly return to sport around six to eight weeks. A lateral ligament sprain more often takes one to three weeks. Roughly half still report symptoms at six months, so set expectations at the first visit.
Who is qualified to perform the test?
Any clinician trained in musculoskeletal examination can perform it. That includes physical therapists, athletic trainers, sports medicine physicians, chiropractors, osteopaths, and orthopedic surgeons. Consistency of technique matters more than the job title, since force and hand position vary far more between individual examiners than between professions.
Does the test still work on an older injury?
Yes, and it is often easier to interpret once acute swelling has settled. Chronic syndesmotic instability usually presents with pain on push-off and a sense of the ankle giving way. The test supports that picture rather than proving it, so imaging still confirms the diagnosis.
Should you test both directions if the first one hurts?
Yes. Stopping at the first painful direction loses the information that separates an isolated AITFL injury from wider disruption. Pain in both directions raises concern about the interosseous membrane. Test anterior, then posterior, then repeat the sequence on the uninvolved ankle.
Is a positive result enough to refer for surgery?
No. A positive test with a matching mechanism justifies imaging, not an automatic surgical referral. Refer when radiographs show diastasis, when the ankle still cannot bear weight after a week, or when instability persists despite rehabilitation. Otherwise manage it conservatively and reassess.