GLP-1 diet plan
A GLP-1 diet plan is a structured eating framework for patients taking semagluti...

2
Last Updated: Oct 13, 2026

The Weber test is a rapid bedside hearing screen that separates conductive from sensorineural hearing loss in under two minutes.
Sound that lateralizes to the worse ear points to conductive loss, and sound that lateralizes to the better ear points to sensorineural loss.
Reversing those two patterns is the most common clinical error, so tie every result back to the physiology behind it.
Pairing the Weber test with the Rinne test produces a combined result matrix that narrows the differential before formal audiometry.
Practice management software like Pabau helps ENT, primary care, and audiology teams record tuning fork results and trigger the right follow-up.
Plenty of hearing diagnoses are missed at the first appointment, and the usual reason is a skipped bedside check. The Weber test takes less than 90 seconds and needs only a tuning fork. It separates the hearing loss you fix with surgery from the hearing loss that needs amplification. That distinction shapes every referral decision that follows.
This guide walks through the Weber test procedure step by step and shows how to read each result. It also explains how the test works alongside the Rinne test. It is written for primary care physicians, nurses, ENT trainees, and anyone assessing ears at the bedside.
The Weber test is a screening tool that uses bone conduction to show whether hearing loss is conductive or sensorineural. A vibrating tuning fork placed on the midline of the skull sends sound through bone to both cochleae at once.
According to NCBI StatPearls, that transmission pattern is what makes the test useful. A healthy cochlea and a damaged one respond differently to the same vibration. The sound then appears to lateralize toward one ear.
The test is named after Ernst Heinrich Weber, the German physiologist who described sound lateralization in the 19th century. It has stayed in clinical use for a practical reason. Formal audiometry is not always available at the point of care, and the type of hearing loss changes how you manage the patient.
Sound normally travels through the outer ear canal, vibrates the eardrum, and passes through the middle ear. The malleus, incus, and stapes carry it across. It then enters the cochlea, where hair cells convert it into nerve signals.
Damage anywhere along that outer-to-middle pathway produces conductive hearing loss. Damage to the cochlea itself, or to the auditory nerve beyond it, produces sensorineural hearing loss. The two categories carry different causes and different treatment routes.
Bone conduction bypasses the outer and middle ear entirely. When the tuning fork touches the skull, vibration travels straight through bone to the cochlea. That is why a fork on the midline tests both ears at once, and why the two loss types lateralize in opposite directions.
The standard tuning fork for the Weber test is 512 Hz, as Cleveland Clinic confirms and peer-reviewed references agree. A 256 Hz fork is an acceptable alternative, and you will still see it in older practice settings.
Anything at 1024 Hz or above is not recommended, because higher frequencies rely more on air conduction and add variability. Audiometry sweeps a much wider band, so the frequencies used in audiometry differ from the single pitch you use at the bedside.
Before you start, check that the room is reasonably quiet. Seat the patient upright and facing you.
Then explain the test in plain language. Tell them you will rest a vibrating instrument on top of their head, and that you need to know where they hear the sound.
The procedure is simple, but fork placement and the wording of your question both affect how reliable the result is. Follow these steps in order.
The whole procedure takes under two minutes. What it buys you is clarity about the type of loss before you reach for the referral pad.
Weber test interpretation gives you three possible outcomes. Reversing the lateralization patterns for conductive and sensorineural loss is the most common clinical error. Learning the physiology behind each result is what prevents it.
Conductive loss lateralizing toward the affected ear is counterintuitive, but the mechanism is consistent. A blocked or damaged middle ear reduces the masking effect of background noise, so bone-conducted sound dominates on that side. In sensorineural loss the damaged cochlea processes the signal less well by any route, so the better ear wins.
Conductive and sensorineural hearing loss differ in cause, treatment route, and urgency. The Weber test does not diagnose either one on its own. It points you at the right category before formal audiometry is arranged.
Your coding follows the same split. Conductive loss without a stated side maps to H90.2, and unspecified sensorineural loss maps to H90.5. Recording the Weber result next to the code makes that choice defensible if the claim is ever reviewed.
Sudden sensorineural hearing loss is time critical. The American Academy of Otolaryngology-Head and Neck Surgery guideline says treatment should start as soon as possible, and within two weeks of onset.
Recovery, whether spontaneous or treated, is greatest in those first two weeks. A Weber test that lateralizes away from the symptomatic ear in sudden onset loss should push the referral forward the same day.
Running the Weber and Rinne tests together gives far more diagnostic information than either one alone. The Rinne test compares air conduction with bone conduction in the same ear. You move the vibrating fork from the mastoid bone behind the ear to just outside the ear canal.
Air conduction is normally louder, which is a Rinne positive result. In conductive loss, bone conduction can equal or beat air conduction, which is Rinne negative. The LITFL emergency medicine reference treats this pairing as the standard bedside approach.
Use the combined matrix below when you read both tests together. The recommended next step column turns each combination into something you can act on today.
The two tests can disagree, especially in mixed hearing loss where conductive and sensorineural components sit in the same ear. Clinical history and otoscopy findings have to guide interpretation when that happens. Tuning fork tests point you in a direction. They do not close the diagnosis.
When you document Weber and Rinne results, record the exact lateralization direction and the Rinne result for each ear separately. A note that reads only ‘Weber abnormal’ leaves the next clinician with nothing to work from. A usable note reads: ‘Weber lateralizes right. Rinne negative right, positive left, consistent with right conductive loss.’
The Weber test suits any encounter where a patient reports unilateral or asymmetric hearing symptoms. It needs no specialist training beyond an understanding of the physiology, so it travels well across settings.
The Weber test does not replace audiometry. It is a triage tool, and its value depends on what happens to the result afterwards. A finding that never reaches the record leaves the next clinician starting over. It belongs on one of your standardized clinical forms rather than a sticky note.
Knowing where the Weber test fails is what makes it useful. A handful of scenarios produce results you cannot trust.
The British Society of Audiology treats pure-tone audiometry as the reference standard for hearing assessment. Read the Weber test as a rapid screen that shifts the pre-test probability of each loss type. Continuity depends on up-to-date patient records that hold both the bedside result and the later audiometry outcome.
A bedside Weber test that never makes it into a structured record costs you twice. The next clinician who sees the patient starts from scratch, and the reason for the referral is lost. When decisions are reviewed later, there is nothing to show.
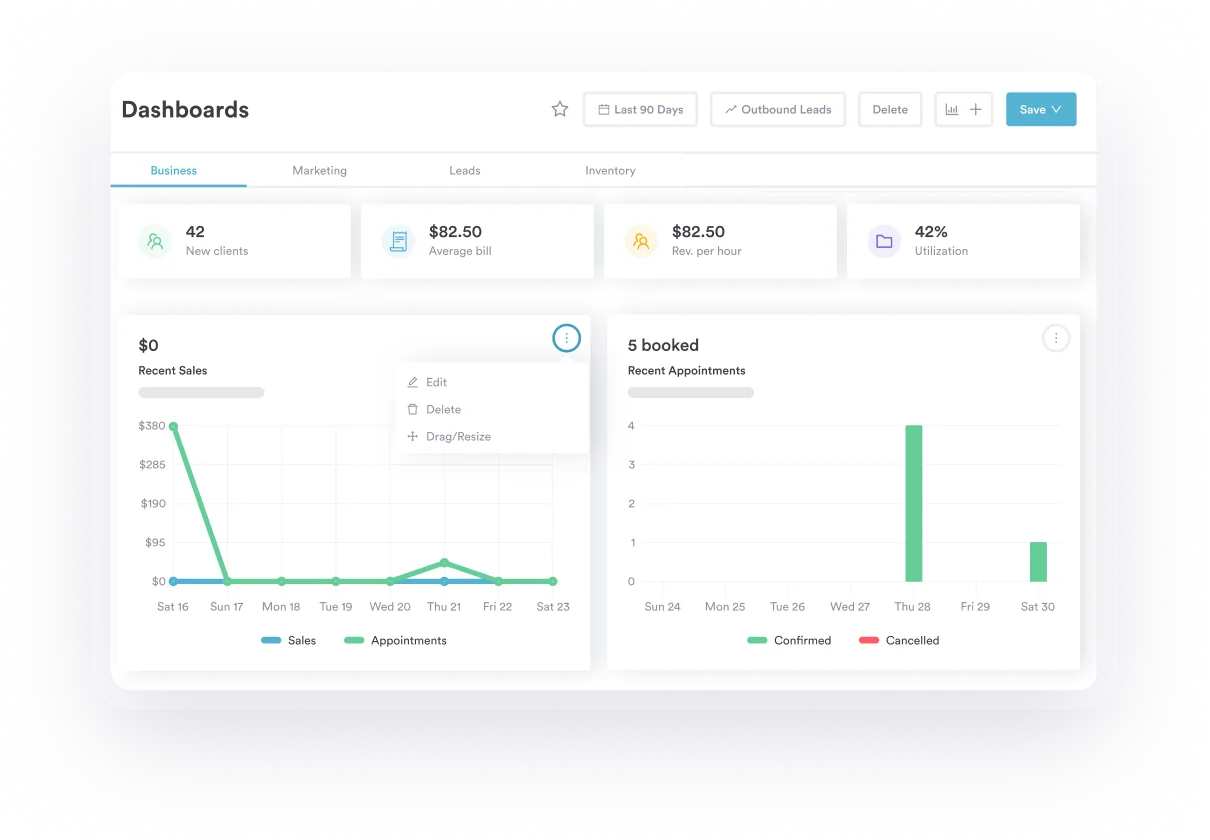
Practices that run hearing screens alongside speech therapy, occupational health checks, or primary care consultations need a consistent way to capture the result. A digital form with fields for lateralization direction, the Rinne result per ear, and a short clinical impression beats a handwritten note. It also produces records you can search, audit, and hand on.
Practice management software like Pabau lets you build those assessment templates yourself. Results from digital intake forms land straight in the patient record, with no separate data entry step.
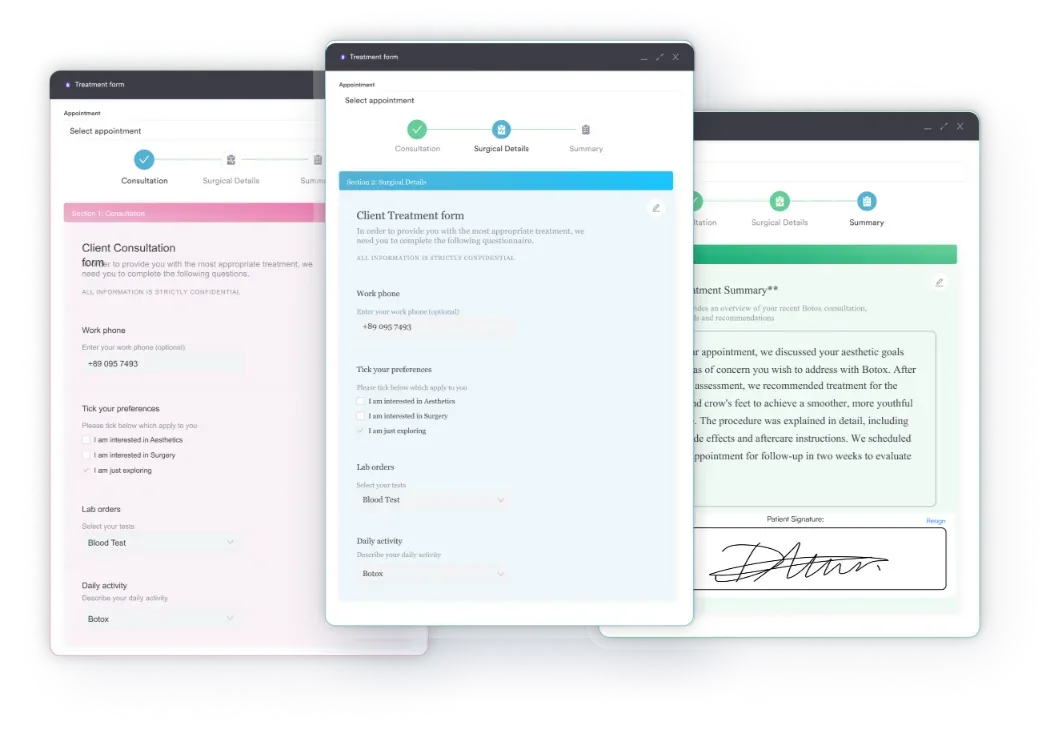
Automated workflows can then trigger the follow-up, whether that is an audiometry referral reminder or a recall message once the outcome is back. For practices running occupational health hearing programs, or monitoring patients on ototoxic drugs, that trail is a compliance requirement rather than a convenience.
Tracking outcomes gets easier too. Measuring patient outcomes over time, including whether a referred patient attended their ENT appointment, depends on the first record being structured. That is a practice management job, and it separates a one-off assessment from a hearing care pathway.

Pabau is practice management software that stores tuning fork findings in the patient record and triggers the audiometry referral for you. Nothing waits on someone remembering to write it up.

If you take one thing from this guide, make it the lateralization rule and the reason behind it. Get that right and the Weber test earns its 90 seconds on almost every ear you examine.
The trade-off worth remembering is that a screen this fast can only narrow the field. Pair it with the Rinne test, treat symmetric bilateral loss as a blind spot, and send anyone with sudden loss for audiometry without waiting.
What separates a practice with a hearing pathway from one with a drawer full of tuning forks is the record that follows each test. Book a demo to see how Pabau captures bedside results and chases the follow-up for you.

Examining a child’s nervous system too? Pediatric neurological exam checklist covers cranial nerve testing, motor and sensory assessment, reflexes, and red-flag recognition.
Need a structured way to log ear symptoms? Tinnitus report gives you a ready-made form for capturing ringing, severity, and triggers at the first visit.
Running a full review of systems on a child? Pediatric review of systems template spans 13 sections, from general symptoms through psychiatric history.
Interpreting a different bedside test result? PFT interpretation chart reads FEV1/FVC ratio, severity, TLC, and DLCO in the right order.
Checking hydration status at the bedside? Skin turgor test template standardizes the technique and documentation behind this bedside hydration check.
The Weber test is a bedside hearing screen that separates conductive from sensorineural hearing loss. A vibrating 512 Hz tuning fork on the skull midline sends sound through bone to both cochleae. The ear in which the patient hears it louder points to the type of loss. Primary care, ENT, and emergency teams use it before formal audiometry is arranged.
Lateralization means the patient hears the sound louder in one ear than the other. Sound that lateralizes to the worse ear indicates conductive hearing loss on that side. Sound that lateralizes to the better ear indicates sensorineural loss on the opposite side. A midline result, heard centrally, suggests normal or symmetric hearing.
The standard frequency is 512 Hz. A 256 Hz fork is an acceptable alternative and still appears in some settings. Frequencies above 1024 Hz are not recommended, because they rely more on air conduction and make lateralization less reliable.
The Weber test compares bone conduction between both ears at once, using a fork on the skull midline. It shows which ear is affected. The Rinne test compares air conduction with bone conduction in each ear separately, moving the fork from the mastoid to the ear canal. Together they give a fuller picture than either test alone.
It cannot detect symmetric bilateral hearing loss, because equal loss in both ears produces a midline result. That looks identical to normal hearing. It is also unreliable in very young or non-verbal patients, in noisy rooms, and in mixed hearing loss. Pure-tone audiometry is still needed to confirm the findings.