GLP-1 diet plan
A GLP-1 diet plan is a structured eating framework for patients taking semagluti...

2
Last Updated: Oct 13, 2026
The EMT trauma assessment is a five-phase sequence that carries you from scene arrival to hospital handoff. The phases run in a fixed order: scene size-up, primary assessment, rapid trauma assessment, SAMPLE history with vitals, then reassessment.
Injuries that kill within the first hour often hide behind a patient who looks fine. A sequence you can run on autopilot is what catches them.
Below, each phase gets its own walkthrough. You will also find the NREMT criteria that fail a station outright, two scenarios to rehearse, and the documentation habits that survive the call.

The EMT trauma assessment runs in five phases: scene size-up, primary assessment, rapid trauma assessment, SAMPLE history and vitals, then reassessment.
The primary assessment uses ABCDE to find and treat life threats before any other exam happens.
Missing a critical criterion on the NREMT E201 skill sheet fails the station, whatever else you scored.
A high-energy mechanism of injury keeps on-scene time under ten minutes, so phases three and four move into the ambulance.
Findings written down during the call, rather than rebuilt from memory afterward, are what make the handoff and the record hold up.
The EMT trauma assessment is a systematic evaluation that puts life threats ahead of diagnosis. Diagnosis belongs to the hospital. Your job on scene is to find what will kill the patient in the next ten minutes, and to treat that first.
Mechanism of injury drives the whole trauma call. Respond to a rollover collision and you assume spinal, chest and abdominal injury until your exam says otherwise. On a medical call the presenting complaint steers the exam instead, so the two paths diverge almost immediately.
That single distinction shapes the protection you put on, the resources you call for, and whether you treat where you stand or leave now. It also sets the clock. Each phase below carries its own, and the clock is what changes between a stable patient and a critical one.
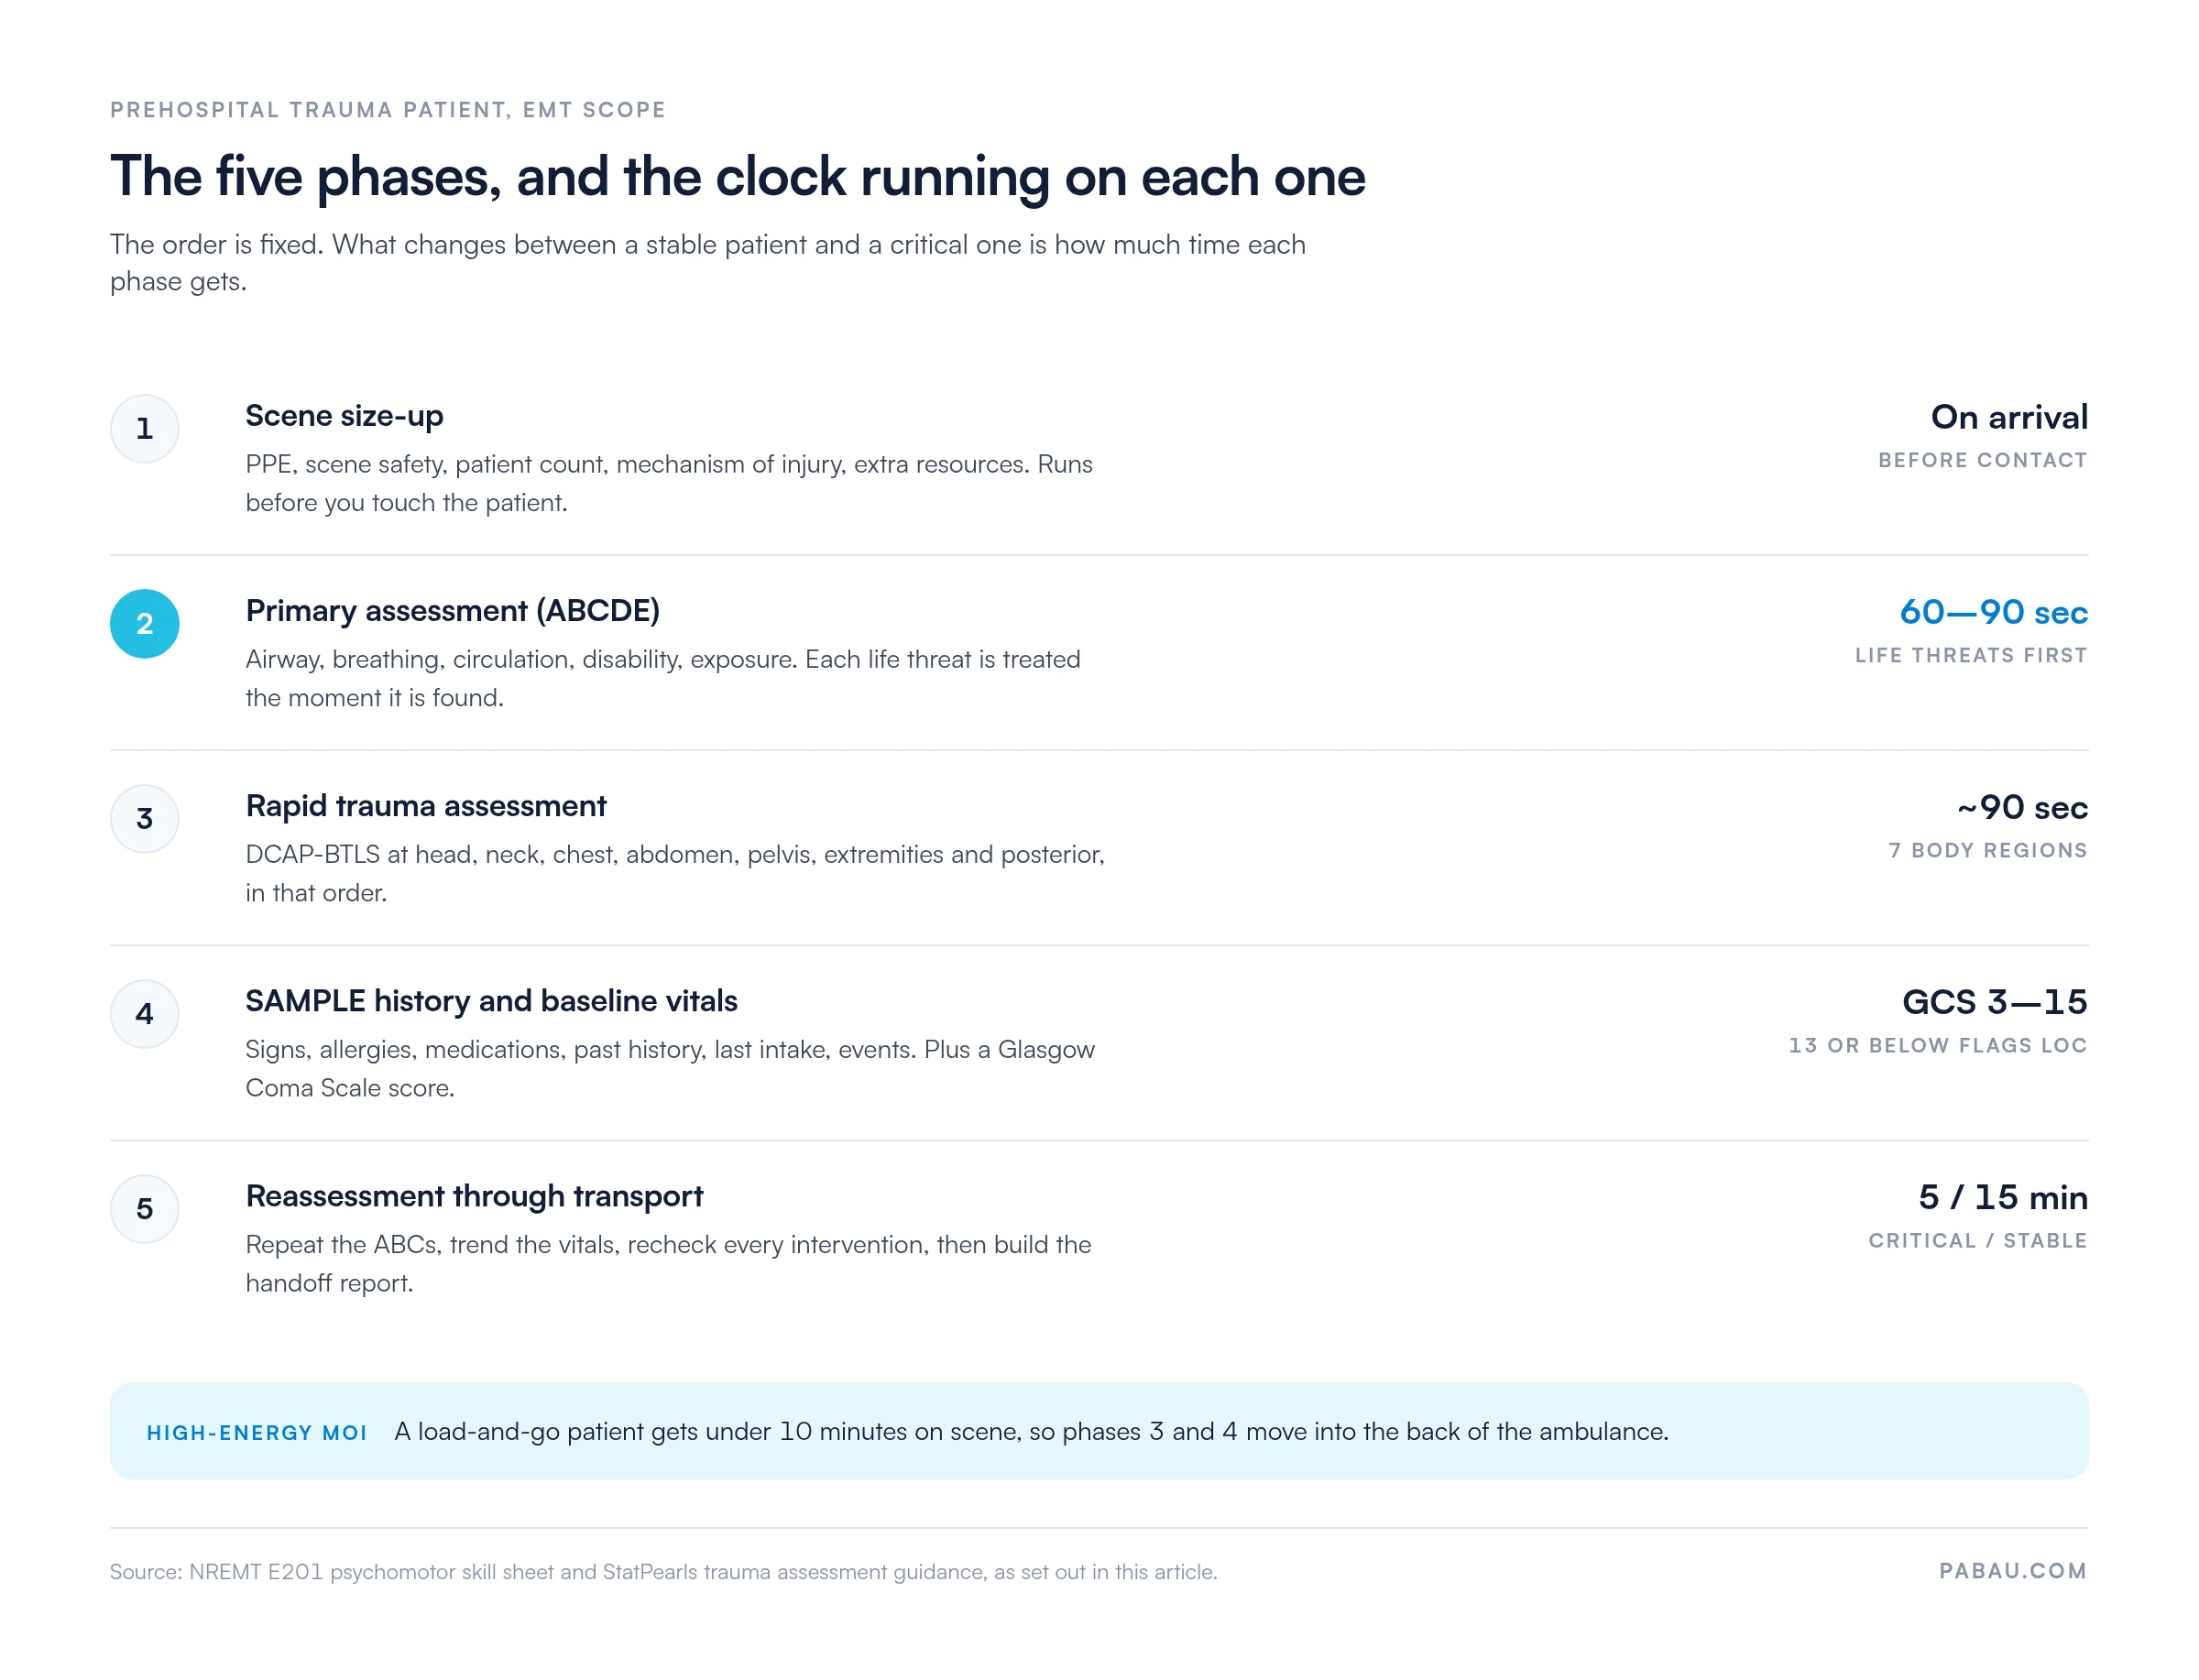
Scene size-up happens before you reach the patient. It settles five questions. Is the scene safe? How many patients are there? What caused the injury? And what extra resources and protection do you need before you start?
Mechanism of injury is what you most need out of the size-up. Someone who walks away from a 40 mph rear-end collision and says they feel fine still gets a full workup. The protocol exists to catch the injuries a patient cannot feel yet.
The primary assessment finds and treats life threats before any other exam starts. It follows the ABCDE framework set out in StatPearls clinical trauma assessment guidance: airway, breathing, circulation, disability, exposure.
Disability here is a quick screen rather than a neuro exam. The AVPU scale sorts the patient into alert, voice, pain or unresponsive, and that is enough detail for this phase. A finer score can wait for the Glasgow Coma Scale in step four.
The transport decision falls out of this phase too. Airway compromise, uncontrolled bleeding or a dropping level of consciousness means load and go, with under ten minutes on scene. A stable patient buys you the time to finish the exam where you are.
The rapid trauma assessment is a head-to-toe physical exam for any patient with a significant mechanism of injury or an altered mental status. It runs in a fixed anatomical order, so that pressure cannot make you skip a region.
The sequence set out in the NREMT E201 skill sheet runs:
On a critical patient you may have 90 seconds for all seven regions. Knowing the order by heart frees up attention for the findings themselves. Note the findings as you go, too, because rebuilding them at the hospital door costs accuracy.
SAMPLE is the history mnemonic EMS uses to collect background quickly, either during or just after the head-to-toe exam.
Baseline vitals go with it: respiratory rate, pulse rate and quality, blood pressure, skin condition, and a Glasgow Coma Scale score. GCS adds eye opening (1-4), verbal response (1-5) and motor response (1-6), for a maximum of 15. Thirteen or below signals altered mental status. Eight or below usually means the airway needs protecting.
Field conditions make this harder than the classroom suggests. Your patient may be unconscious, bystanders often have the story wrong, and the clock keeps running. Take what you can get, note who gave it to you, then move on.
Run the SAMPLE history in parallel with vitals whenever you have two rescuers. One asks the structured questions while the other takes pulse, blood pressure and respirations. That cuts scene time without losing information. Record the answers on a body diagram or a voice memo straight away, rather than trusting memory once you leave.
Reassessment is a loop rather than a step. It repeats every five minutes for a critical patient and every fifteen for a stable one, from patient contact through to hospital handoff.
This phase catches the patient who looked fine and then crashed. Compartment syndrome, internal bleeding and tension pneumothorax can all develop inside the transport window. Two blood pressures five minutes apart tell you far more than one set of numbers ever will.
The NREMT practical exam scores this station against the E201 skill sheet, with a proctor marking each action as you perform it. E201 is the Emergency Medical Technician psychomotor examination, and it lists every required action and verbalization.
Critical criteria fail the station on their own, however well the rest of it went. They are:
Verbalization is where a lot of candidates lose points. A proctor cannot score an action they never heard you name. So rehearse out loud, all the way through, instead of moving silently down the sequence.
Both assessments open with scene size-up and close with reassessment. The middle is where they split, and the split turns on one question. Is the exam led by mechanism of injury, or by the patient’s complaint?
Get this call wrong in one direction and you over-examine a medical patient, spending scene time and an ALS unit you did not need. Get it wrong the other way and a high-energy trauma patient receives a focused exam, so the ruptured spleen travels to hospital undetected.
Reclassify freely as new information arrives. If the size-up called it medical, and the patient turns out to have fallen down stairs first, you switch tracks.
Field conditions leave no room for looking up a reference. These five mnemonics carry the sequence instead, and each one owns a specific phase.
Use the E201 skill sheet itself as your study document, because it maps straight onto the five phases. Third-party summaries drift from the wording a proctor is scoring against. Print the sheet and mark yourself off it.
Work through both of these the way you would at a skill station, saying every finding out loud as you reach it.
Dispatch: single-vehicle collision with a pole, airbag deployed, driver unrestrained.
Dispatch: construction worker, fell roughly 15 feet from scaffolding, conscious when crews were called.
Drilling scenarios beats rereading the steps. Running one forces all five phases together under a clock, which is the part a written summary can never test.
Running the assessment well is only half the job, because the other half starts once the call ends. A trauma call produces more data than almost any run of the same length. Vitals at several intervals, exam findings across seven body regions, a SAMPLE history, a transport decision, and the response to every intervention.
Capturing all of it under field conditions is hard, and whatever stays in someone’s head until the ambulance is cleaned rarely survives.
The record then travels. Your ePCR reaches the receiving facility, the agency’s quality review, and billing, and each reader wants something different from it. The hospital wants findings and trends. Quality review wants evidence the protocol was followed. Billing wants the medical necessity of the transport.
CMS requires documented medical necessity for ambulance reimbursement, and most states separately mandate electronic patient care report (ePCR) submission. So a thin trauma narrative costs twice. Once in clinical risk, and again at the claim.
Run this check before the narrative gets signed:
Three mistakes turn up again and again. Reusing the last call’s template without clearing the old findings. Recording one blood pressure, so nobody downstream can see a trend. And writing the narrative after the shift, once the detail has faded.
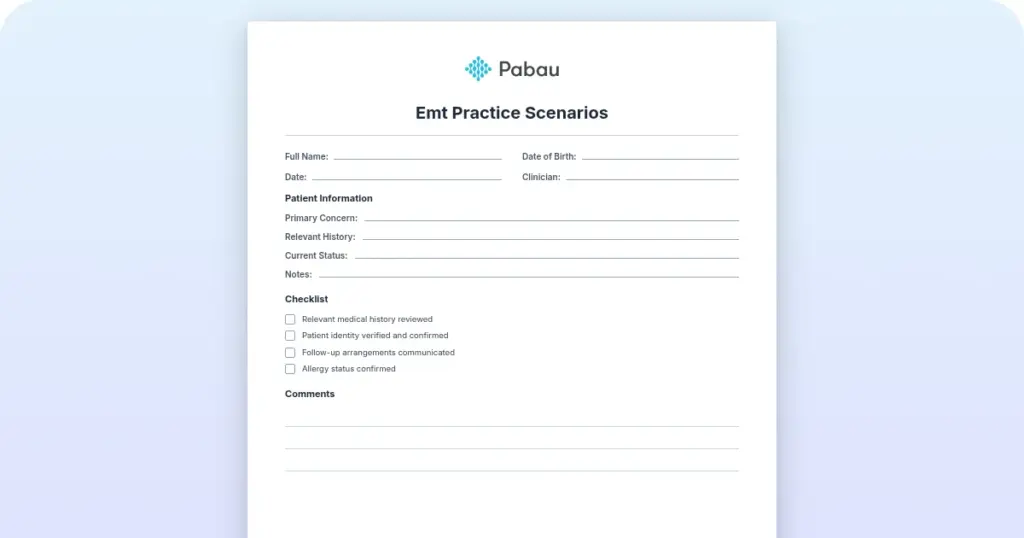
A pre-built form removes most of that risk. An EMT patient assessment form keeps the phases in order on the page, and an EMS chart narrative template gives the story a fixed shape. Both mean the same fields get filled on every call, whoever is holding the pen.
The assessment problem does not stop at the ambulance door. Any practice seeing patients after an acute event faces the same job: capture a structured assessment quickly, then keep it findable months later. Plenty of practices still handle it with a blank notes box.
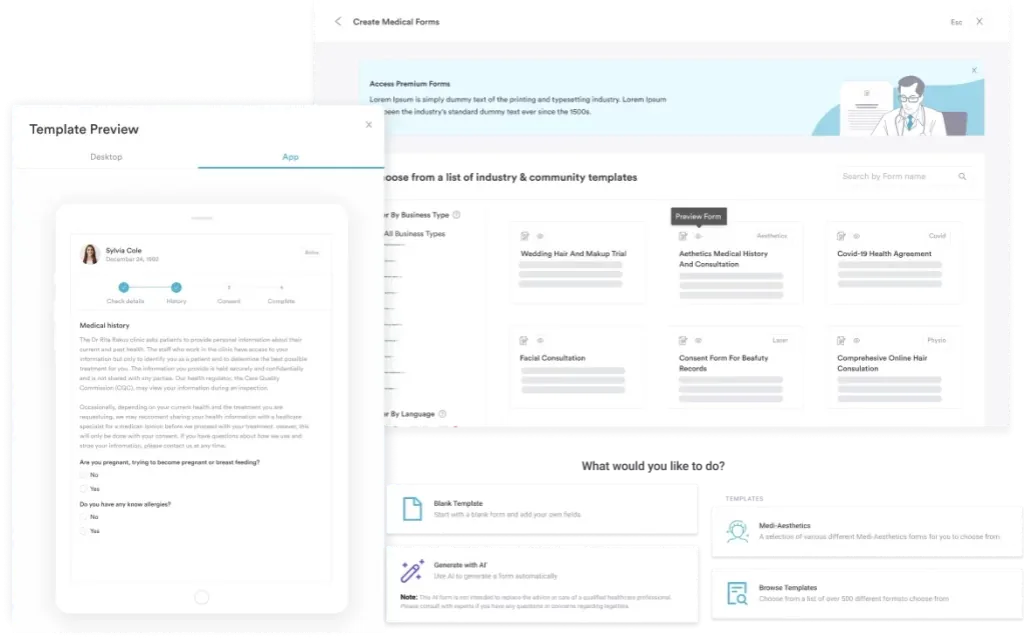
Practice management software like Pabau replaces that box with a form you design once. Patient intake software lets you lay the fields out in the order you work them. Staff then complete the form on a tablet at the bedside. Medical records management files it against the patient, so the next clinician opens one record instead of chasing three.
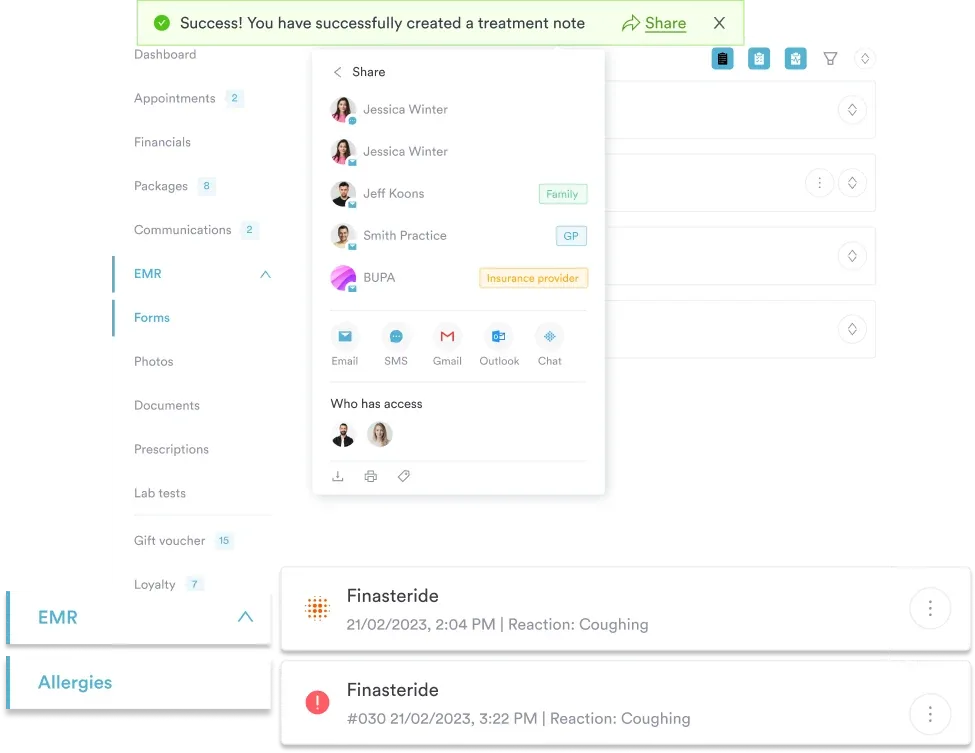
What changes is consistency. Vitals sit in fields rather than sentences, so a trend shows at a glance. Allergies and medications carry forward instead of being re-asked at every visit. And the completed note can go to a referring clinician without anyone printing it.
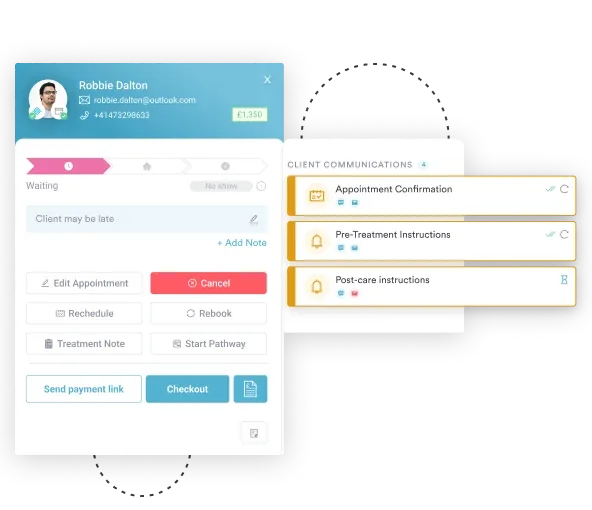
Follow-up runs off the same record. Post-care instructions and check-in messages go out automatically after the appointment, so the patient gets written guidance without a staff member remembering to send it.

Pabau turns your assessment into a form staff complete on a tablet, then files it straight into the patient record. Vitals, allergies and findings stay in fields, so trends stay visible and no one rebuilds the note from memory later.

Drill the order until it runs without you. Under pressure nobody invents a sequence, they fall back on the one they rehearsed. A fixed order is what stops the fourth step being forgotten because the third one was loud.
The trade-off worth holding onto is time against completeness. A load-and-go patient gets a shorter exam on scene, which means the reassessment loop has to carry the weight instead. Decide early which kind of call you are on, then say it out loud so your partner is working to the same plan.
Documentation is where a good assessment quietly loses its value. Is your team still rebuilding notes from memory after the fact? Book a demo and see how Pabau captures a structured assessment while the patient is in front of you.

Want intake that patients can complete before they arrive? Medical forms at your healthcare practice covers how a well-built form captures better clinical data with less friction.
Need a tighter handoff to the receiving team? SBAR example shows how to structure a verbal report so the important part lands first.
Working acute presentations on the hospital side? Emergency nursing assessment applies the same primary-then-secondary logic once the patient is through the door.
Tracking vitals across repeat readings? Vital signs record gives you one sheet where a trend is visible instead of buried.
Scoring level of consciousness consistently? Level of consciousness assessment sets AVPU and GCS side by side, with what each score changes.
Use a focused exam when the patient has an isolated injury, a normal mental status, and no significant mechanism of injury. A twisted ankle off a curb does not need a head-to-toe survey. Examine the injury site, check circulation and movement past it, then take vitals and a history.
Yes. All five phases sit inside the EMT scope of practice. What falls outside it are some of the treatments the assessment points to, such as advanced airways or needle decompression. Those need an ALS intercept, which is why the scene size-up asks about resources before you start.
The order stays the same, but the numbers and the timeline do not. Normal vital sign ranges shift with age, so carry a pediatric reference. Children also compensate well and then deteriorate fast, which makes the reassessment loop more important. Shorten your interval if a number looks borderline.
Stop and return to the primary assessment. Any change in airway, breathing, circulation or mental status resets you to phase two, whatever you were in the middle of. Treat the new problem, then pick the sequence back up. Tell medical control what changed and when it happened.