Stroke impact scale: Free PDF, scoring and MCID by domain
The stroke impact scale (SIS) is a 59-item questionnaire in which stroke survivo...

2
Last Updated: Oct 13, 2026

The reverse lachman test assesses posterior cruciate ligament (PCL) integrity with the patient supine and the knee at 30 degrees of flexion.
A positive finding is excessive posterior tibial translation compared with the contralateral knee, often accompanied by a soft or absent end-feel.
Grading runs from Grade I (0-5 mm translation) to Grade III (greater than 10 mm), guiding decisions on conservative management versus orthopedic referral.
Pabau’s clinical record system lets physiotherapists and sports medicine clinicians document grading, end-feel, and bilateral comparison findings in structured, searchable notes.
The reverse lachman test is the go-to clinical orthopedic test for assessing posterior cruciate ligament (PCL) integrity. Most clinicians who have trained in knee assessment know the standard Lachman test for ACL tears. The reverse variation flips the force direction. Instead of pulling the tibia anteriorly, the examiner pushes it posteriorly and measures how far it translates. That posterior translation, compared with the unaffected knee, is the hallmark of PCL insufficiency.
PCL injuries are less common than ACL tears. Missed diagnoses, delayed rehabilitation, and chronic instability still cost physical therapy practices and sports medicine clinics dearly. Knowing when the reverse lachman test is the right call, and how to perform it precisely, separates a thorough knee examination from an incomplete one.
This guide covers the technique step by step and how to grade and interpret your findings. It also covers how the test compares with related PCL and knee assessments, plus common errors that produce false results. Finally, it covers when to escalate to imaging or orthopedic referral.
The posterior cruciate ligament runs from the posterior intercondylar area of the tibia to the medial femoral condyle inside the joint capsule. It is the primary restraint against posterior tibial translation and is approximately twice as strong as the ACL. Understanding this anatomy is what makes the test’s directional logic clear.
When the PCL is intact, it resists the posterior force and the tibia stays close to its neutral position relative to the femur. When the ligament is disrupted, that same posterior push translates the tibia further back than normal, which is what the reverse lachman test measures. Thirty degrees of knee flexion relaxes the secondary restraints. That isolates the PCL, so it is largely the ligament alone that controls how far the tibia moves.
The femoral condyles, tibial plateau, and the posterolateral corner structures all interact during the test. Posterolateral corner injuries frequently co-occur with PCL tears, so awareness of combined pathology is essential when interpreting any PCL assessment. A varus stress test flags that combination, because lateral opening with the knee fully extended means the injury reaches past the lateral collateral ligament.
Small variations in knee angle, hand position, or force direction change what you are measuring. Follow these steps in the same sequence every time.
Side-to-side comparison is non-negotiable. Always examine the uninjured knee first to establish baseline laxity, since natural anatomical variation exists between patients. A finding is only clinically significant when it exceeds the contralateral side by a measurable margin. Bilateral baseline also helps you calibrate end-feel: what a firm end-feel feels like in this patient, on this day.
A positive reverse lachman test shows excessive posterior tibial translation compared with the contralateral knee. The end-feel is typically soft, mushy, or absent, rather than the firm mechanical stop of an intact PCL. The degree of translation and the character of the end-feel together determine your grade.
The standard three-grade classification system gives you the clinical language to document and communicate findings consistently. Use this table as your reference:
End-feel matters as much as translation distance. A Grade I finding with a firm end-feel suggests partial fiber disruption with structural continuity. A soft or absent end-feel at even Grade I levels warrants closer attention. It may indicate a more significant injury than the translation distance alone suggests.
Always document end-feel alongside translation distance. Writing ‘Grade II, soft end-feel bilaterally compared’ in your clinical notes tells the receiving clinician far more than ‘positive Reverse Lachman’ alone. Standardized language supports safer handoffs.
The reverse lachman test carries moderate diagnostic value. Rubinstein et al. (1994) reported a sensitivity of 63% and a specificity of 89% for the test in confirmed PCL injuries. That combination catches roughly two-thirds of true PCL tears and correctly clears most intact knees, but it still misses a meaningful share of injuries. For context, StatPearls (NCBI Bookshelf) reports a sensitivity of 87% and a specificity of 93% for the standard Lachman test in ACL tears. Both figures reflect ideal examiner technique under research conditions.
Diagnostic performance still depends on examiner experience, the degree of PCL injury, quadriceps guarding, and whether posterolateral corner structures are also compromised. Treat the reverse lachman test as a screening tool rather than a stand-alone diagnosis. A strong positive with a soft end-feel and clear asymmetry warrants imaging and potential referral, regardless of the exact millimeters of translation you measure.
The American Academy of Orthopaedic Surgeons (AAOS) recommends supplementing clinical assessment of suspected PCL injuries with MRI. This applies when surgical decision-making or formal rehabilitation grading is required. No single clinical test should be used in isolation.
The reverse lachman test does not operate in isolation. It sits within a battery of knee ligament tests, each targeting slightly different structures, positions, and force vectors. Knowing when to use each one is as important as knowing how to perform them.
The posterior drawer test is the other principal PCL test. The patient is supine with the hip at 45 degrees and the knee at 90 degrees of flexion. The examiner sits on the patient’s foot to stabilize it, then pushes the tibia posteriorly. A positive finding is posterior tibial displacement compared to the contralateral side.
The key distinction from the reverse lachman test is the flexion angle. The posterior drawer operates at 90 degrees, making it more sensitive to complete PCL tears and combined posterolateral corner injuries. The reverse lachman at 30 degrees catches partial tears that may be missed at 90 degrees. Secondary restraints are more active at higher flexion angles, which masks a partial tear there. Use both when PCL injury is suspected.
The dial test assesses posterolateral corner (PLC) integrity rather than the PCL directly. With the patient prone, the examiner externally rotates both tibiae simultaneously at 30 degrees and then at 90 degrees. Increased external rotation asymmetry at 30 degrees only suggests an isolated PLC injury; asymmetry at both angles suggests combined PCL and PLC pathology. Always perform the dial test when the reverse lachman test is positive to rule in or out this combination.
The pivot shift test detects anterolateral rotatory instability, primarily an ACL-deficiency sign. It is not a primary PCL test. Performing it alongside a positive reverse lachman helps rule out concurrent ACL pathology, which matters in multi-ligament injuries common in high-velocity trauma.
Clinicians working in sports medicine clinics and chiropractic practices benefit from using a structured battery rather than relying on any single test. The combination of reverse lachman plus posterior drawer significantly improves diagnostic confidence compared to either test alone.
For clinicians who also assess the ankle, the anterior drawer test for ankle ligament laxity uses a conceptually similar anteriorly directed force on the talus. The Ottawa Ankle Rules offer a validated decision framework for ankle injury triage that pairs well with orthopedic special test knowledge.
Most false-negative and false-positive results trace back to a handful of avoidable technique errors:
A positive reverse lachman test is a clinical indicator, not a diagnosis. It tells you that PCL laxity may be present. What happens next depends on grade, mechanism, acuity, and the patient’s functional demands.
Grade I findings with a firm end-feel and no functional instability often respond to conservative management. This includes quadriceps strengthening, activity modification, and a structured return-to-sport rehabilitation protocol. MRI is not always needed at this stage if the clinical picture is clear and the patient is improving.
Good structured patient care management matches the intervention to the grade, rather than defaulting to watchful waiting or immediate referral for every positive finding. Document your rationale explicitly in the clinical record.
Inconsistent documentation of special test findings is a common problem in musculoskeletal practice. Vague entries like “positive Lachman” or “knee instability noted” create ambiguity for subsequent clinicians, insurers, and referrers. The reverse lachman test has a structured vocabulary: use it.
Clinicians running physiotherapy clinic management systems or sports medicine EMRs benefit from pre-built structured fields for special test findings. Practice management software like Pabau lets you create custom assessment templates that capture grade, end-feel, bilateral comparison, and test date in structured, searchable form. For teams running a physiotherapy clinic, that consistency across clinicians matters when a patient transfers between practitioners. It also helps when you need to demonstrate clinical rationale to a referrer or insurer.
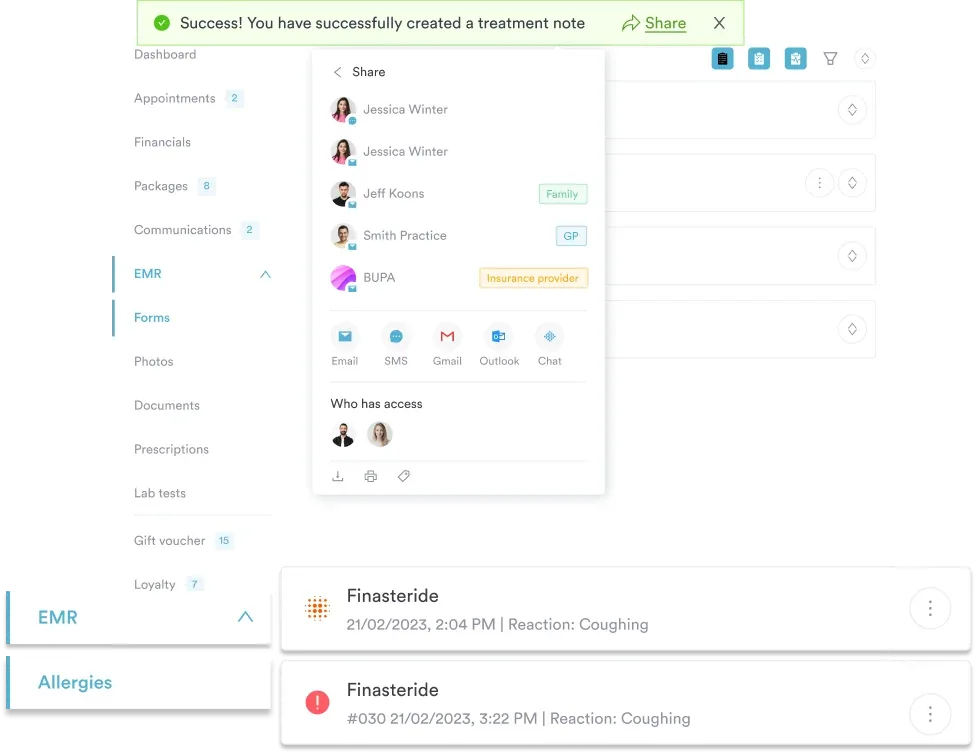
The recommended documentation pattern for a positive reverse lachman test:
Adopting safer clinical notes practices across your team means everyone uses the same grading language. It prevents the ambiguity that leads to repeated assessments, missed handoffs, and medico-legal exposure. Pair structured templates with digital clinical forms so the assessment workflow is consistent from first contact through discharge.
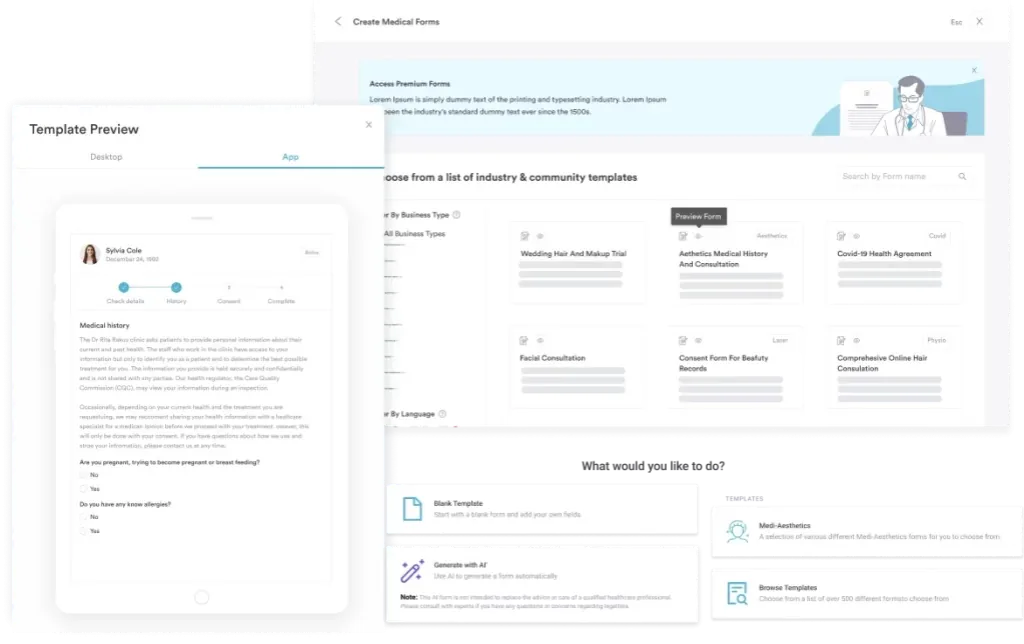
For practices interested in clinical compliance, the clinical compliance requirements for physiotherapy are worth reviewing alongside your assessment protocols. PT practice management software that reduces documentation burden is worth the same scrutiny.

Pabau’s clinical record system lets physiotherapists and sports medicine clinicians structure special test findings and grade laxity. Record bilateral comparisons and generate referral-ready notes, all in one place.

PCL injuries are underdiagnosed because the reverse lachman test is underused, under-standardized, and too often performed without bilateral comparison or structured grading. A confident, consistent technique, with attention to end-feel and the common pitfalls, is what separates a thorough PCL assessment from a missed diagnosis.
Pabau’s clinical record system gives physiotherapy and sports medicine teams structured templates for grading, end-feel, and bilateral comparison. Every finding stays attached to the management rationale in one place. To see how it fits your practice workflow, book a demo.

Need a compliance framework for your physiotherapy clinic? Clinical compliance requirements for physiotherapy clinics covers documentation standards, audit obligations, and regulatory expectations for UK and international practices.
Looking for structured rehabilitation protocols after a positive finding? Return-to-running protocol for physical therapy provides a graded, evidence-based progression from acute management through full sport return.
Want to improve clinical note quality across your team? Safer clinical notes outlines the documentation principles that reduce risk, support handoffs, and improve patient safety in musculoskeletal practice.
The reverse lachman test is a clinical orthopedic examination used to assess the integrity of the posterior cruciate ligament (PCL). The examiner applies a posterior-directed force to the tibia, with the patient supine and the knee flexed to 30 degrees. The exam compares posterior translation with the other knee. It is typically used alongside the posterior drawer test as part of a structured PCL assessment battery.
A positive reverse lachman test indicates PCL laxity, suggesting disruption of the posterior cruciate ligament. It shows excessive posterior tibial translation compared with the contralateral knee, often with a soft or absent end-feel. The degree of translation is graded I through III and guides whether conservative management, MRI, or orthopedic referral is appropriate.
The standard Lachman test assesses the ACL. The patient lies supine while the examiner applies an anterior force to the tibia and looks for forward displacement. The reverse lachman test assesses the PCL instead. The patient still lies supine, but the examiner applies a posterior force and looks for backward displacement. Same starting position, opposite force direction, different ligament.
The reverse lachman test is performed supine at 30 degrees of knee flexion and is better at detecting partial PCL tears. The posterior drawer test is performed supine at 90 degrees of flexion and is more sensitive to complete PCL tears and combined posterolateral corner injuries. Both tests target the PCL but at different flexion angles, making them complementary rather than interchangeable in a thorough knee examination.
MRI is recommended when the reverse lachman test shows Grade II or III laxity, or when end-feel is soft or absent. It is also recommended when there is suspicion of combined ligament injury or when high-energy trauma is the mechanism. Order MRI as well if the patient has not improved after four to six weeks of conservative management. Grade I findings with a firm end-feel and no functional instability may be managed conservatively without immediate imaging, at the clinician’s discretion.