GLP-1 diet plan
A GLP-1 diet plan is a structured eating framework for patients taking semagluti...

2
Last Updated: Oct 13, 2026

A respiratory exam follows the same four steps every time: inspection, palpation, percussion, and auscultation.
Normal means 12 to 20 breaths a minute, symmetrical expansion, a resonant percussion note, and vesicular breath sounds.
Record what you observed and where, not what you think it means, and always compare one side against the other.
Documentation has to support the level of service billed, so an incomplete exam note costs the practice twice.
Practice management software like Pabau turns the paper form into a digital template that writes straight into the patient record.
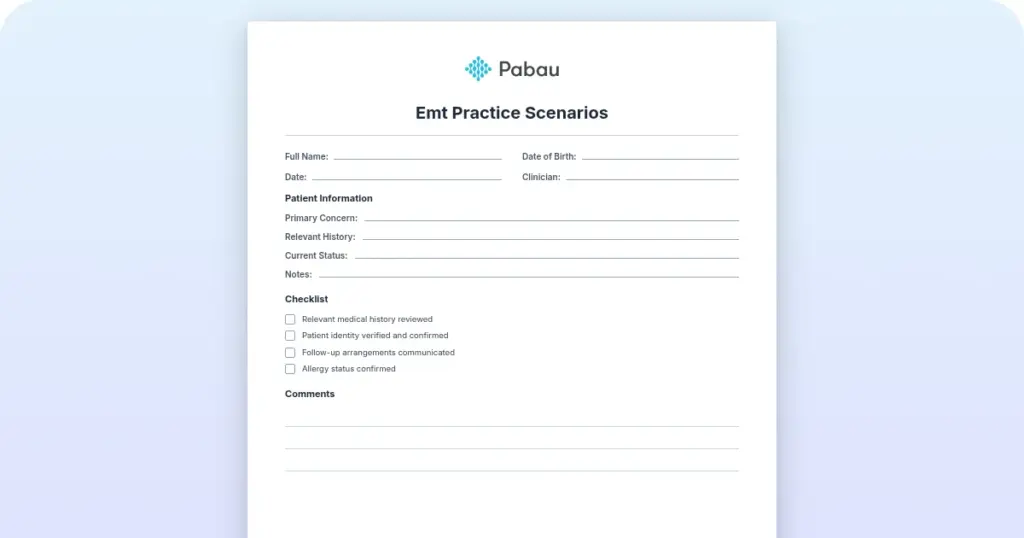
The form walks through inspection, palpation, percussion, and auscultation in order. It has fields for respiratory rate, chest expansion, percussion notes, breath sounds, and a normal-limits check for each section.
Download templateA respiratory exam is four steps in a fixed order: look, feel, tap, listen. Run them the same way every time and a quiet right base stands out in seconds. Skip one and you can miss the finding that changes the plan.
The order matters because each step answers a question the one before it raised. Percussion tells you whether the tissue underneath is air-filled. Auscultation tells you what is moving through it.
This page walks through the sequence and sets out normal against abnormal. It also shows how to write findings a colleague can act on.
It tells you how well air is moving in and out, and where it is not. The exam reads breathing pattern, chest wall mechanics, and the density of the tissue underneath. Together those three pick up infection, collapse, fluid, and trapped air before anyone orders imaging.
It is also fast. A full sequence takes 5 to 10 minutes, which is why it fits inside so many routine visits. Primary care, physical therapy, sports medicine, and occupational health all run some version of it.
IPPA stands for inspection, palpation, percussion, and auscultation. Each step adds a layer the one before it could not reach. The chart below sets out what you do at each stage, and what a normal result looks like when you get there.
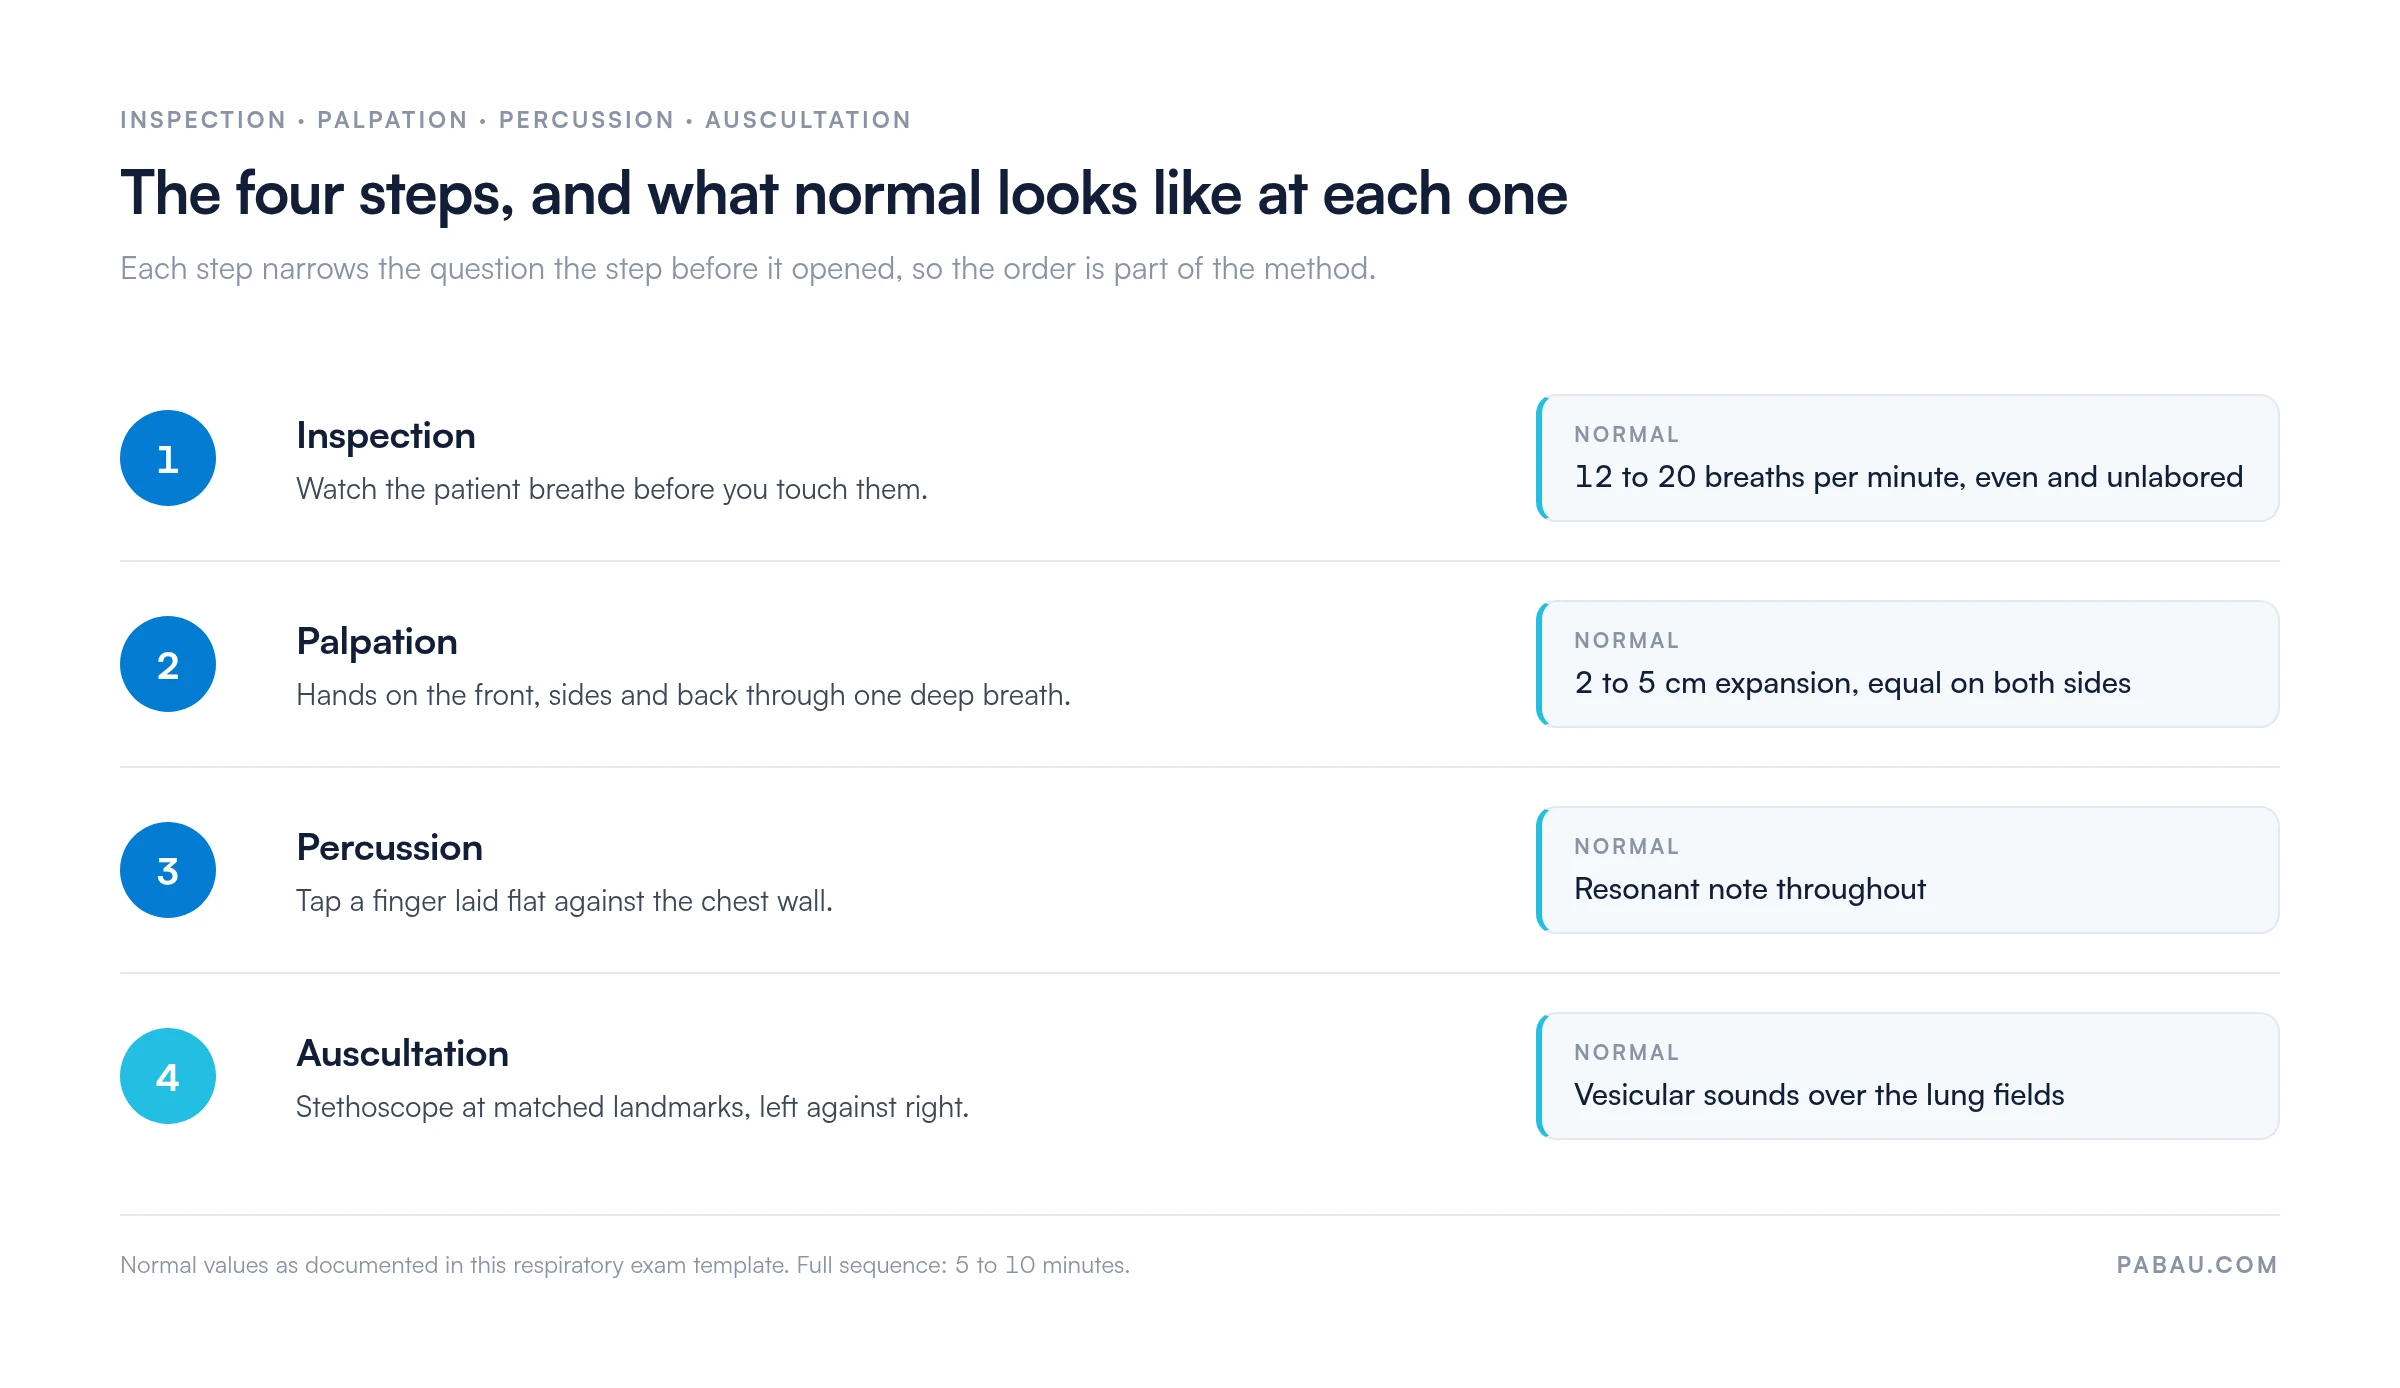
Observation comes first, while the patient is still settling. Watch the rate, the effort, and whether both sides of the chest move together.
Palpation checks that both lungs fill equally. Place your hands on the front, sides, and back of the chest, then ask for a deep breath.
Percussion turns tissue density into sound. Lay one middle finger flat against the chest wall, then tap it with a finger from the other hand. Work down the chest and compare left against right at each level.
Auscultation names what the first three steps found. Place the diaphragm at the standard landmarks, listen through a full breath, and compare each spot with its opposite number.
Most of the exam is a comparison against a known baseline. The table below is the quick reference for filling in the form, and for deciding when a finding needs imaging or a referral.
One caution before you act on any single row. A lone abnormal reading rarely stands on its own. Read it against the rate, the pattern, and what the patient told you at the door.
Five small things decide whether the exam is worth documenting. Sort them out before you start, rather than halfway through.
That last point causes more confusion than the exam itself. “Right base” means one thing to the clinician who wrote it. It can mean something slightly different to whoever reads the note next. A shared naming convention fixes that in about a week.
Write what you observed and where you observed it. Save the interpretation for the assessment line underneath.
Structure does most of that work for you. A form with named fields collects the same detail from every clinician, and that is the biggest single lever on note quality.
Practice management software like Pabau builds the form once and reuses it at every visit. Our guide to safer clinical notes covers the wider habits that go with it.

An abnormal exam narrows the differential. It does not close it. Dullness at a base, unequal breath sounds, or crackles that do not clear with a cough all point toward further testing.
Chest X-ray, spirometry, and blood work are the usual next moves. When oxygenation is the question rather than mechanics, an ABG chart keeps the gas results next to the exam that prompted them.
Whatever you order, write down why you ordered it. The completed form plus one line of reasoning is what makes the referral defensible six months later.
The note has to support the level of service you billed. A problem-focused exam and a comprehensive one look different on paper, and the difference is the detail you recorded at the time.
It also has to justify anything you ordered off the back of it. An imaging request reads far better when the note above it names the dull base and describes how the breath sounds compared.
A structured form helps here for a plain reason: it leaves visible blanks. An empty field is easy to catch before the visit closes. A missing paragraph is not.
Plenty of practices still print the form. Someone completes it at the bedside, then types the findings into the record afterward. Or the paper gets filed, and nobody sees it again. Both routes cost time and lose detail.
In Pabau, the exam becomes a clinical note template with named fields. Clinicians pick findings from a list or type free text, and the note attaches to the patient record as they save it. There is no second round of data entry.
That changes what happens next. The findings sit in the record as structured fields, so you can pull the last exam up beside today’s. A follow-up task can fire automatically when a section comes back abnormal. The note itself drops into a referral letter without retyping.
Pabau is built for the whole visit, not only the note. Practices doing general medical work know it as GP clinic software. The same clinical note templates run in physical therapy and sports medicine practices too.

Pabau’s clinical note templates and digital forms capture respiratory exam findings straight into the patient record. Follow-up tasks fire automatically when a section comes back abnormal.

The value of a respiratory exam sits in the repetition. The same four steps, in the same order, at every visit, is what makes an unequal finding obvious rather than debatable.
The trade-off is small. A few minutes of structure at the bedside buys a note that survives a referral and an audit. Download the template, run it the same way for a month, and the habit sticks.
Once the form works on paper, the next step is getting it off paper. Book a demo to see how Pabau turns your exam form into a digital note that files itself.

Want to catch deterioration earlier? Abnormal vital signs chart sets the thresholds that turn a rising respiratory rate into an escalation.
Found a wheeze that keeps coming back? Asthma action plan template gives the patient written steps for good days, bad days, and emergencies.
Recording the systems you did not examine? Normal review of systems has copy-ready wording for documenting 14 systems as negative.
Building out the full annual visit? Annual physical exam checklist sets out the vitals, labs, and screenings to run at each life stage.
Need a care plan after an abnormal exam? Ineffective breathing pattern care plan turns the findings into goals, interventions, and review points.
Yes. The lower lobes are reached from behind, so a front-only exam misses most of them. Sit the patient forward, percuss and auscultate down the back, and compare left against right at each level.
Egophony is a vocal resonance test. Ask the patient to say “eee” while you listen through the stethoscope. Over consolidated lung the sound turns into a nasal “ay”. Use it to confirm dullness you already found on percussion.
Only the first step of it. You can assess rate, effort, color, and whether the patient finishes a sentence in one breath. Palpation, percussion, and auscultation need hands or a remote stethoscope, so book those in person.
No. Oximetry reports oxygen saturation, not air movement. A patient can hold a normal reading while one base is dull and quiet. Treat the number as one more data point beside the exam findings.
The normal ranges change. Respiratory rate falls as a child grows, so an adult range of 12 to 20 reads as far too slow in an infant. Use age-banded values, and expect louder breath sounds through a thinner chest wall.