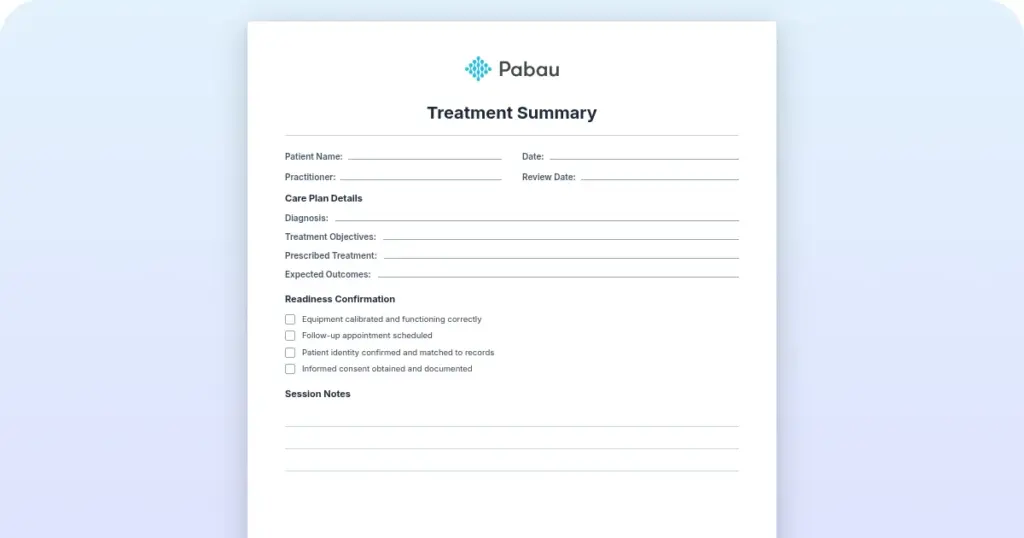
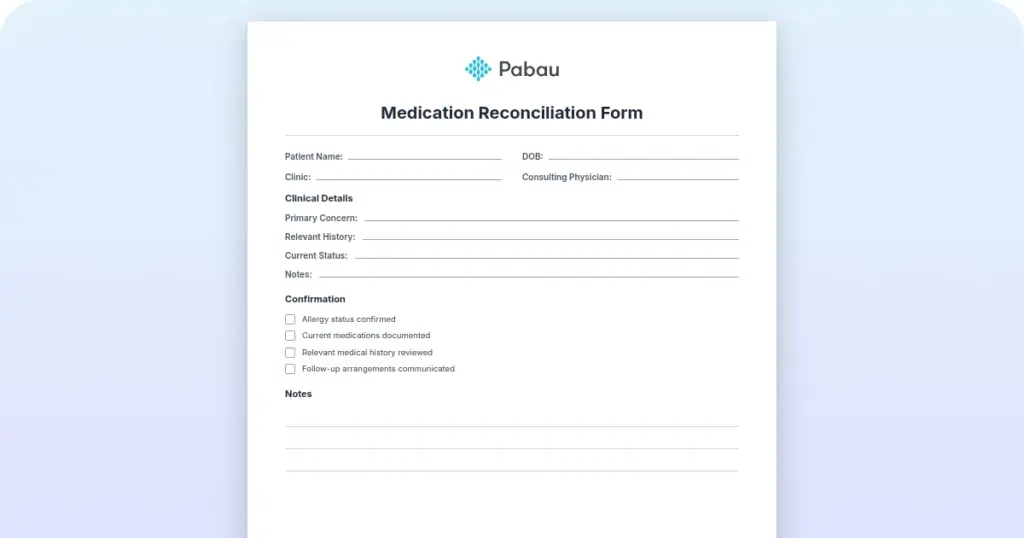
Treatment summary
A treatment summary is a written record of what care was delivered during an epi...

3
Last Updated: Oct 16, 2026

An MRI report runs five sections: patient information, clinical indication, technique, findings, and impression.
Radiologists write the report from the top down, but clinicians should read it from the impression up.
The impression carries the interpretive summary and the follow-up recommendation, so it is the section that drives action.
T2-weighted images show fluid and edema as bright, hyperintense signal, which underpins how most findings are described.
Practice management software like Pabau files the finished report in the client record beside the patient’s history.
A ready-to-use MRI report template covering patient demographics, clinical indication, imaging technique, anatomical findings by region, radiologist impression, and follow-up recommendations.
Download templateAn MRI report is the clinical document a radiologist writes to pass imaging findings to the ordering physician and the wider care team. It follows a fixed five-section structure. The section a clinician actually acts on sits at the bottom of it.
That mismatch is the practical point of this guide. Radiologists build the report from the top down, while clinicians get to the useful part fastest by starting at the impression. Below you will find the standard structure, the terminology that shows up in the findings, and a template you can adapt to your own service.
The template above follows the structured reporting guidance published by the American College of Radiology (ACR). Use it as a starting point whether you are standardizing your own reporting or setting a house format for a team.
An MRI report is a clinical document prepared by a radiologist after reviewing a magnetic resonance imaging study. It records the technique used and the findings organized by anatomical region. It closes with the radiologist’s impression, which covers the abnormalities seen, any comparison with prior studies, and the recommended follow-up.
The report is the official record of how the images were interpreted. It drives treatment planning, and it is the document pulled during an audit, a claim review, or a second opinion.
RadiologyInfo.org, an ACR-backed education resource, notes that clarity and consistency in reporting reduce diagnostic errors. A standard template is the cheapest way to get both, because it stops sections being skipped when the list of findings runs long.
Every MRI report follows the same sequence, and each section answers a different question. Read the list once and the structure stops feeling arbitrary.
Patient information is the one section that can be filled in before the radiologist opens the study. Digital intake forms already hold the demographics and the referral detail from the booking, so that block can be carried straight through.
The order the report is written in is not the order it gets read in, and the diagram below sets the two against each other.
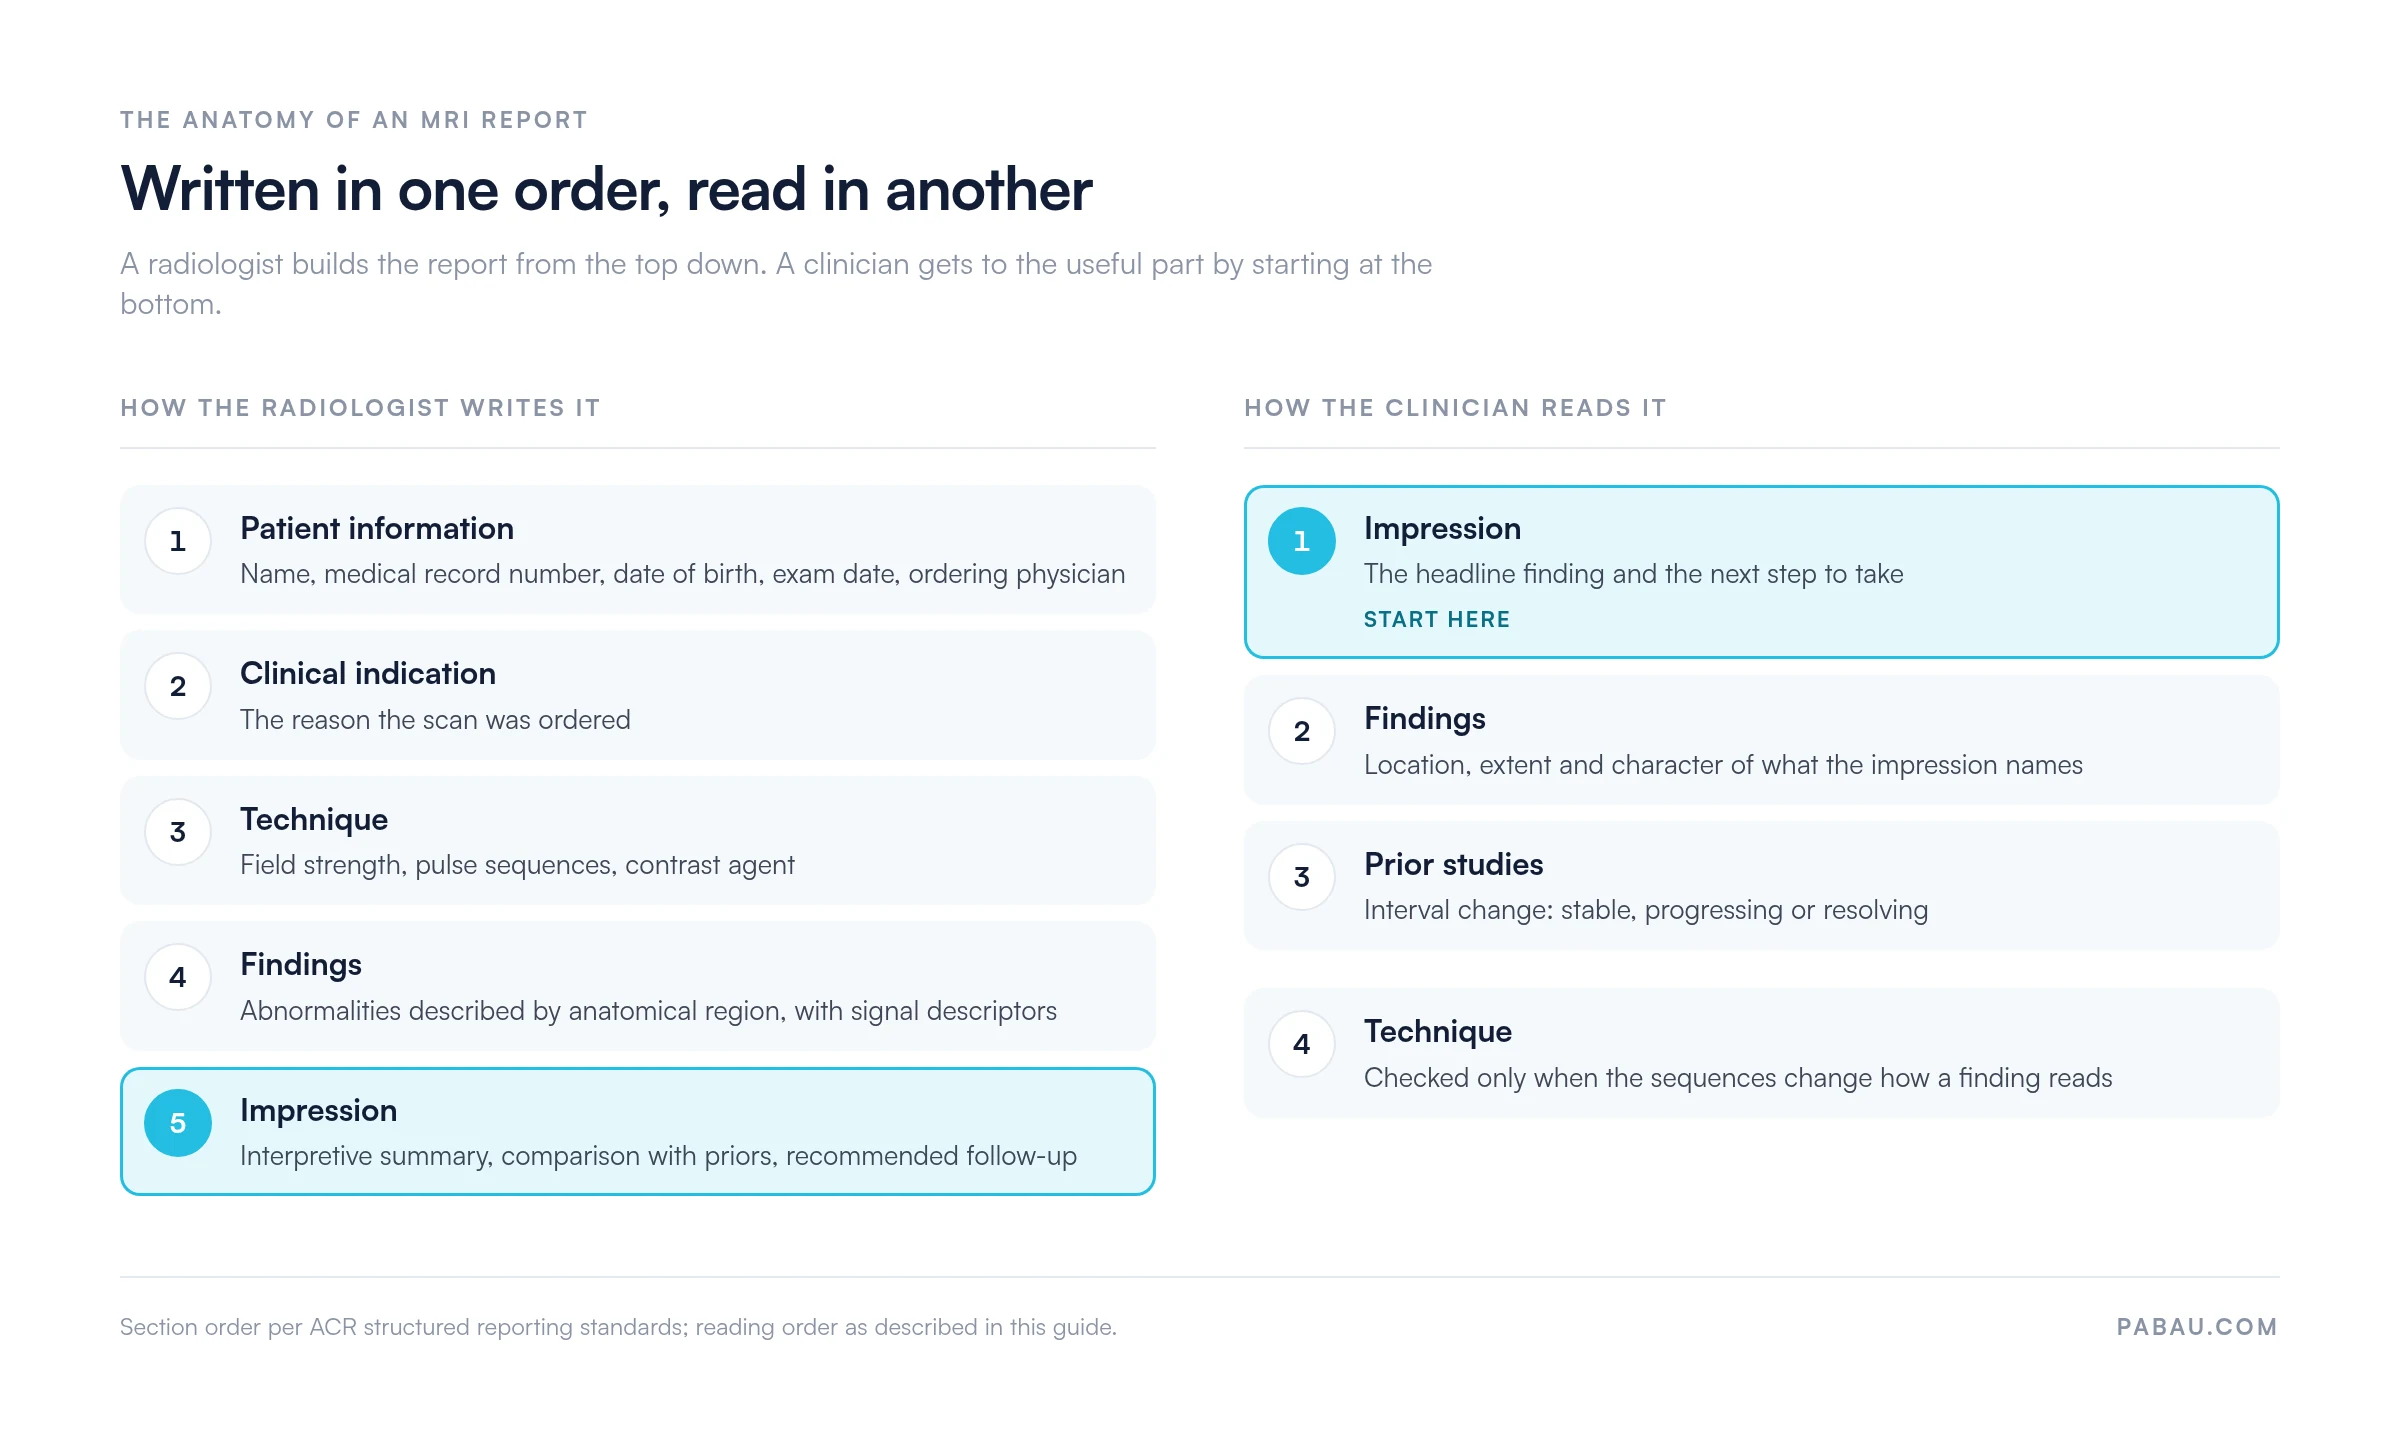
This five-part structure follows ACR structured reporting standards. Working to a fixed sequence reduces omissions and makes reports easier to compare across a service.
The findings section leans on a small vocabulary of signal and sequence terms. Learn the eight below and most reports become readable without a second opinion.
These terms hold across every body region. A hyperintense signal means the same thing on a knee study as it does on a brain study. The vocabulary only has to be learned once.
Read the impression first, then work backwards. Three steps get you the clinically useful part of any report in about a minute.
Working in this order keeps you out of the technique detail until you know what the study actually showed. Field strength and sequence choice only matter once a finding is in question.
The five sections hold everywhere, but the findings section changes character with the anatomy. Radiologists shift their terminology and emphasis to match the clinical question being asked.
Customize the template to the regions your service scans most often, then delete the rest. If you also report vascular studies, the Doppler ultrasound report template follows the same section logic with flow-specific fields.
The American College of Radiology publishes structured reporting guidance to standardize imaging documentation across institutions. Its recommendations come down to four points:
Following the guidance helps your service meet quality standards and makes reports easier to audit. Services reporting at volume tend to pair it with clinical documentation software. That enforces the format while the report is being written, rather than correcting it afterwards.
This MRI report template is provided for educational and illustrative purposes only. It does not replace clinical judgment, institutional protocols, or the compliance requirements that apply in your jurisdiction. Verify that any template you adopt meets local, state, and national standards, and involve your legal, compliance, and quality assurance teams before rolling it out.
Most practices keep finished imaging reports somewhere other than the patient file. They land as PDFs in an inbox or sit in a system the front desk cannot reach. Anyone answering a patient’s question about their scan has to go looking for it first.
Practice management software like Pabau keeps the report with the rest of the record. A stored template opens pre-filled with the demographics from the booking. The finished report then saves into the patient’s clinical record system, beside their history, consents, and earlier imaging.
Four things change day to day once reporting sits inside the same system:
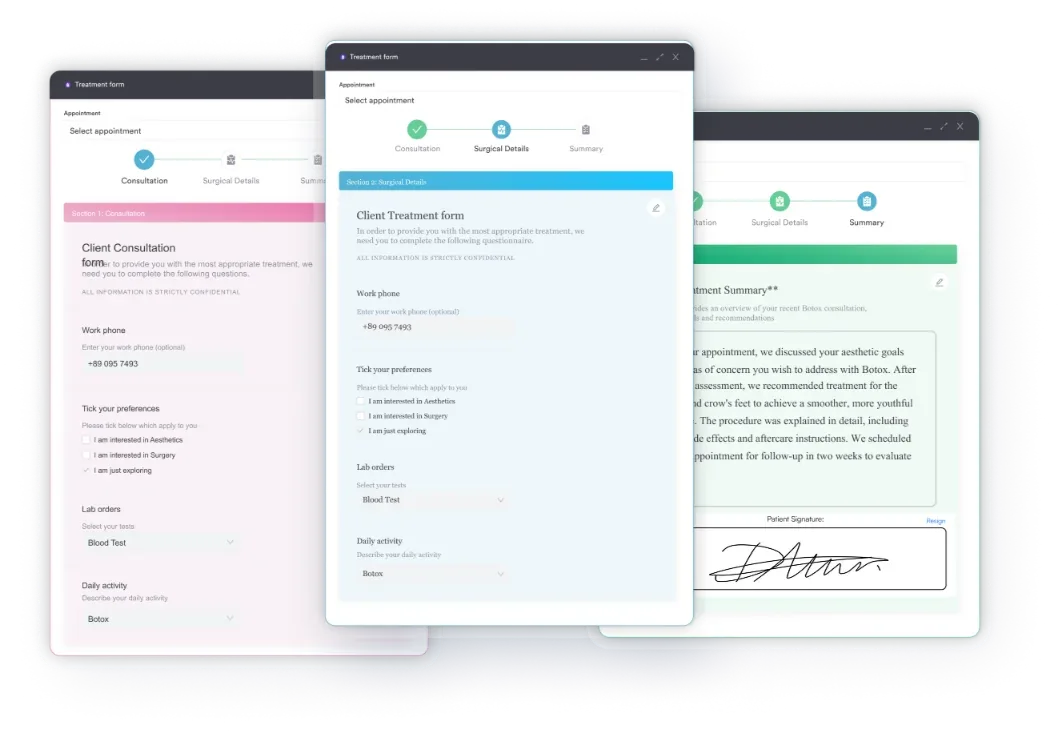
The result is less time spent hunting for a report and more time acting on what it says.

Pabau’s digital forms and client records hold your standardized report templates and file every finished report against the patient’s history. Your team stops chasing PDFs between inboxes.

The structure of an MRI report is settled, so the value you add is consistency. A service where every radiologist uses the same section order and the same descriptors produces reports a referrer can scan in seconds.
Start with the downloadable template, cut the sections your service never uses, and add the fields your specialty needs. The part worth protecting is the impression. Keep it short, make it actionable, and never leave a recommendation buried in the findings where a busy clinician will scroll past it.
Where the finished reports live matters as much as how they read. Book a demo to see how Pabau files imaging reports against the patient record your team already works from.

Reporting vascular studies too? The Doppler ultrasound report template uses the same section logic, with velocity and flow fields in place of MRI sequences.
Need a handover format for the ward? The SBAR report template structures situation, background, assessment, and recommendation for clinical handoffs.
Standardizing documentation across a team? Our guide to clinical documentation software compares how the main systems handle templates, sign-off, and audit trails.
An MRI report contains five core sections. These are patient information, clinical indication, technique, findings, and impression. Patient information covers name, date of birth, medical record number, and date of exam. Findings describe abnormalities by anatomical region, and the impression carries the radiologist’s summary and recommended follow-up.
The impression is the radiologist’s interpretive summary and the most actionable part of the report, so start there. Look for the main finding, any comparison with prior studies, and the recommended next step. That next step is usually follow-up imaging, clinical correlation, or a specialist referral.
T2 hyperintense means the tissue appears bright on a T2-weighted image. This usually indicates fluid, edema, inflammation, or a cystic lesion. In brain white matter, T2 hyperintensity may suggest demyelination or acute ischemia, depending on the clinical context.
Comparison with prior studies shows whether a finding is new, stable, or improving. That interval change drives the management decision. A stable mass may only need surveillance imaging in six months, while a growing one may prompt an urgent surgical referral.
Turnaround varies by institution and clinical urgency. Routine studies are usually finalized within 24 to 48 hours. Urgent cases such as acute stroke or suspected infection are prioritized and may be reported within one to two hours. Structured templates tend to shorten and stabilize turnaround.
Yes. In the United States, patients have a legal right to access their imaging reports and studies under HIPAA. Most practices provide electronic access through a patient portal within a few business days of finalization. Always check the rules that apply in your own jurisdiction.