Nitrates medication list
A nitrates medication list is a point-of-care reference that sets out the main c...

Last Updated: Oct 6, 2026
Patient positioning in bed is the clinical practice of placing a patient in a specific body alignment. The alignment supports medical care, protects skin integrity, and prevents complications such as pressure injuries. According to the National Pressure Injury Advisory Panel (NPIAP), pressure injuries affect an estimated 2.5 million patients a year in the United States.
For nurses, allied health professionals, and caregivers, positioning is one of the most consequential skills in daily practice. This guide covers the major position types, safe repositioning technique, pressure injury prevention, special population considerations, and how documentation supports safe care.

Patient positioning in bed means placing a patient in deliberate body alignment to prevent pressure injuries, support breathing, and make procedures possible.
The NPIAP recommends repositioning at least every two hours, and individual risk assessment often calls for more frequent turns.
Each named position has its own indications and contraindications, so assess diagnosis, skin, and mobility before you choose one.
Pabau’s clinical record and care plan tools let practices schedule repositioning reminders and log each position change in one place.
Patient positioning in bed refers to the deliberate placement and support of a patient’s body to meet a clinical goal. Those goals include preventing tissue breakdown, maintaining airway patency, reducing pain, and enabling procedures. Every positioning decision starts with an assessment of the patient’s diagnosis, mobility, skin condition, and respiratory status.
Five complications follow directly from poor positioning. Pressure injuries form at bony prominences, sedated or dysphagic patients aspirate, joints stiffen into contractures, and nerves compress under sustained load. The fifth lands on the caregiver, usually as a lumbar strain from lifting without support.
The named positions used in nursing and allied health practice each serve distinct clinical purposes. The table below summarizes the most common positions, their typical head-of-bed angle, primary indications, and key contraindications. Use it as a quick reference alongside individual patient assessment.
Clinical note on Trendelenburg for shock: Current evidence does not support routine Trendelenburg positioning for shock management. Treat it as a traditional indication under reassessment, and follow your institution’s current protocol.
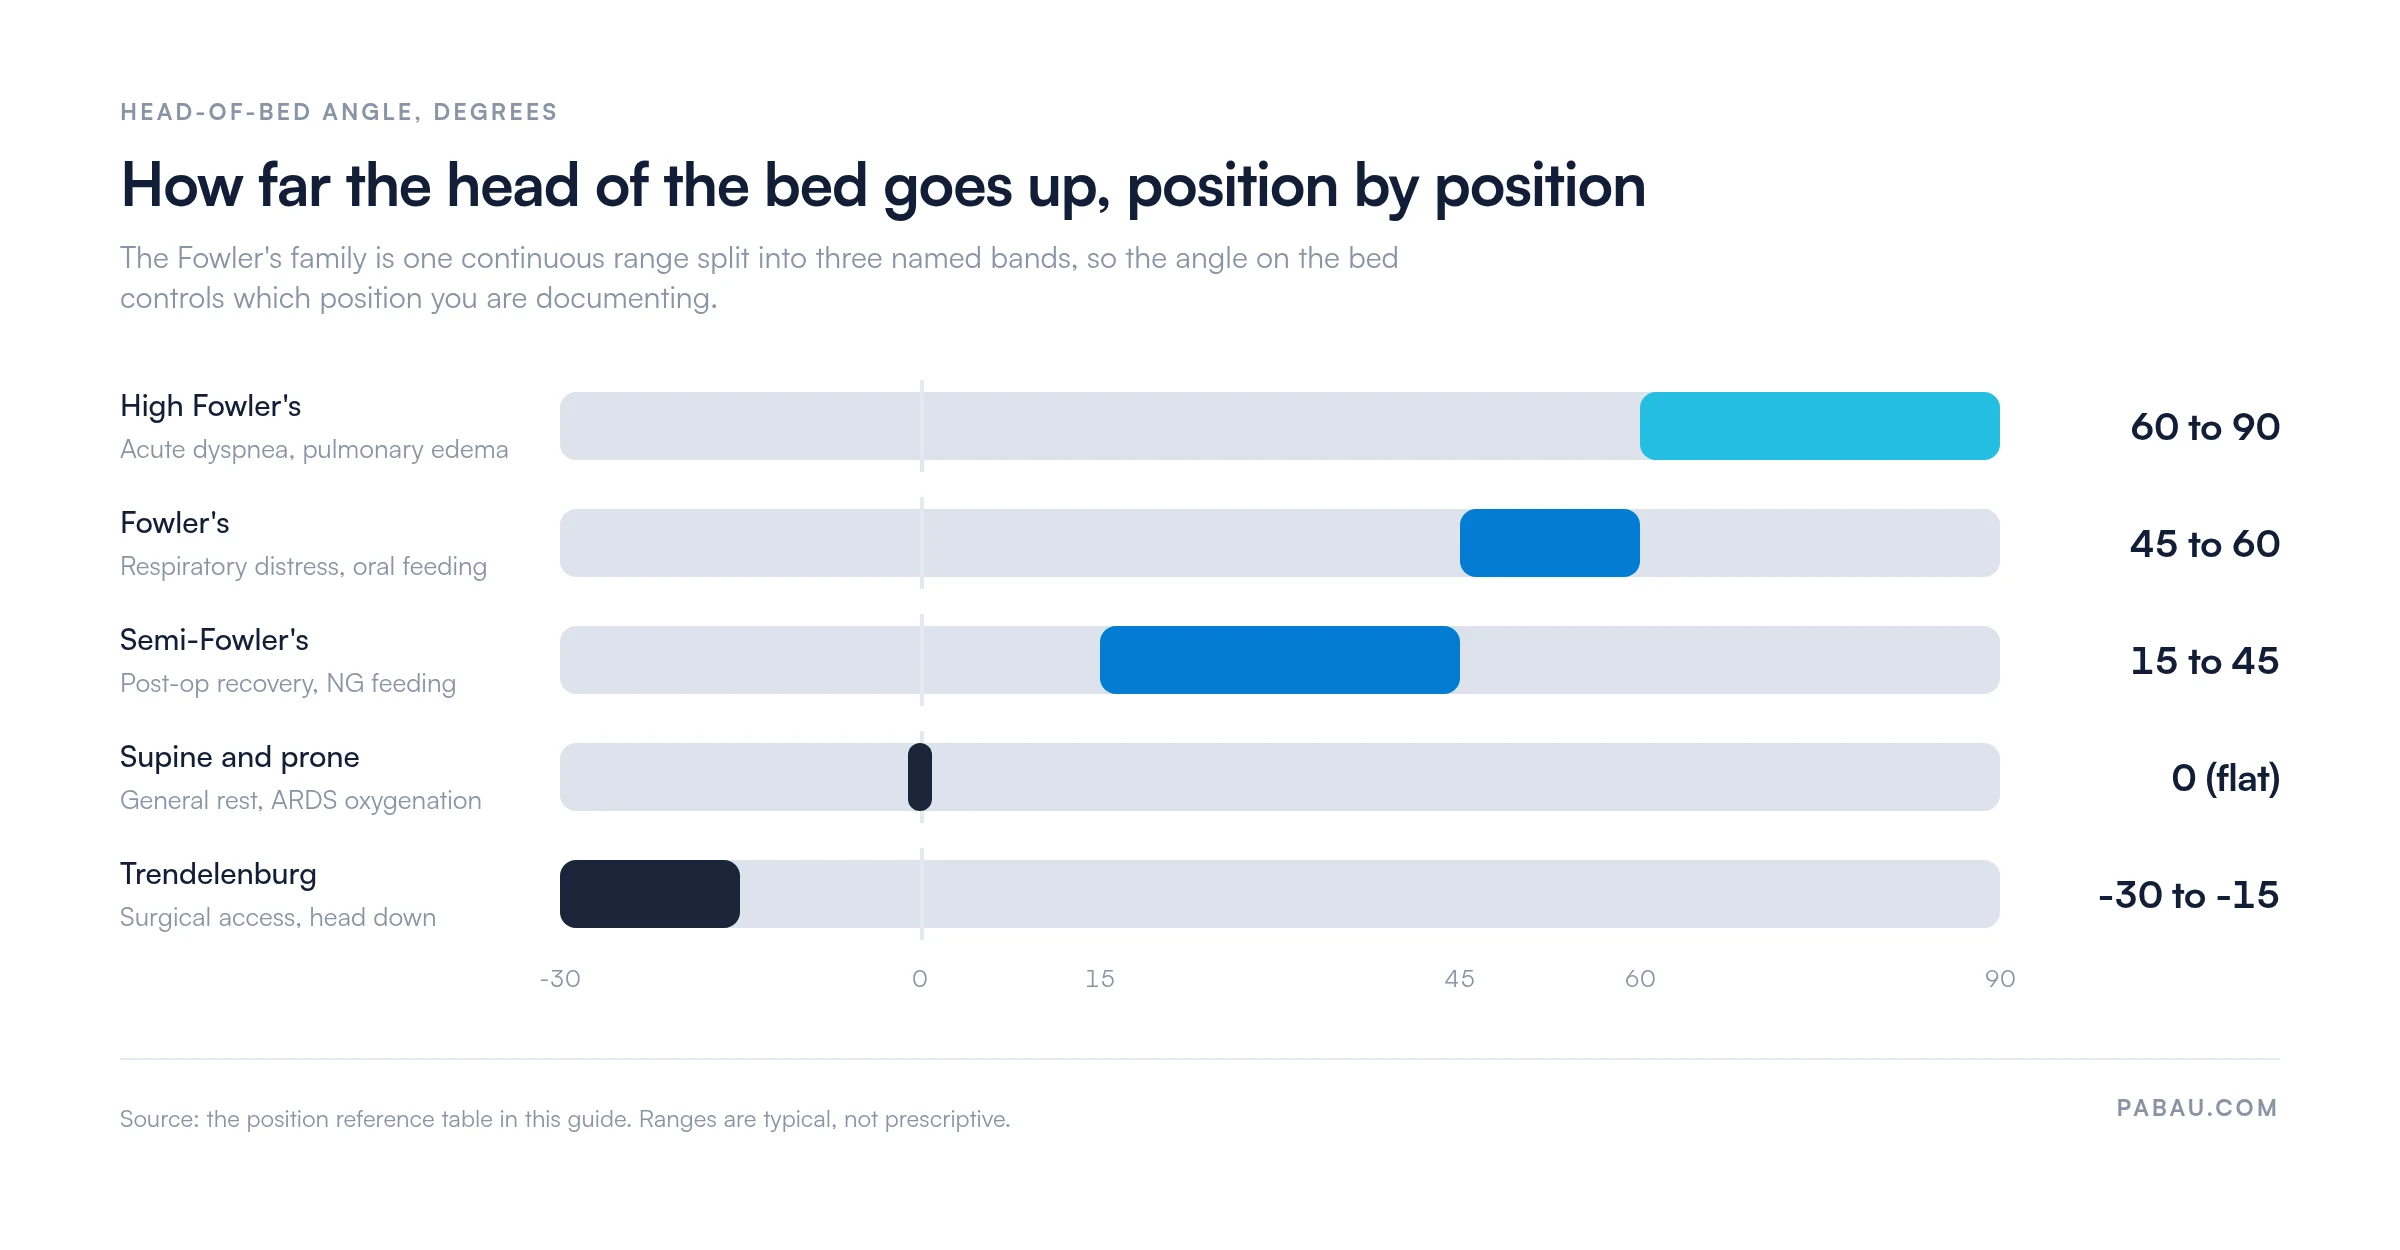
The angles themselves overlap more than the names suggest. Semi-Fowler’s runs from 15 to 45 degrees, and Fowler’s picks up where it stops. A few degrees on the bed control can change which position you chart.
Sims’ position is a semi-prone side-lying alignment with the lower arm extended behind the body and the upper knee flexed toward the chest. It is used for rectal examinations, enema administration, and in the third trimester of pregnancy to relieve pressure on the vena cava. Because the chest weight rests partly on the dependent side, it needs careful pillow placement to maintain airway patency in less mobile patients.
The dorsal recumbent position looks similar to supine but with the knees flexed and feet flat on the bed. Relaxing the abdominal muscles this way improves access for pelvic and abdominal examination. It is not a pressure-relief position. Patients who cannot tolerate full supine because of lumbar pain often do better in dorsal recumbent, with a pillow under the knees.
Safe repositioning starts before you touch the patient. Assess cognitive status, pain level, IV lines, drains, and tubes. Gather your equipment and, where possible, work with a second clinician. Protecting the patient from shear and protecting yourself from strain matter equally. An open-access clinical skills textbook covers the same steps, and works well alongside your facility protocol.
Single-caregiver repositioning is sometimes unavoidable in home and community settings. Raise the bed rail on the far side so the patient has something to push against. Set a recurring task reminder for each repositioning interval, rather than relying on memory at the end of a long shift.
The standard repositioning interval is every two hours for bedridden patients, based on NPIAP guidance and echoed by MedlinePlus. Two hours is a floor rather than a ceiling. Individual risk assessment should drive any adjustment.
Write that rationale where the rest of the shift’s notes live. Broader nursing documentation standards apply to a repositioning entry exactly as they do to a vital sign.
Audit your repositioning documentation for the last 30 days. If scheduled turns regularly lack a matching skin assessment, the workflow needs a structured trigger. A repositioning log that lives apart from the patient chart gets missed at handover, so build it into the care plan note.
The right equipment reduces caregiver injury risk, improves positioning precision, and holds alignment between repositioning cycles. No position holds well without support devices placed correctly.
Pressure injuries form when sustained mechanical load on tissue exceeds capillary perfusion pressure, causing ischemia and cell death. The bony prominences most at risk are the sacrum, heels, trochanters, occiput, elbows, and lateral malleoli. Nutrition and perfusion are harder to influence at the bedside, but positioning is under direct clinical control.
Three positioning habits cause or accelerate pressure injuries, however good the mattress is:
A 30-degree lateral tilt, held with a wedge, offloads the trochanter and still relieves the sacrum. Build it into your standard positioning repertoire.
Skin assessment findings and repositioning logs belong on the same record as the rest of the visit. Standardizing them on shared medical forms keeps audit evidence together under CMS Conditions of Participation and Joint Commission standards.

Standard positioning guidance covers most patients. Three groups need meaningful modifications: Stroke patients, frail elderly patients, and post-surgical patients. In each group, positioning errors cause harm faster and more severely than on a general ward.
Stroke patient positioning in bed must account for hemiplegia or hemiparesis on the affected side. Lying on the unaffected side is generally preferred in the acute phase. It lets the affected arm and leg rest in front of the body with full support, which reduces shoulder subluxation and spasticity patterns.
Lying on the affected side is also used therapeutically under physical therapist or occupational therapist guidance, because it gives the affected limb proprioceptive input. That version needs more careful positioning to protect the shoulder. Supine carries the highest risk for stroke patients, because of abnormal tone patterns and aspiration risk, so minimize supine time where clinically possible.
Skin fragility, reduced subcutaneous tissue, and peripheral vascular disease make elderly patients vulnerable at lower interface pressures than younger adults. They also reach that threshold in less time. The two-hour repositioning interval is a starting point, and many frail elderly patients need turning every 90 minutes or sooner.
Contractures develop quickly too. A hip left in external rotation without correction can fix into a deformity within a week of continuous bedrest. Footboards, pillow positioning, and short range-of-motion exercises between turns all belong in the care picture. Some elderly patients resist turning because it hurts, so family and caregiver education matters as much as the schedule.
Positioning after surgery has to protect the operative site from pressure, shear, and wound contamination. Patients who have had spinal surgery need logroll technique for every turn until the surgical team says otherwise. Abdominal surgery patients often cannot tolerate positions that raise intra-abdominal pressure, so Fowler’s and semi-Fowler’s are used to reduce tension on wound closures. Trace every drain, epidural line, and dressing before a position change, so nothing is pulled loose.
Knowing which position to use is half the skill. The other half is recording it consistently, scheduling the next turn, and passing the plan across a shift change. Practice management software like Pabau handles that second half.
Pabau’s clinical record management tools let practices build repositioning schedules straight into a patient’s care plan. Each position change gets a timestamped entry with the skin assessment that went with it.
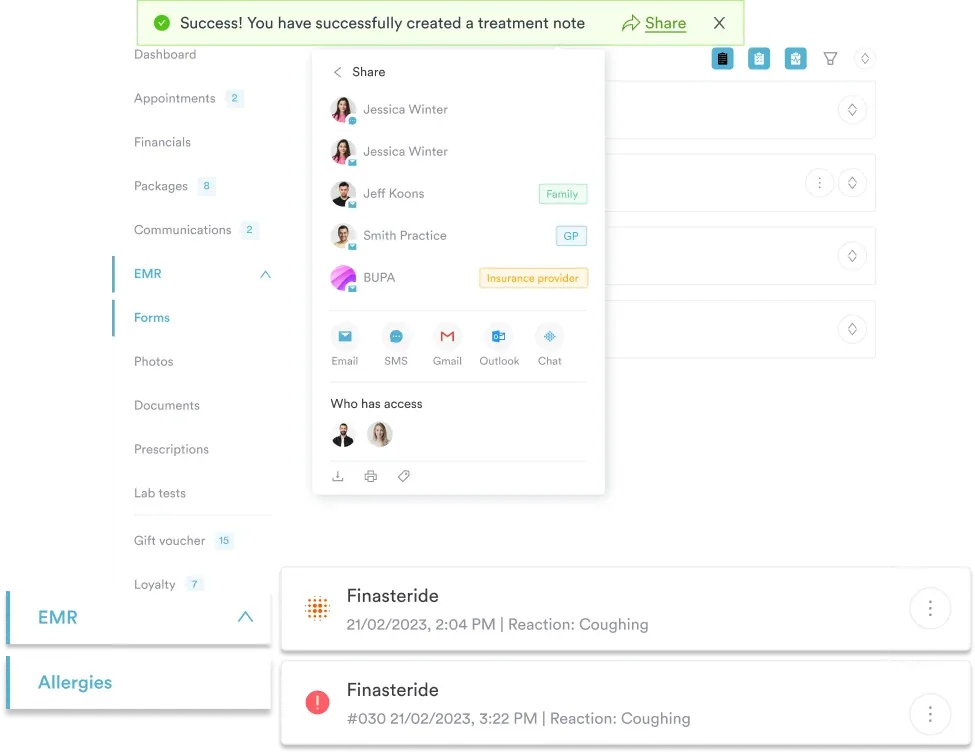
A paper repositioning chart lives on a bedside clipboard and disappears at handover. In Pabau the positioning history sits inside the patient record, next to medication records, vital signs, and clinical notes.
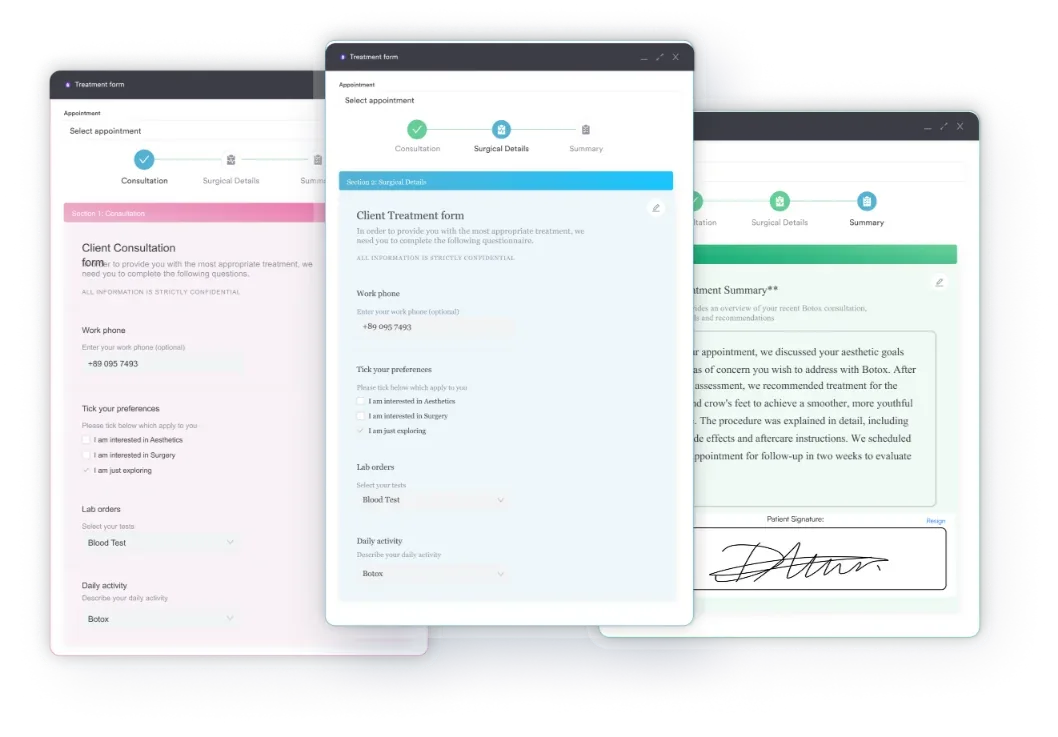
Admission intake forms in Pabau capture pressure injury risk data at first contact: Braden Scale score, mobility status, and continence. Those answers feed the care plan directly, instead of sitting on a paper form in a folder.
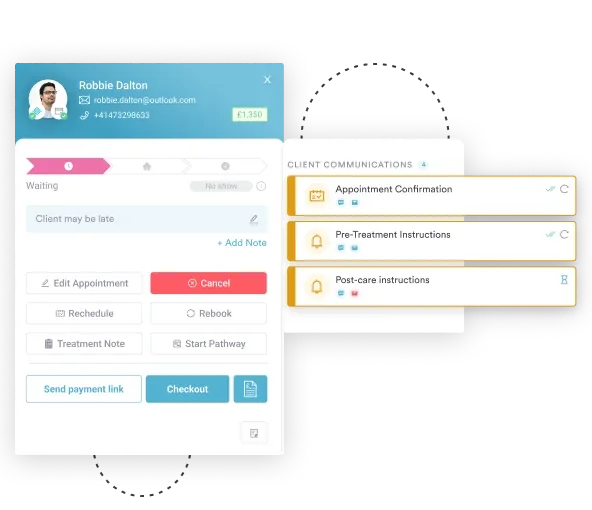
Practices managing post-surgical or community rehabilitation patients can send caregivers structured repositioning guidance between visits, using Pabau’s pre- and post-care instructions. That closes the loop between what the practice plans and what happens at home.

Pabau’s care plan and clinical record tools hold repositioning schedules, skin assessment findings, and equipment used alongside the rest of the patient’s notes. See how it fits your practice.

Positioning is one of the few pressure injury controls a clinician can apply on every shift, without waiting for equipment or a dietitian. The trade-off is that it only works when it is repeated on schedule and recorded each time.
So the change worth making this week is administrative rather than clinical. Decide where a turn gets logged, and make sure the next shift sees it before the interval runs out.
Book a demo to see how Pabau schedules repositioning, stores the skin assessment beside it, and keeps the record audit-ready.

Need the documentation side to hold up in an audit? Nursing documentation covers what a defensible entry contains and how often it should be written.
Losing repositioning plans at shift change? Bedside shift report template gives the handover a fixed structure, so the turn schedule travels with the patient.
Positioning a patient after a stroke? CVA nursing care plan sets out the goals and interventions that sit around the positioning routine.
Patient positioning in bed is the deliberate placement of a patient’s body in a specific alignment. The goals are preventing pressure injuries, maintaining airway patency, enabling procedures, reducing pain, and supporting circulation. It is a fundamental clinical skill, governed by the patient’s diagnosis, skin status, and mobility level rather than by habit.
The NPIAP recommends repositioning at least every two hours for bedridden patients on standard mattresses. Frail elderly patients, patients with low Braden Scale scores, and those with existing pressure injuries may need turning every 90 minutes or sooner. Patients on high-specification pressure-redistributing mattresses with good skin condition may tolerate longer intervals. Document your clinical rationale whenever you deviate from the two-hour standard.
Position yourself on the side the patient will turn toward. Cross the patient’s far arm over their chest and their far leg over the near leg. Use a draw sheet under the patient to reduce friction. Grasp the sheet at shoulder and hip level, then roll toward you using your body weight rather than arm strength. Raise the far bed rail first so it acts as a stop. Always check whether the patient’s condition allows single-caregiver repositioning, because spinal precautions and bariatric patients need extra staff.
High Fowler’s position, 60 to 90 degrees of head elevation, is the first choice for acute respiratory distress. It maximizes diaphragmatic excursion and reduces the work of breathing. Semi-Fowler’s, 15 to 45 degrees, suits patients with mild respiratory difficulty or a recent operation. Prone positioning is used in ICU settings for severe ARDS under medical supervision, because it improves oxygenation. It needs careful monitoring and trained staff to execute safely.
Pressure ulcer prevention in bedridden patients needs four parallel actions. Reposition on a schedule tailored to the individual’s risk score. Offload the highest-risk sites, which are the sacrum, heels, and occiput. Keep skin moisture balanced, so it neither macerates nor dries out, and assess the skin at every repositioning turn. No single intervention prevents every pressure injury. The NPIAP and the Wound, Ostomy and Continence Nurses Society both emphasize a multicomponent approach, alongside nutrition and continence management.
The core equipment set includes low-friction slide sheets, wedge cushions for the 30-degree lateral tilt, and heel offloading boots. Add a pressure-redistributing mattress, either high-specification foam or alternating pressure. Standard pillows handle inter-knee and lumbar support, and a footboard prevents plantar flexion contracture. Choose from the patient’s individual risk level and the positions their condition requires.