CRM for chiropractors: how to manage patients, bookings and marketing
A CRM for chiropractors is a patient relationship management system built around...

Last Updated: Oct 13, 2026

No single maneuver confirms snapping scapula syndrome, so the diagnosis is built from a structured exam that also excludes look-alike shoulder pathology.
Patients almost never say crepitus. They report a popping shoulder blade, cracking, or what feels like a pulled muscle under the scapula.
A positive scapular assistance test points to muscle-driven dyskinesis, while a negative one shifts suspicion toward a bony prominence or bursitis.
Roughly 85 to 90 percent of dyskinesis-driven cases settle within 8 to 12 weeks of structured physical therapy.
Structured digital forms keep exam findings, dyskinesis grading, and outcome scores in one patient record instead of four places.
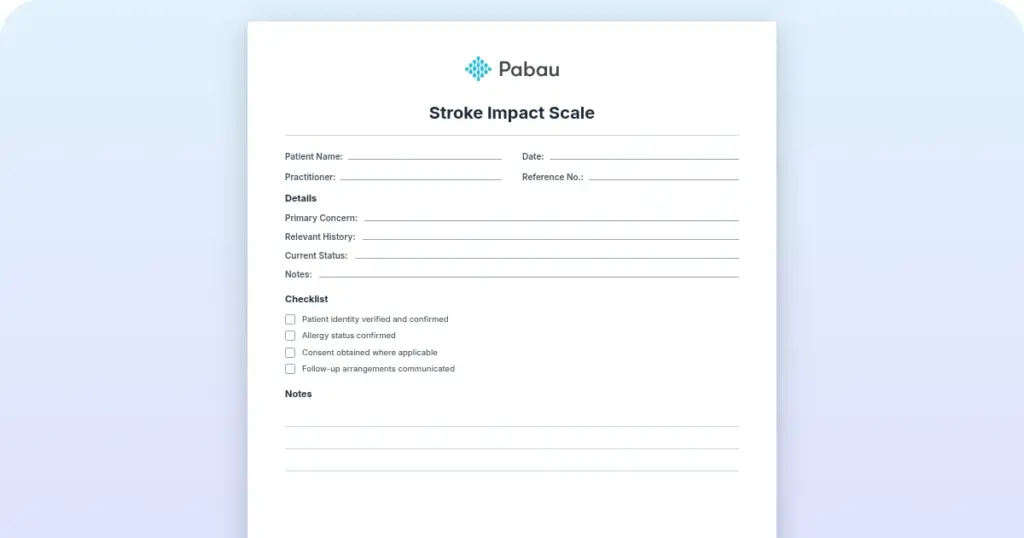
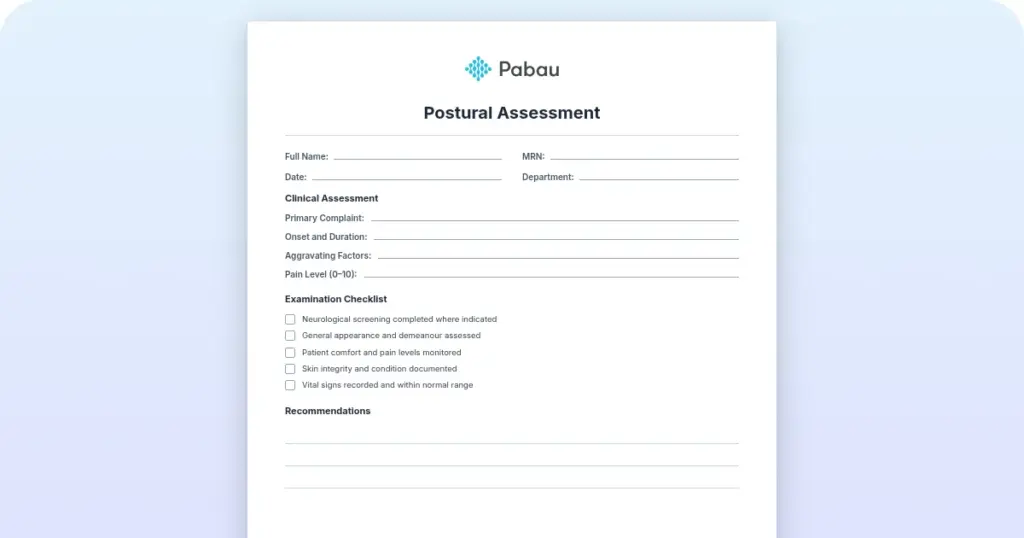
A ready-to-use assessment form covering patient history, special orthopedic tests, scapular dyskinesis grading, and physical exam findings. It also carries imaging correlation prompts and a differential diagnosis checklist you can work through in the room.
Download templatePatients rarely walk in saying crepitus. They describe a pop in the shoulder and pain when they reach overhead. Some report a grinding their partner can hear across the room. Turning that report into a working diagnosis is the whole job of the snapping scapula syndrome test.
There is no single pathognomonic maneuver for snapping scapula syndrome. The diagnosis is assembled from a structured exam that reproduces the crepitus, localizes it, and rules out the shoulder conditions that mimic it. This guide runs that exam in order, then covers the differential, the imaging that changes management, and the printable form to record it all.
The snapping scapula syndrome test is a structured clinical evaluation rather than one named maneuver. It combines observation, palpation, range of motion, and provocative testing to locate the source of scapulothoracic crepitus and decide what is driving it.
The exam sorts the cause into three buckets. Bony contact from a Luschka tubercle or osteochondroma sits at one end. Soft tissue inflammation in the scapulothoracic bursa sits in the middle. Muscular insufficiency and dyskinesis sit at the other end, and they are by far the most common.
Patients often arrive having searched for a snapping shoulder tendon, or for a scapula popping out of place. Both descriptions point away from where the friction usually is. The noise almost always comes from the interface between the scapula and the ribs, not from a tendon slipping over bone.
The scapulothoracic joint is a pseudo-articulation between the anterior scapula and the thoracic cage. It allows around 60 degrees of scapular protraction and retraction during shoulder movement. When that interface becomes dyskinetic, or a bony prominence develops, movement friction produces the snapping the patient reports.
The defining symptom is crepitus: an audible or palpable snapping, grinding, or popping at the medial scapular border during arm elevation. Pain with sustained overhead work is the second most common complaint, and periscapular fatigue is the third.
The clinical trap is register. Competitor guides and textbooks describe this condition in clinical language, but patients describe it in kitchen language. If you take their phrasing at face value you will chase the wrong structure. The table below maps what patients actually say onto what it usually means and what to check first.
Two of those rows are the ones that change management. Painless cracking is common in asymptomatic shoulders, so noise on its own is not the diagnosis. And a reported pulled muscle that has not settled in six weeks is rarely a strain, because strains resolve and dyskinesis does not.
Ask about the pattern too. Symptoms that build over a shift of overhead work, then ease with rest, fit scapulothoracic friction. Night pain, weakness that appeared suddenly, or paresthesia into the arm belongs somewhere else in the differential.
The scapula bone glides across the posterior ribcage rather than meeting it in a true synovial joint. Understanding that interface directly informs your exam technique and explains why specific tests reproduce symptoms. Some clinicians label the same presentation scapulothoracic syndrome or scapulothoracic bursitis, depending on which structure dominates.
The serratus anterior originates along the lateral ribcage and inserts on the medial scapular border. It powers scapular protraction and upward rotation during overhead movement, which makes it the muscle most worth testing.
Scapular dyskinesis means abnormal scapular movement during arm elevation, and it drives most cases. When the serratus anterior weakens or the chest muscles tighten, the scapula tilts excessively and friction rises. That is why a targeted physical therapy assessment captures static posture and dynamic movement, not one or the other.
An occupational therapy platform can store each completed scale beside the patient’s goals and session history.
The exam follows a five-step sequence that moves from observation to specific provocative testing. Each step builds on the last and narrows the differential before you order any imaging.
Record each step as you go rather than from memory afterwards. The downloadable template above lays these five steps out in the same order. It leaves space for the arc of pain, the side-to-side comparison, and the dyskinesis grade.
No special test proves snapping scapula syndrome on its own. What these tests do is exclude other scapular pathology and point management toward exercise, injection, or referral. Each one targets a specific mechanism.
Several conditions mimic snapping scapula syndrome, and several coexist with it. Exam findings plus imaging correlation narrow the differential and set the treatment priority.
Work through the table from the top. Winging and rotator cuff pathology account for most of the misattributed cases you will see in a musculoskeletal caseload.
Clinical examination remains the primary diagnostic tool here, and imaging is confirmatory. Order it when conservative management stalls or when surgery is genuinely on the table.
Snapping scapula syndrome treatment starts with load management and motor control, not with a procedure. First-line care targets the dyskinesis, restores muscular balance around the scapula, and settles any bursal inflammation. Most cases resolve within 8 to 12 weeks.
Structured treatment for snapping scapula syndrome usually combines four elements, sequenced rather than delivered all at once.
Exercise is the part of the plan that changes the underlying cause. Patients frequently ask for a snapping scapula syndrome exercises PDF to take home. Print the program below and file it alongside the completed assessment template. Keeping both together means the home routine and the exam findings never drift apart.
The progression runs from stability to dynamic control to functional strength, mirroring the clinical shift from pain reduction to activity tolerance.
Progress when the exercise is pain-free and 12 to 15 repetitions are achieved with clean form. Add band, dumbbell, or machine resistance once stability holds. Functional work then closes the rehabilitation, moving from wall push-up to standard push-up, overhead reaching, and throwing.
Snapping scapula syndrome surgery is reserved for patients still symptomatic after 8 to 12 weeks of structured physical therapy. The usual indications are pain that limits function and a failed exercise program. Imaging evidence of mechanical obstruction, such as a Luschka tubercle or large osteochondroma, is the third.
The primary procedure is arthroscopic scapulothoracic bursectomy, with resection of any offending bony prominence. It relieves the mechanical irritation and allows a fairly quick return to activity. Reported success exceeds 85 percent in well-selected patients, with most back to full activity 4 to 6 weeks after orthopedic surgery.
The decision is rarely close when you lay the two routes side by side. The table below is the comparison patients ask for and most condition pages leave out.
The row that catches people out is the last one. Surgery removes the obstruction but it does not retrain the scapula, so the exercise program follows the patient into the post-operative period either way.
The outlook is good. Around 85 to 90 percent of patients with dyskinesis-driven snapping improve with targeted physical therapy inside 8 to 12 weeks. Those with a bony obstruction or recurrent bursitis may need a longer conservative trial or surgery, and surgical outcomes are similarly favorable.
Track progress with a scored instrument rather than an impression. The American Shoulder and Elbow Surgeons score, the QuickDASH, and the Shoulder Pain and Disability Index are all standard for shoulder and scapular rehabilitation. The Patient-Specific Functional Scale adds the task the patient actually came in about, such as painting a ceiling or serving a tennis ball.
Long-term success rests on exercise and postural habits. Patients who finish the full progression and keep serratus anterior strength rarely relapse. Return to sport or demanding work usually lands 12 to 16 weeks after conservative management begins. Most sports medicine practices re-score at that point before clearing the athlete.
A five-step exam produces a lot of small findings, and small findings are exactly what gets lost between a paper form and the patient record. Practice management software like Pabau keeps them together instead.

That matters most at the 8 to 12 week review, when you have to judge whether conservative treatment is working. The comparison then takes seconds instead of a hunt through three systems.

Automated follow-up reminders bring patients back at the right interval for progress checks and exercise form correction. Adherence is usually won or lost right there. Multi-location teams use centralized record access and shared team protocols so every clinician grades dyskinesis the same way, whoever the patient sees next.

Pabau captures every exam finding, dyskinesis grade, and outcome score in the patient record. It also automates the follow-up that keeps a 12-week exercise program on track. Your team compares progress at a glance instead of rebuilding it from paper.

Snapping scapula syndrome is diagnosed by exclusion and by pattern, not by one decisive maneuver. The clinicians who get it right palpate before they interpret. They also translate the patient’s own words instead of taking them literally.
Give conservative management the full 8 to 12 weeks before escalating. The trade-off worth remembering is that surgery removes the obstruction but never the dyskinesis, so the exercise program is unavoidable either way. Document each review against a scored outcome measure so that decision is defensible.
Download the assessment template above and use it from the first visit. Book a demo to see how Pabau keeps scapular exam findings, imaging, and exercise progress in one record your whole team can read.

Need the full shoulder arc on paper? Shoulder range of motion gives you a printable grid for recording flexion, abduction, and rotation at every visit.
Unsure how to grade what you measured? Range of motion assessment covers goniometry technique and the normal ranges to compare your findings against.
Assessing the lower limb as well? Hip range of motion follows the same structured exam format for hip mobility and impingement screening.
Advising a patient managing a UTI? UTI diet chart lists foods to eat and avoid, plus a free printable chart.
Assessing a patient’s visual perception skills? Visual perception test template documents results across five subtests, from spatial relationships to visual memory.
The main symptoms are audible or palpable crepitus at the medial scapular border, pain with sustained overhead activity, periscapular fatigue, and sometimes visible winging. Patients usually describe it as a popping shoulder blade or shoulder blade cracking rather than crepitus. Painless noise on its own is common in healthy shoulders and is not diagnostic.
Three mechanisms cause it, alone or in combination. Bony causes include a Luschka tubercle or an osteochondroma on the scapula bone. Soft tissue causes involve inflammation of the scapulothoracic bursa. Muscular causes, which are the most common, involve serratus anterior weakness and scapular dyskinesis that increase friction against the ribs.
A positive result reproduces the patient’s own grinding, snapping, or popping at the scapulothoracic joint during arm elevation or circumduction. The crepitus often eases when you apply manual scapular stabilization, which is a positive scapular assistance test. That easing points to muscle weakness as the driver rather than a bony obstruction.
No. The condition is not dangerous and rarely causes permanent damage when it is managed conservatively. Untreated chronic snapping can still progress to persistent inflammation, bursal thickening, and functional limitation. Early diagnosis and a prompt start on physical therapy prevent that progression and reduce the chance of needing surgery.
Home care means relative rest from overhead loading, ice for 15 to 20 minutes after aggravating activity, and a daily scapular strengthening routine. Serratus anterior activation, lower trapezius work, and pectoralis stretching form the core of it. Home measures support clinic-based snapping scapula syndrome treatment rather than replacing the initial assessment.
Most patients improve within 8 to 12 weeks of structured physical therapy built around serratus anterior strengthening, scapular stabilization, and postural correction. Full functional recovery and return to sport usually take 12 to 16 weeks of consistent adherence. Patients with a bony obstruction may need a longer trial or surgical treatment.
Yes. Clinical examination alone is usually enough to start treatment. Postural observation, palpation, dyskinesis assessment, and positive special tests such as the scapular assistance test and wall push-up give sufficient diagnostic clarity. Imaging is reserved for cases that fail conservative management or where surgery is being considered.
Winging is a movement dysfunction in which the medial border or inferior angle lifts off the ribcage, driven by serratus anterior weakness. Snapping scapula syndrome adds crepitus from friction between the scapula and the ribs. Winging can occur on its own, and it frequently contributes to snapping scapula syndrome alongside mechanical irritation.