Fun journal prompts for adults
Fun journal prompts for adults are short, open-ended questions that make sitting...

Last Updated: Oct 6, 2026

Lip blushing aftercare protects your pigment and helps the lips heal cleanly over four to six weeks, and the first 72 hours decide most of the result.
In the first three days, blot lymph fluid hourly, ice with a cloth barrier if the lips swell, and apply a thin layer of ointment so they stay lightly moist without heavy scabbing.
The most common mistakes are picking or peeling flakes, applying ointment too thickly, eating spicy or acidic food, kissing, and skipping SPF once the lips heal.
Practice management software like Pabau lets you send a branded, fillable aftercare sheet to every client automatically and schedule reminders at each healing milestone.
Lip blushing aftercare instructions
A ready-to-use printable and digital aftercare instruction sheet covering day-by-day healing stages, ointment application, activity restrictions, warning signs of infection, and touch-up scheduling. Includes a clinic branding placeholder and client signature block.
Download templateLip blushing aftercare is how you protect the color and heal cleanly in the four to six weeks after a cosmetic lip tattoo. Practitioners adding lip blushing to their services can compare booking and charting tools in our guide to med spa software. The first 72 hours matter most. You blot away the lymph fluid the lips release, keep them lightly moist, and leave any flaking alone.
Get that stretch right and the pigment sets evenly. Pick at scabs, skip the balm, or sit in the sun, and you lose color and raise the risk of infection.
Below is the full day-by-day healing timeline, what to avoid, and the warning signs that need a practitioner. You can also download a ready-to-use aftercare instruction sheet to hand or send to clients. Practices on practice management software like Pabau can deliver it automatically the moment an appointment ends, then schedule reminders at each healing milestone.
The first three days are when most mistakes happen. The treated lip is an open wound and the pigment is still setting. Lymph fluid leaks from the area and needs regular removal so it does not dry into heavy scabs that pull pigment out as they flake.
Day 1, fluid removal and icing: Every hour, gently blot the lips with a clean tissue to lift the fluid. Apply an ice pack for 15 minutes, then rest for 45, using a cloth or damp paper-towel barrier so the ice never touches skin directly. Keep the lips lightly coated with the aftercare ointment your practitioner provides, often Aquaphor or Vitamin A&D. Apply it thinly, because heavy layers trap moisture and soften scabs too much.
Days 2 to 3, gentler care: Keep blotting hourly, but only ice if swelling lingers. Wash the lips gently with cooled distilled or sterile water every three to four hours using a soft cotton pad, pat dry, and reapply a thin layer of ointment. Do not sleep face-down or press the lips into a pillow.
Warning signs: Redness spreading past the lip border, heat, pus or fluid with a foul odor, intense itching or hives, or swelling that worsens after Day 2 all need attention. Contact your practitioner or seek medical care if any appear.
Practices that document a clear protocol.
Week 1 (days 4 to 7): Light peeling begins. Do not pick or peel the flakes, because that lifts pigment along with the dead skin. Let them shed on their own. Keep washing gently and apply a thin layer of ointment two to three times a day. The color often looks dark or uneven now. That is temporary as new skin forms underneath.
Weeks 2 to 3: Peeling finishes and the lips may feel dry and tight. Switch to a lip balm with SPF 30 or higher, since sun exposure fades pigment fastest. Use thin layers rather than thick coats, and avoid hot water, saunas, pools, and long sun exposure. The true color starts to show as the top layer of skin sheds.
Weeks 4 to 6: By Week 4 the lips usually feel fully healed, though skin keeps regenerating through Week 6. Many people find the healed color is lighter than the fresh color looked. That is normal, and full pigment maturation can take up to eight weeks. Keep using an SPF lip balm daily to hold the color longer.
Setting these expectations up front improves client compliance, because clients who know that peeling and lightening are normal are far less likely to panic or over-treat the lips.
Through the first three to four weeks, a few habits do the most damage to color and healing:
Knowing how practice management software works helps you decide which forms to digitize first.
Review the aftercare instructions during the pre-procedure consultation, not just at the end of the appointment. Show clients photos of typical healing stages (days 1 to 3 swelling, days 4 to 7 peeling, weeks 2 to 4 color settling). Setting expectations this way eases anxiety and improves compliance, because clients are far more likely to follow instructions they have mentally prepared for.
A lip blushing aftercare instructions template is a ready-made care sheet you hand clients right after a permanent lip pigmentation procedure, also called a cosmetic lip tattoo. It lays out the day-by-day routine, what to avoid, the signs that need medical attention, and when to book a touch-up. Offering other cosmetic procedures means having matching aftercare instructions ready, such as a dedicated CO2 laser aftercare template.
Practices that also offer threading services can hand out a matching lip threading consent form and aftercare sheet.
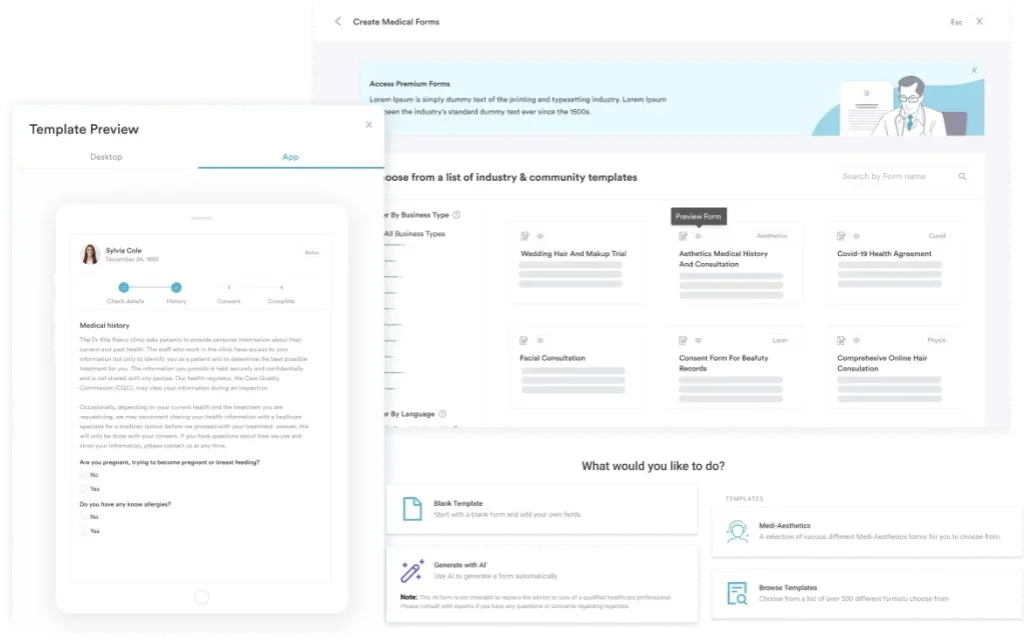
A good sheet does three jobs at once. It gives clients a reference they can check at home, it records that they received and understood the instructions, and it keeps every practitioner on your team delivering the same guidance.
The most effective way to use the sheet is as an active communication tool across the healing window, not a one-time handout:
The sheet is useful for any practice offering permanent makeup or cosmetic lip tattooing, including:
Juggling aftercare sheets, client signatures, and reminders across email, text, and paper gets messy fast. Book a demo of Pabau to see how automated pre- and post-care workflows send branded, fillable aftercare forms to clients the moment their appointment ends, then schedule reminder messages at each healing milestone.
Clear aftercare is what turns a good lip blushing result into one that lasts. Give clients the routine in writing, reinforce it with a reminder or two, and check in early if anything looks off. Book a demo with Pabau to see how automated aftercare workflows, digital forms, and client messaging keep clients informed through every stage of healing.

How do you manage client photos before and after treatment? Managing before and after photos in your aesthetic clinic helps you organize client results and use them for marketing while maintaining privacy and consent.
Ready to grow your practice? Medical aesthetics marketing strategies covers local SEO, paid ads, Instagram, and retention, plus benchmarks that show what works.
Need to ensure clients actually follow your instructions? How to improve patient engagement covers strategies for keeping clients informed and compliant during their healing journey.
Avoid touching or picking the lips, spicy or acidic food, swimming, saunas, heavy exercise, and lip makeup for the first few weeks. These introduce bacteria, disrupt pigment setting, or speed up color loss.
Full healing takes four to six weeks, with the first 72 hours being the most critical. The true color reveals by Week 4, though pigment keeps settling through Week 6.
Use Aquaphor, Vitamin A&D ointment, or the balm your practitioner provides, applied in a thin layer. Switch to an SPF lip balm after the first week.
Wait until at least Week 4 before applying lipstick or lip cosmetics. The treated area is an open wound during the first three weeks, and makeup raises the infection risk.
A touch-up, often called the perfecting session, is usually done 6 to 8 weeks after the first appointment, once the color has fully settled. Most people then maintain results with a touch-up every one to two years.
If you notice spreading redness, pus, severe worsening swelling, or signs of an allergic reaction, contact your practitioner or seek medical attention right away. Do not wait, because infections can worsen quickly.