GLP-1 diet plan
A GLP-1 diet plan is a structured eating framework for patients taking semagluti...

2
Last Updated: Oct 13, 2026

A chest exam consists of four core techniques: inspection, palpation, percussion, and auscultation, each revealing specific clinical findings about respiratory, cardiac, and thoracic structures.
Normal percussion note over healthy lung fields is resonant. Abnormal findings include dullness (consolidation), hyperresonance (air trapping), and flatness (pleural effusion or solid masses).
Tactile fremitus increases over areas of consolidation and decreases with pleural effusion, a key palpation finding documented during every chest exam.
Pabau’s customizable consultation templates let clinicians build practice-specific chest exam documentation directly into patient records, without paper forms or disconnected PDFs.
A comprehensive chest examination template with systematic technique guidance, normal findings reference tables, and SOAP note documentation structure suitable for private practice, clinical settings, sports medicine, and telehealth consultations.
Download templateA well-structured chest exam is one of the most valuable clinical skills a healthcare professional can master. It allows you to assess respiratory function, detect cardiac abnormalities, and identify thoracic pathology without relying solely on imaging.
Yet many clinicians struggle with consistent documentation and systematic technique. This guide covers the four-technique sequence, a normal findings reference, documentation guidance, and a downloadable checklist template to streamline your practice.
A chest exam is a physical examination performed by a healthcare provider to assess the structures and function of the thoracic region: the lungs, heart, and chest wall. It’s a systematic clinical assessment using four core techniques: inspection, palpation, percussion, and auscultation.
Each technique yields specific clinical information. Inspection reveals symmetry, deformities, and breathing patterns. Palpation assesses chest expansion and tactile fremitus. Percussion identifies resonance patterns and diaphragmatic movement. Auscultation detects normal breath sounds and adventitious sounds indicating pathology.
The chest exam is central to clinical practice because it’s non-invasive, costs nothing, and can be performed anywhere: during an initial consultation, before prescribing treatment, after an injury.
Documentation is just as important as the exam itself. Poor note-taking leads to incomplete records, missed findings, and compliance risk. A standardized chest exam template helps prevent these errors and makes sure nothing gets overlooked.
A thorough chest exam follows a predictable four-step sequence. Clinicians must perform each step in order, documenting findings as they go. This sequence ensures no area is missed and allows findings to build logically from general observation to specific diagnosis.
Each step is completed before moving to the next. Clinicians often examine the anterior chest first, then the lateral sides, and finally the posterior chest (best performed with the patient upright or leaning forward). This systematic approach.

Begin by observing the chest at rest and during breathing. Note chest wall shape (is it symmetrical?), any visible deformities (barrel chest, kyphosis, scoliosis), skin color, scars, or rashes. Assess breathing pattern: is it regular or labored? Is the patient using accessory muscles (intercostal, supraclavicular, or abdominal muscles), a sign of respiratory distress?
Count respiratory rate. Look for retractions (indrawing of skin during inspiration) or paradoxical breathing (abdomen moving inward during inspiration instead of outward). These visual cues often indicate underlying pathology and should be documented before you proceed to palpation.
Palpate the chest to assess chest expansion symmetry and to detect tactile fremitus. Place your hands on the lower chest wall with thumbs in the midline (anterior) or spine (posterior), fingers spread across the lateral ribs.
Ask the patient to take a deep breath. Your thumbs should move outward equally on both sides. Asymmetrical expansion suggests rib fractures, pleural effusion, or consolidation on the reduced side.
Next, assess tactile fremitus by placing your palms on the chest wall while the patient says “ninety-nine” or “blue moon.” Vibrations increase over areas of consolidation (pneumonia, pulmonary edema) where lung tissue is more solid, and decrease where air is trapped or fluid is present. Document whether fremitus is normal, increased, or decreased in each region.
Percussion involves tapping the chest wall systematically and listening to the sound produced. Use the middle finger of one hand as a hammer, striking the interphalangeal joint of the middle finger of the opposite hand placed flat on the chest, a technique detailed in this Medscape percussion guide.
Tap once over each area, moving downward on both sides. The sound quality reveals underlying density. Healthy lung tissue produces a clear, hollow sound called resonance. Different percussion notes point to different underlying pathology.
Diaphragmatic excursion (the range of diaphragm movement) is assessed by percussing downward on both sides until the note changes from resonant to dull, marking the diaphragm level. Ask the patient to take a full inspiration and percuss again. The dullness should move downward.
Normal excursion is approximately 3-5 cm, up to 7-8 cm in well-conditioned individuals. Reduced excursion (for example, less than 3 cm) suggests diaphragmatic weakness, paralysis, or restrictive lung disease.
Listen systematically across the anterior, lateral, and posterior chest using a stethoscope. Normal breath sounds include vesicular (soft, rustling, heard over most lung fields) and bronchial (louder, hollow, heard over the trachea). The absence of breath sounds in a normally ventilated area is abnormal. Document it as “absent” or “diminished.”
Adventitious sounds are abnormal noises superimposed on normal breathing. Crackles (fine, popping sounds, formerly called “rales”) suggest fluid in airways or alveoli and indicate pulmonary edema, pneumonia, or interstitial lung disease. Wheezes (high-pitched, musical sounds) indicate airway narrowing from asthma, bronchitis, or bronchospasm.
Rhonchi (low-pitched, snoring sounds) suggest secretions in large airways. Stridor (high-pitched sound during inspiration) indicates upper airway obstruction. A pleural friction rub (creaky, scratching sound worse with inspiration) suggests pleuritis. Each finding narrows the differential diagnosis significantly.
Use this quick reference during documentation to ensure you’ve captured all expected normal findings, so you can compare them against what you find on exam:
Clinical form capture tools let staff complete assessments like this on a tablet during the session itself.
Documentation transforms your clinical findings into a permanent, legally defensible record. Poor documentation creates compliance risk, billing errors, and inconsistent follow-up care.
Structure your chest exam documentation systematically so that another clinician reading your notes understands exactly what you found and why you reached your conclusion. The SOAP note format (Subjective, Objective, Assessment, Plan) is the gold standard.
Objective (your chest exam findings): Document each technique’s findings in order. Example: “Inspection: Chest wall symmetrical, no deformities. Respiratory rate 16, regular. No accessory muscle use. Palpation: Chest expansion equal bilaterally. Fremitus equal. Percussion: Resonant throughout, diaphragmatic excursion 4 cm bilaterally. Auscultation: Vesicular breath sounds throughout, no adventitious sounds.” Primary care depends on continuity, and continuity depends on the previous consultation being easy to find.
Use specific language. Avoid vague terms like “normal” without detail. Instead of “lungs are clear,” write “bilateral vesicular breath sounds, no wheezes or crackles.” This specificity supports billing, strengthens your clinical defensibility.
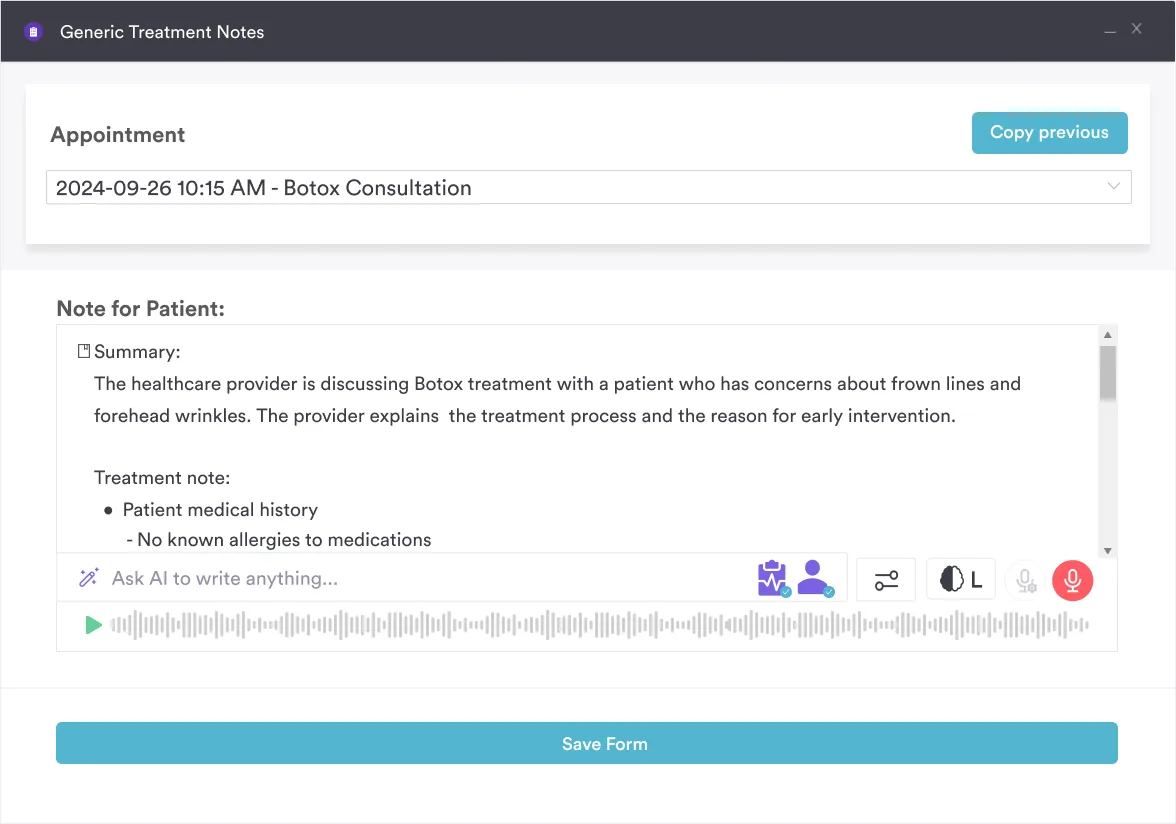
Practice management software like Pabau lets you embed this structure directly into your patient record through customizable consultation templates, reducing transcription time and ensuring no section is skipped.
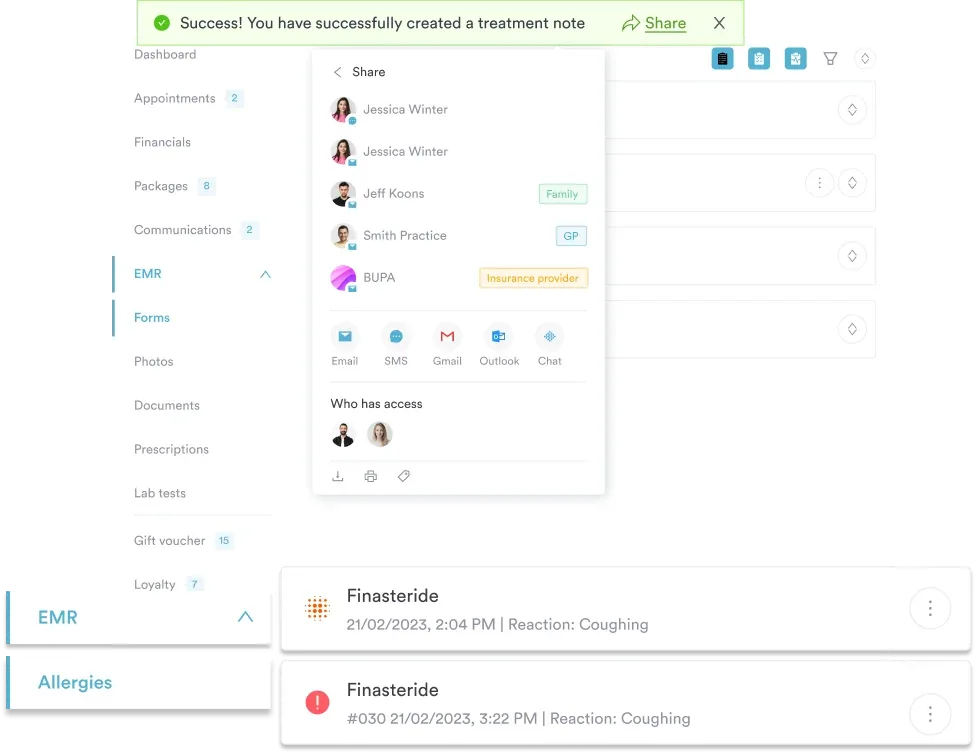

Pabau’s digital consultation templates convert static checklists into live documentation, eliminating paper forms and reducing charting time so you can focus on the patient.

A comprehensive chest exam takes 5-10 minutes. In emergency or acute settings, a focused chest exam targets the most likely pathology, reducing time while maintaining clinical accuracy. Use a focused exam when evaluating acute chest pain, dyspnea, or post-injury assessment where time is critical.
For acute chest pain, perform inspection and auscultation (listen for rubs, crackles, wheezes), palpate for reproducible musculoskeletal tenderness, and percuss to rule out pneumothorax. Skip detailed fremitus and diaphragmatic excursion assessment unless consolidation is suspected.
For dyspnea, inspect for work of breathing, listen for wheezes or crackles, and assess accessory muscle use. Document your reasoning: why you focused on certain elements and what you’re ruling in or out.
Sports injury assessment often pairs a focused chest exam with targeted tests.
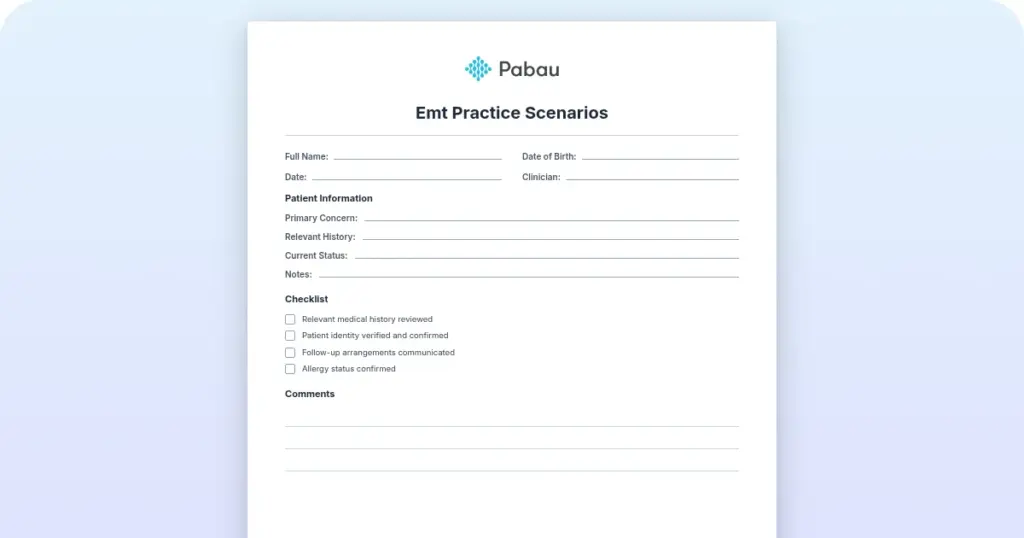
The downloadable chest exam template at the top of this guide includes a printable checklist format. Use it during patient encounters to ensure systematic documentation. The checklist breaks each technique into checkboxes, allowing rapid tick-off of normal findings while leaving space to document abnormal findings.
Print a copy, laminate it, and keep it at your desk or in your practitioner bag for quick reference during clinical assessments. Many practitioners use printed checklists.
Mastery comes from repetition. Perform a chest exam on every new patient and quarterly on existing patients receiving ongoing care. Over time, the four-step sequence becomes automatic, documentation becomes faster, and your ability to detect subtle abnormalities improves.
Early investment in systematic technique prevents costly missed diagnoses. Many automated clinical workflows can prompt you to perform a chest exam as part of the standard patient intake, building the habit into your practice routine without requiring manual reminders.
A systematic approach to the chest exam, combined with structured documentation and regular practice, transforms your ability to detect cardiopulmonary pathology early. Use this template and checklist to build the habit into every patient encounter.
Schedule a demo to see how Pabau streamlines chest exam documentation.

Caring for a patient with fluid retention? edema nursing care plan template structures assessment and management of fluid retention, aligned with the NANDA-I diagnosis.
Normal findings include symmetrical chest wall, regular breathing pattern without accessory muscle use, equal chest expansion, normal tactile fremitus, resonant percussion notes, and vesicular breath sounds throughout without wheezes, crackles, or rhonchi. Any deviation from these baseline findings warrants further investigation.
Crackles are fine, popping sounds indicating fluid or secretions in small airways (pneumonia, pulmonary edema). Wheezes are high-pitched, musical sounds from airway narrowing (asthma, bronchitis). Crackles resolve with coughing. Wheezes persist. Different underlying pathology requires different treatment approaches.
Compare both sides of the chest using the same technique. Equal vibration bilaterally is normal. Increased fremitus over one area suggests consolidation (denser lung tissue conducts vibration better). Decreased fremitus suggests air trapping, pleural effusion, or pneumothorax (fewer vibrations conducted). Always document whether fremitus is increased, decreased, or equal.
Perform a comprehensive chest exam on all new patients and quarterly on existing patients receiving ongoing care for any chest, respiratory, or cardiac condition. For acute complaints (chest pain, dyspnea), perform a focused exam at each visit. Baseline exams enable you to detect change over time.
Yes, in acute settings. A focused exam targets the most likely pathology and reduces time while maintaining clinical accuracy. Document your reasoning for using a focused approach. For ongoing preventive care or initial consultations, perform a comprehensive exam to establish a complete baseline.
Diaphragmatic excursion is the distance the diaphragm moves during inspiration (normal 3-5 cm, up to 7-8 cm in well-conditioned individuals). It’s measured by percussing downward on both sides until the note changes from resonant to dull, then comparing positions at rest and full inspiration. Reduced excursion suggests diaphragmatic weakness, paralysis, or restrictive lung disease requiring further evaluation.